
Related Manuals for Russell Hobbs RHM2031


Summary of Contents for Russell Hobbs RHM2031
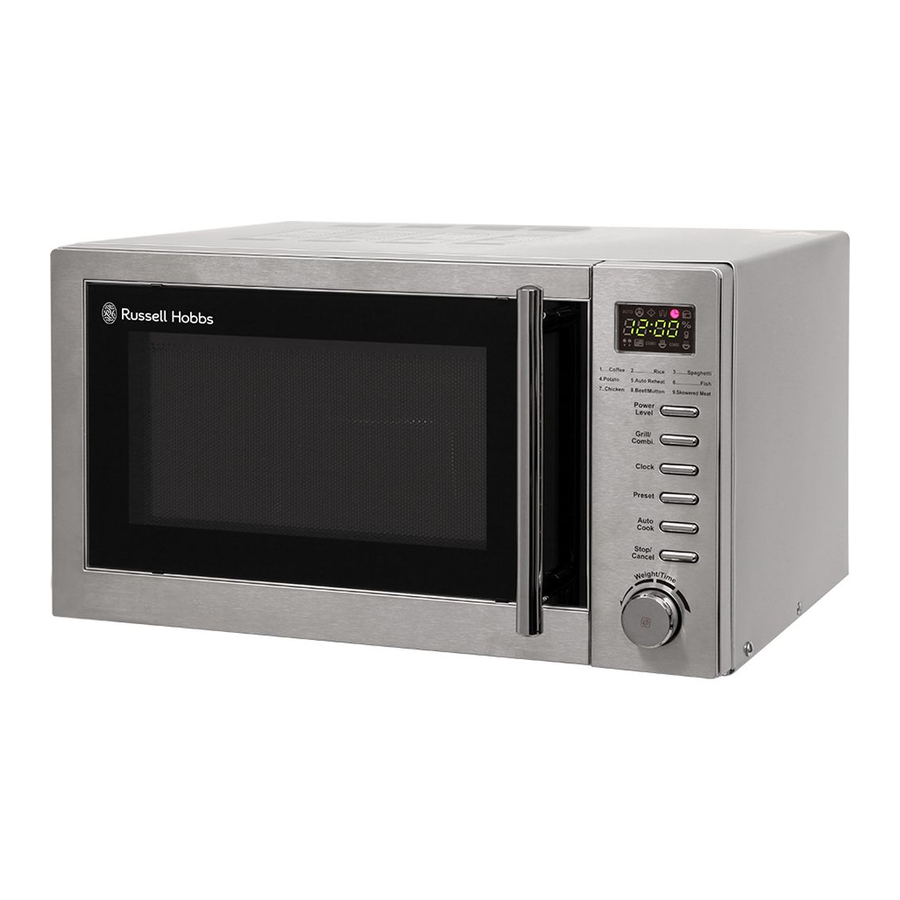
- Page 1 20 Litre Digital Microwave With Grill U s e r ’ s M a n u a l Model number: RHM2031 Please read these instructions carefully and keep them for future reference...
-
Page 2: Table Of Contents
Contents Page About this microwave oven …………………………………………..……. 3 Safety instructions………………………………………………….………… 4 Microwave oven Installation……………………………………….….……. 5 Feature diagram……………………………………………………….……… 6 Connection to the mains supply…………………………......… 6 Control panel……………………………………………………….……….…. 7 Operating instructions…………………………………………….…….…… 8 Setting the clock……………………………………………………..…..… 8 Microwave cooking…………………………………………………..…… 8 Quick start .....………………………………………………..…..….. 9 Grill Cooking………………………………………………………………..……... -
Page 3: About This Microwave Oven
About this microwave oven Microwaves are high-frequency electromagnetic waves similar to radio waves. While radio waves may vary in length from one metre to many kilometres, microwaves are very short (less than 12.5 centimetres). Microwaves do not make any heat themselves but only cause water molecules in food to vibrate. -
Page 5: Microwave Oven Installation
Always test the temperature of cooked food, never eat or drink food or liquid straight from the oven, allow it to stand for a few minutes and stir to distribute the heat evenly. Microwave heating of beverages can result in delayed eruptive boiling, therefore care must be taken when handling the container. -
Page 6: Feature Diagram
Feature diagram 1 Door safety lock system Oven window Turntable roller Control panel Wave guide cover (do not remove) Glass tray Grill heater Metal rack Connection to the mains supply WARNING - THIS APPLIANCE MUST BE EARTHED This appliance is designed to operate from a mains supply of AC230-240V ~ 50HZ. Check that the voltage marked on the product corresponds with your supply voltage. -
Page 7: Control Panel
Control panel MENU ACTION SCREEN Cooking time, power, action indicators, and clock time are displayed POWER LEVEL Touch this button a number of times to set microwave cooking power level. GRILL/COMBI. Press to set a grill or combination cooking programme. CLOCK Touch this button to set the oven clock. -
Page 11: Auto Cook Menu
Auto Cook Menu Menu Note Menus code Coffee(200ml/cup) Turn WEIGHT/TIME dial to indicate weight or amount of food. Rice (g) The result of Auto Cook depends on factors such as fluctuation of Spaghetti (g) voltage, the shape and size of food, your personal preference as to the doneness of certain foods and even how well you happen to Potatoes (each 230g) place food in the oven. -
Page 12: Cleaning And Care
Cleaning and Care Failure to maintain the oven in a clean condition, could lead to deterioration of the surface that could adversely affect the life of the appliance and possibly result in a hazardous condition. The oven should be cleaned regularly and any food deposits removed. Before you clean the microwave oven, turn it off and unplug it. -
Page 13: Problem Solving
Problem solving The microwave oven may cause interference to your radio, TV or similar equipment. If it does, you can get rid of the interference by moving the radio, TV or equipment as far away from your microwave oven as possible. If the oven doesn’t work, if the display does not appear or if the display has disappeared Make sure the oven is plugged in securely. - Page 14 Please use this page for your notes and recipes...
-
Page 15: Non-Rewireable Mains Plug
Non-rewireable mains plug If your appliance is supplied with a non-rewireable plug fitted to the mains lead you will find that it incorporates a fuse, the value of which is indicated either on the base of the plug or on the fuse carrier. Should the fuse need replacing, you must use an ASTA approved fuse (conforming to BS1362) of the same rating. - Page 16 If you have any questions about this product, please call our Careline free on...