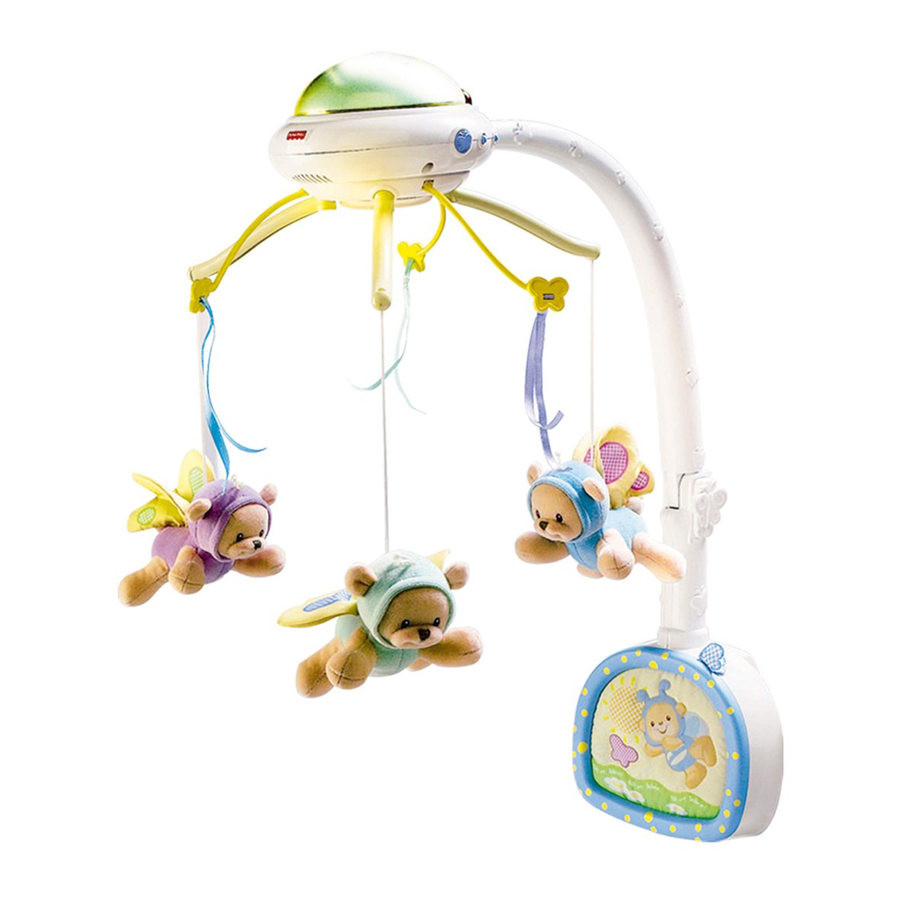
Fisher-Price BUTTERFLY DREAMS Mobile C0108 User Manual
Mobile with remote control
Hide thumbs
Also See for BUTTERFLY DREAMS Mobile C0108:
- Manual (24 pages) ,
- Instruction sheet (12 pages) ,
- Manual (20 pages)
Table of Contents
Advertisement
Quick Links
Butterfly Dreams
Mobile
with Remote
Control
Please keep this
instruction sheet for
future reference, as it
contains important
information.
Adult assembly is
required.
Requires four "D"
(LR20) alkaline
batteries for the
mobile and two "AA"
(LR6) alkaline
batteries for the
Remote. (Batteries
not included.)
Tool required for
Phillips screwdriver
(not included).
™
www.fisher-price.com
C0108
Advertisement
Table of Contents

Related Manuals for Fisher-Price BUTTERFLY DREAMS Mobile C0108


Summary of Contents for Fisher-Price BUTTERFLY DREAMS Mobile C0108
- Page 1 Adult assembly is required. Requires four “D” (LR20) alkaline batteries for the mobile and two “AA” (LR6) alkaline batteries for the remote. (Batteries not included.) Tool required for battery installation: Phillips screwdriver (not included). ™ www.fisher-price.com C0108...
- Page 2 Parts 3 Butterfly Clamp #6 x " Screw - 1 Both Shown Actual Size IMPORTANT! • Possible entanglement injury, keep out of baby’s reach. • Remove mobile from crib or playpen when baby begins to push up on hands or knees. This toy contains small parts in its unassembled state.
- Page 3 Mobile Features Light Dome – Projects butterflies and leaves onto baby’s ceiling. Start Button – Starts or restarts music and soothing lights. Light Select Button or no lights. Song Select Button Power/Volume Switch - Choose high volume or power off . no sound Receiver Dome –...
- Page 4 Remote Features Front View Button - Press to activate the mobile once the mobile has been turned ON. Press again to stop the mobile. LED Signal Indicator - Lights when the button is pressed to let you know the remote has transmitted a signal to the transmitter. Transmitter Window - Remote transmits a signal to the receiver dome on the mobile.
-
Page 5: Battery Installation
Battery Installation Battery Compartment Mobile Base Mobile Base • Locate the battery compart- ment door on the back of the mobile base. • Loosen the screws in the battery compartment door with a Phillips screwdriver. Remove the battery compartment door. Hint: If the crib adaptor is attached to the base, loosen the screws in the crib adaptor and remove it first. - Page 6 Battery Safety Information Batteries may leak fluids that can cause a chemical burn injury or ruin your toy. To avoid battery leakage: • Do not mix old and new batteries or batteries of different types: alkaline, standard (carbon-zinc) or rechargeable (nickel-cadmium). •...
- Page 7 Assembly Butterfly Spoke • Locate the three butterfly spokes. • Insert and “snap” the tabs on the ends of the butterfly spokes into the slots in the hub, as shown. #4 x " Washer Head Screw Shown Actual Size • Locate the three soft toy spokes. •...
- Page 8 Assembly Soft Toy Spoke Slot Soft Toy String • Fit a soft toy string through the slot in the end of a soft toy spoke. • Pull down gently on the soft toy to secure the string in the soft toy spoke. •...
- Page 9 Crib Use Crib Adapter Tighten Battery Screws Compartment Door • Position the base so that the battery compartment door is facing you. • Fit the crib adapter onto the base. • Tighten the three screws in the crib adapter using a Phillips screwdriver. Do not over-tighten.
- Page 10 Crib Use Crib Top Rail Threaded Peg Clamp • Fit the mobile base on to the crib top rail so that the threaded peg extends outside of the crib. • Fit the clamp onto the threaded peg and turn the clamp clockwise to secure the base to the crib rail.
- Page 11 IMPORTANT! • In the unlikely event that use of the remote interferes with normal use of other remote controlled equipment, such as televisions and stereos, or use of other electric or battery powered appliances interfere with operation of the mobile, do not use both appliances at the same time. •...
- Page 12 Start Button Remote Power/Volume Switch • The switch has four positions: off volume , on with high volume (lights only). • Slide the power/volume switch to the off position when not in use. Song Select Button • Press the button to choose from six different songs. •...
- Page 13 Dresser-top Use Threaded Peg Clamp • Loosen and remove the clamp from the threaded peg. • Remove the mobile from the crib. • Loosen the screws in the crib adapter using a Phillips screwdriver. • Lift and remove the crib adapter. •...
- Page 14 Dresser-top Use Knob Locate the Knob Pull Knob Out Dresser-top Use Knob • Locate the knob on the arm. • Grasp the knob and pull it out. • Rotate the arm to an angled position as shown. • Release the knob to lock the arm in position. •...
- Page 15 Care Soft Toy Spoke Slot Soft Toy String Soft Toys • To remove a soft toy, grasp its string and press the knot up through the opening in the spoke. • Slide the string through the slot in the spoke. •...
-
Page 16: Consumer Information
ASIA: Mattel East Asia Ltd, Room 1106, South Tower, World Finance Centre, Harbour City, Tsimshatsui, HK, China. Fisher-Price, Inc., a subsidiary of Mattel, Inc., East Aurora, NY 14052 U.S.A. ©2004 Mattel, Inc. All Rights Reserved. ® and ™ designate U.S. trademarks of Mattel, Inc.