Advertisement
Quick Links
THANK
Thanks for buying new bolo tines. These tines were designed for your model tiller
and will handle all of your tilling needs including sod busting, seedbed preparation,
YOU!
cultivating, and turning under crop residue.
How To Use These
Instructions
These instructions apply only
to owners of the following
tillers:
❒ HORSE
Model
TM
❒ ECONO HORSE
TM
❒ PONY
®
Model
First, read the general
information given for all model
tillers on Pages 1 through 4. You
will then be directed to install-
ation instructions for your
particular model tiller. Carefully
look at the adjacent figures while
following the step-by-step
instructions. Finally, see the
Bolo Tines Maintenance Section
on Page 16.
Tools Needed
❒ Wrenches (two 9/16 inch)
❒ Screwdriver (medium-sized)
❒ Soft Rubber Mallet
❒ Penetrating Oil
❒ Metal File (needed only if
tine holders are also
removed)
Installation Instructions
If you have any questions about removing or installing tines, please
refer to the "Customer Assistance" information on the back cover.
Model
Horse Model tillers have two
different style tine holders as
shown in figures to the right:
❒ Welded steel
Note: Welded steel holders may
be secured to tine shaft either
with two bolts and nuts or with
single mounting bolt (illustrated
in these instructions).
❒ Cast iron
Owners of HORSE Model
tillers with cast iron tine holders
should keep the cardboard box in
which this kit was shipped to use
with the template (pattern) on the
inside back cover of these
instructions. You will use both
the template and the box when
assembling tines.
Owners of all other models can
ignore the template and discard
the box.
OEM-290-253 / 290-253-081
for HORSE
TM
Attention!
HORSE Model Owners
Bolo Tine Kit
, ECONO HORSE
,and PONY
TM
How To Reach Us
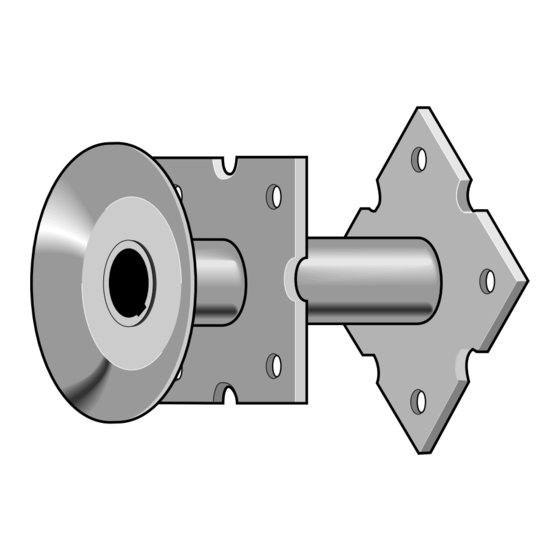
Welded Steel Tine Holder
Cast Iron Tine Holder
Tillers
®
Advertisement

Related Manuals for Troy-Bilt OEM-290-253


Summary of Contents for Troy-Bilt OEM-290-253
-
Page 1: Tools Needed
Bolo Tine Kit OEM-290-253 / 290-253-081 for HORSE , ECONO HORSE ,and PONY Tillers ® Installation Instructions THANK Thanks for buying new bolo tines. These tines were designed for your model tiller and will handle all of your tilling needs including sod busting, seedbed preparation, YOU! cultivating, and turning under crop residue. -
Page 2: Pre-Installation Steps
PRE-INSTALLATION STEPS Step 1: Check Your Parts Remove the tines and hardware package and check that you received all of the parts listed below for your model tiller. If any parts are missing or damaged, contact our Technical Service Department and we will arrange for replacements. - Page 3 Step 3: Tine Identification Look for "L" on Separate the sixteen new tines Left-curved Tine into two groups: eight left- curved tines and eight right- Tip Pointing curved tines. Tines can be identified as either left-curved or right-curved tines in two ways: A.
- Page 4 Step 5: Find the Installation Instructions for Your Model Each tiller's distinctive tine pattern provides the optimum in tilling performance for that model. Be sure to install tines in the pattern described for your tiller. Find your tiller in the following list and go to the indicated page to continue with tine installation.
- Page 5 ✔ Tips point inward toward ✔ Tines are against the outer Step 3: Install Tines on Right the transmission housing. Inner Holder surface of the right inner holder ✔ The cutting edges will enter plate. ✔ Tips point inward toward the soil first when the tiller Tines used in this step: moves forward.
- Page 6 Step 4: Check the Installation Innermost This completes the installation Tines of the tines on the two inner holders. To ensure that the installation is correct, check for the following: A. Make sure that the tips of the four innermost tines (those nearest the transmission housing) are directly opposite each other, pointing toward each...
- Page 7 ✔ Tips point inward toward ✔ Tines are across from each A. Place two right-curved tines (shown shaded in Figure 10) the transmission housing. other. ✔ The cutting edges will enter ✔ Tips point outward toward opposite each other on the previously installed bolts.
- Page 8 HORSE MODEL TINE ASSEMBLY AND INSTALLATION (CAST IRON HOLDERS) Use these instructions only if your tiller is equipped with tine holders shaped as shown below in Figure 12. Figure 12: Cast iron tine holder. Step 1: Assemble Tines Into Gangs Before starting this procedure, Figure 13: Template taped on box.
- Page 9 Step 2: Assemble Three "A" downward (overhanging the D. Add lockwashers (not used sides of the box). with Custom tines) and nuts to Gangs the three bolts and barely tighten B. Place three bolts through the Tines used in this step: the nuts (just so they do not fall holes as shown in Figure 16.
- Page 10 Cutting Edge Cutting Edge Cutting Edge Cutting Edge Figure 17: Assembly of a "B" gang. Figure 18: Add lockwashers and nuts to "B" gang. NOTE: Do not insert a bolt E. Add locknuts to the three F. For future identification when through the fourth hole.
- Page 11 D. Follow the procedure described in Steps A through C Installation Tips to install the other two "A" gangs at positions #2 and #4. If you encounter difficulty in aligning the two holes when inserting the fourth bolt, check the following: E.
- Page 12 PONY MODEL BOLO TINE INSTALLATION Follow these installation steps if you own a PONY Tiller. Right-curved Tines ECONO HORSE owners follow only Steps 1 and 2 below. Step 1: Install Tines on Left Inner Holder Tines used in this step: NOTE: To allow an four right-curved tines unobstructed view of the left...
- Page 13 Step 3. Install Tines on Left Step 4: Install Tines on Right Step 5: Check the Installation Outer Holder Outer Holder This completes the installation of the tines on your PONY Tines used in this step: Tines used in this step: Tiller.
- Page 14 ECONO HORSE MODEL BOLO TINE INSTALLATION Follow these installation steps only if you own an ECONO HORSE Tiller. NOTE: Tines on inner holders ECONO HORSE Tiller owners should first follow Steps 1 are installed the same for both and 2 of the instructions given on Page 12 for installing PONY and ECONO HORSE tines on the PONY Model.
- Page 15 ✔ Tines are against the outer Step 2: Install Tines on Right Check the Installation Outer Holder surface of the right holder outer This completes the tine instal- plate. lation of tines on the ECONO ✔ Tips point inward toward Tines used in this step: HORSE Model.
- Page 16 BOLO TINES MAINTENANCE Check Bolts and Nuts Rotate HORSE and ECONO HORSE Tines for Longer Tine Life Check all tine attachment bolts HORSE and ECONO HORSE bolo tines can be rotated to obtain a and nuts for tightness every 10 longer life.
- Page 17 Step 1: Move the two left- curved tines (labelled "A" in Figure 28) from the left outer holder to the "B" position on the right outer holder. Move the two left-curved tines which were at the "B" position to "A." Figure 28: Exchanging position of tines at "A"...
- Page 18 Horse Model Tine Rotation Before (Cast Iron Holders) Step 1: Move the entire tine Shaded tines are gang labelled "1" in Figure 32 in high wear (from the left outer holder) to the positions. "4" position on the right outer holder.
- Page 19 THIS TEMPLATE IS USED TO ASSEMBLE TINES ONLY FOR HORSE MODEL TILLERS WITH CAST IRON HOLDERS. BOLT BOLT TINE POINTS DOWN TINE POINTS BOLT DOWN DO NOT INSERT BOLT IN THIS HOLE...
- Page 20 For customer assistance, visit www.troybilt.com, contact your nearest authorized dealer or: TROY-BILT LLC, P.O. BOX 361131, CLEVELAND, OHIO 44136-0019, 1-866-840-6483 Printed in U.S.A. Form 769-00080 (01/02)