Table of Contents
Advertisement
Advertisement
Table of Contents

Related Manuals for Welbilt ABM-1OO-4


Summary of Contents for Welbilt ABM-1OO-4
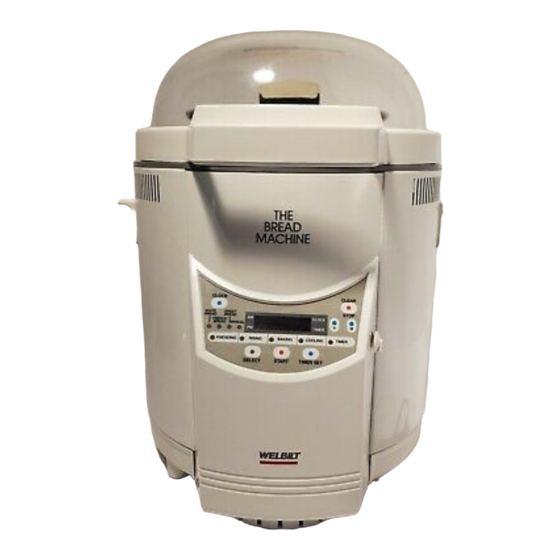
- Page 1 From Sandwich Breads to Specialty Breads Easy and Delicious — Right at Your Table ABM-1OO-4 MODEL Please take a few minutes to read these instructions before use. By carefully following the instructions, your Home Baker will serve you long and well. ® WELBILT...
-
Page 2: Important Safeguards
IMPORTANT SAFEGUARDS HOUSEHOLD USE ONLY When using electrical appliances, basic safety precautions should always be followed, including the following: 1. Read all instructions before using the appliance. 2. Do not touch hot surface. Use handles or knobs. 3. To protect against electrical shock do not immerse cord, plugs, or unit in water or other liquid. 4. -
Page 3: Table Of Contents
CONTENTS PARTS AND INSTALLATION SAFETY INSTRUCTIONS 10, 11 Baking Process, Power Supply, Suitable Locations, Names and Functions of Parts, Accessories Main Unit, Oven, Handling of the Unit, If Power Goes off During Use, CONTROL PANEL 4, 5 Consult Qualified Service Personnel if the Following THE TIMER Occurs Setting the Present Time,... -
Page 4: Control Panel
CONTROL PANEL © TIMER SET IND. LIGHT O SWEET BREAD IND. LIGHT © TIMER MEMORY SET BUTTON © MANUAL MODE IND. LIGHT © COOLING IND. LIGHT © AM IND. LIGHT ® START BUTTON O PM IND. LIGHT © BAKING IND. LIGHT O DISPLAY WINDOW ©... -
Page 5: Using The Timer To Make Bread
Using the Timer to Make Bread 1 Select the type of bread to be baked with the SELECT button. Note: Do not use the program timer when making bread containing ingredients that can easily spoil, such as egg, milk, vegetables and grains such as oatmeal etc. -
Page 6: Making Various Types Of Bread
MAKING VARIOUS TYPES OF BREAD Bread Selection • When the SELECT button is pressed, the Select light shifts as shown above, so that your desired type of bread will be selected. Make sure that the desired Select light is lit before pressing the START button. •... -
Page 7: Bread Making
BREAD MAKING Manual Cycle for Full Auto Cycle Homemade Bread 1 Check to make sure the inner pot is correctly positioned. The process for just making dough is performed with Prepare and add the ingredients for the bread. this cycle. Note: Adding Yeast 1 Mix the ingredients for the desired type of bread. -
Page 8: Baking Process
BAKING PROCESS Making Dough 4 Secondary kneading (re-kneading) begins. 5 minutes before kneading is completed, the beeper 1 Always put the dry yeast first, then the flour, will sound 10 times, indicating the best time to other ingredients, and lastly lukewarm water add optional ingredients like raisins for raisin bread into the inner pot in order to keep the dry yeast etc. -
Page 9: Removing The Bread
Removing the Bread 9 The beep sound will indicate baking is completed. 12 Turn the inner pot counterclockwise to remove it from the main unit. When serving bread that is just baked, take the bread out from the inner pot first. (Make sure you use oven mitts, towels etc., because the temperature is so high.) Dissipate 13 Place the inner pot upside down to carefully heat by placing a towel or other cloth under the bread... -
Page 10: Safety Instructions
SAFETY INSTRUCTIONS Baking Process Suitable Locations • Do not touch the glass lid as the temperature • Do not obstruct the air intake opening which is located on the bottom of the unit. becomes extremely high when the unit starts the baking process, or immediately after baking is •... -
Page 11: If Power Goes Off During Use
Oven Handling of the Unit • Flour, bread crumbs or any foreign matter • Do not drop or transmit strong shocks to the accumulated in the oven may make it impossible unit as malfunctions could result. to insert the inner pot. •... -
Page 12: Care Of Your Auto Bakery
CARE OF YOUR AUTO BAKERY Inner Pot and Dough Shaft Blade_ • Remove all crumbs after each use. Use a sponge or cloth dampened in lukewarm water and • Clean these parts thoroughly using a sponge or squeezed out. soft cloth dampened in lukewarm water. After cleaning, dry completely and store inside the main Packing unit. -
Page 13: Before Asking For Service
BEFORE ASKING FOR SERVICE Cause Problem Solution Is the power cord plugged in? If not, plug the power cord in securely. Does the clock display indicate OEO2? The unit will not operate if the oven's interior The unit temperature is above 122°F — such as immediately does not start. -
Page 14: Features, Specifications
Features • Micro computer control panel does not require user supervision once set. • Programable timer allows operator to prepare bread mix twelve hours before bread is desired. • Transparent glass lid allows viewing of entire bread making process, • High tech design; Euro-White finish. •... -
Page 15: Limited Warranty
This warranty covers all defects in workmanship or materials in the mechanical and electrical parts contained in this Welbilt® product for a period of 12 months from the date of purchase. There will be no charge to the purchaser for parts and labor on items covered under the warranty during this period. - Page 16 Since making bread in a bread machine is different from the traditional handmade method, you should never dissolve the yeast in liquid. Just carefully follow the instructions given in the Welbilt recipe booklet for best results.
- Page 17 In Welbilt baking tests, using flour milled from the 1992 harvest, we consistently found that the flours that contain ascorbic acid provide the best results. You can determine whether or not the flour you are using contains ascorbic acid as a dough conditioner by reading the ingredient list on the flour bag.