Table of Contents
Advertisement
Quick Links
Advertisement
Table of Contents

Related Manuals for Zotac ZBOX miniHTPC


Summary of Contents for Zotac ZBOX miniHTPC
- Page 2 ZOTAC. Products and corporate names mentioned in this manual may not be reg- istered trademarks or copyrights of their respective companies, and are used for identification purposes only.
-
Page 3: Table Of Contents
Removing a hard disk ------------------------------------------------------------------------- 11 Positioning your ZOTAC ZBOX --------------------------------------------------------------- 12 Installing the stand ----------------------------------------------------------------------------- 12 Installing your ZOTAC ZBOX to a monitor ----------------------------------------------- 12 Setting up your ZOTAC ZBOX ---------------------------------------------------------------- 13 Installing drivers and software --------------------------------------------------------------- 14 Installing an operating system -------------------------------------------------------------- 14... -
Page 4: Product Specifications
ZOTAC ZBOX Product Specifications q Chipset v Intel NM10 Express Family Chipset ® q Product Size v 188mm x 188mm x 44mm q Microprocessor support v Integrated with Intel Atom processor D5 series ® q Operating systems: v Supports Windows XP 32 bit/64 bit, Windows Vista 32 bit/64 bit and Windows... -
Page 5: Safety Information
ZOTAC ZBOX Safety information Your ZOTAC ZBOX is designed and tested to meet the latest standards of safety for infor- mation technology equipment. However, to ensure your safety, it is important that you read the following safety instructions. Setting up your system Read and follow all instructions in the documentation before you operate your system. -
Page 6: Welcome
ZOTAC ZBOX Welcome Congratulations on your purchase of the ZOTAC ZBOX. The following illustration displays the package contents of your new ZOTAC ZBOX. If any of the below items is damaged or missed, contact your retailer. Package contents • 1 x ZOTAC ZBOX •... -
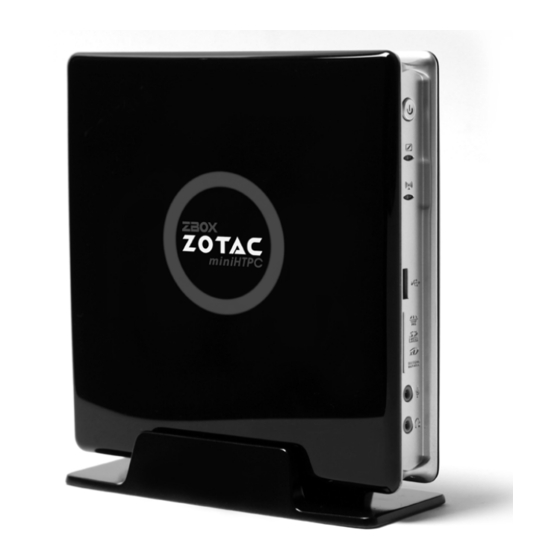
Page 7: Getting To Know Your Zotac Zbox
ZOTAC ZBOX Getting to know your ZOTAC ZBOX Front view Refer to the diagram below to identify the components on this side of the system 1. Headphone/Audio Out jack The stereo headphone jack (3.5mm) is used to connect the system’s audio out signal to amplified speakers or headphones. -
Page 8: Rear View
ZOTAC ZBOX Rear view Refer to the diagram below to identify the components on this side of the system. 1. eSATA port The external SATA port is compatible with e.SATA devices such as external hard drives and Blu-ray drives. 2. USB ports The USB (Universal Serial Bus) ports are compatible with USB devices such as keyboards, mouse devices, cameras and hard disk drives. -
Page 9: Customizing The Zotac Zbox
ZOTAC ZBOX Customizing the ZOTAC ZBOX Before installing hardware, please follow the instructions below to remove the cover of your ZOTAC ZBOX. 1. Remove the two screws securing the bottom cover into place. 2. Gently remove the cover as the shown in the image below. -
Page 10: Removing The Memory Module
2. Gently press down on the memory module until it locks into place by the arms of the memory slot. Note:This ZOTAC ZBOX accomodates two DDR2 SO-DIMM memory modules. You must install at least one module in one of the two slots. -
Page 11: Installing A Hard Disk
ZOTAC ZBOX Installing a hard disk 1. Remove the cover of your ZOTAC ZBOX. 2. Unscrew and remove the screw from the hard disk bracket, and raise the lid as shown in the image below. 3. Insert a 2.5-inch SATA hard disk into the socket at a 45 degree angle. -
Page 12: Removing A Hard Disk
ZOTAC ZBOX Removing a hard disk 1. Remove the cover of your ZOTAC ZBOX. 2. Unscrew and remove the screw from the hard disk bracket, and raise the lid as shown in the image below. 3. Gently remove the hard disk from the socket, close and screw the lid. -
Page 13: Positioning Your Zotac Zbox
Installing your ZOTAC ZBOX to a monitor You can also install your ZOTAC ZBOX to the back of a monitor. To do so: Secure the VESA mount to your monitor with four screws (HNM/M4x8). Place your ZOTAC ZBOX on the VESA mount noting the correct alignment and then secure the PC to the VESA mount with a coin. -
Page 14: Setting Up Your Zotac Zbox
Connect the supplied AC adapter to the DC IN jack on the system rear panel and then press the power switch on the front panel to turn on the system. Note:When your ZOTAC ZBOX is not in use, unplug the power adapter or switch off the AC outlet to save on power consumption. -
Page 15: Installing Drivers And Software
Install system drivers to gain full functionality of the ZOTAC ZBOX hardware and features. Installing system drivers Before you can use the full features of the ZOTAC ZBOX, the system drivers must be installed. The following types of operating systems are supported by the ZOTAC ZBOX driver CD: •... -
Page 16: Using Your Zotac Zbox
Select the driver you want to install. The driver installer should launch. Follow the onscreen instructions to install the drivers. Restart the system. Using your ZOTAC ZBOX Configuring wireless connection To connect to a wireless network, follow the instructions below: Double-click the crossed wireless network icon (pic) on the notification area. -
Page 17: Using A Dynamic Ip (Pppoe Connection)
ZOTAC ZBOX Using a dynamic IP (PPPoE connection) Repeat Step 1-3 in the previous section. Select Obtain an IP address automatically and click OK. Click Create a new connection to start the NEW Connection Wizard. Click Next. Select Connect to the Internet and click Next.