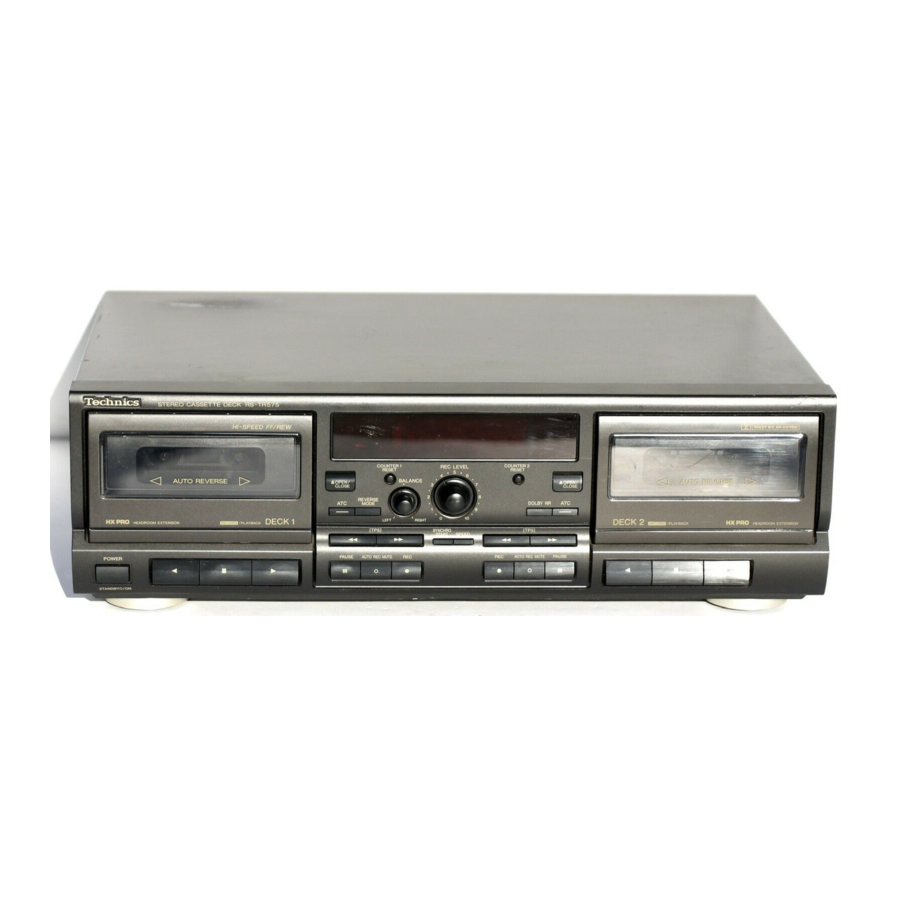
Technics RS-TR575 Operating Instructions Manual
Stereo cassette deck
Hide thumbs
Also See for RS-TR575:
- Service manual (53 pages) ,
- Operating instructions manual (24 pages) ,
- Operating instructions manual (24 pages)

Related Manuals for Technics RS-TR575


Summary of Contents for Technics RS-TR575
- Page 1 Technics Stereo cassette deck RS-TR575 Operating Instructions connecting, operating or adjusting this product, please these Instructions completely.
-
Page 2: Table Of Contents
Dear Customer Thank you for purchasing this Technics product. Before For optimum performance and safety, please read these instructions carefully. Precautions ........Front panel controls ......Connections ........The model number and serial number of this product can be found on either the back or the bottom of the unit. - Page 3 (For USA only) WARNING: TO REDUCE THE RISK OF FIRE OR is subject to the following two conditions: (1) This device may ELECTRIC SHOCK, DO NOT EXPOSE THIS not cause harmful interference, and (2) this device must ac- APPLIANCE TO RAIN OR MOISTURE. cept any interference received, including interference that may cause undesired operation.
- Page 4 Before using this unit please read these operating instructions carefully. Take special care to follow the warnings indicated on the unit itself as well as the safety suggestions listed below. Afterwards keep them handy for future reference. MaJnteBanee (See p age 2 1.) Power Source -- The unit should be connected to power sup- Clean the cabinet, panel and controls with a soft cloth lightly...
- Page 5 When any of the numbers indicated below is repeated more than once (for example, (_)), the number indicated on the left is the con- trol for Deck 1 and that indicated on the right is for Deck 2. DECK2 Name Re?.
-
Page 6: Connections
Please check and identify the supplied accessories cord Stereo connection cables I_IAc power supply ......(SJP2249-6) ......2 pcs. (For USA: SJA175-A or SJA175-1) (For Canada: SJA175) Placements hints Beforemaking connections,makesure that the powerto thisunit If this unit is placed near a receiver or a tuner, a "hum" noise and all other system componentsis turned off first. -
Page 7: Playback Ll_Eh_Mvj
Either normal, CrO2 or metal type cassettes can be used. r_mmm I ioI ol io ol DE(_K 1 IOECK 2 '"'" '(_£:;_-'"' "' ..I11 ; l!l I;F:'i71 I,.1! I ;I I I,,.. ---- The proceduresdescribed beloware an example of playbackon Deck 1. -
Page 8: Reverse Function
Corporation.HX Pro originatedby Bang & Olufsen. This cassette deck can be operated by using the remote control "DOLBY", the double-D symbol _ and "HX PRO" are provided with a Technics receiver. (For detailed information, trademarks of DolbyLaboratoriesLicensing Corporation. refer to the operating instructions of the receiver.) During operation from the remote control, the "R.C,"... -
Page 9: Series Playback
Both sides of the tape in Deck 1 will be played, followed by both To temprarlly stop playback sides of the tape in Deck 2. (Repeated up to eight times.) PAUSE Press II PAUSE for the deck which is playing. Press once again to resume playback. -
Page 10: Linear Counter
The linear counter indicates the amount of tape travel as the approximate amount of elapsed time. Linear counter Linear counter Minutes Minutes Tape side indicator Tape side indicator Seconds Seconds /I u,.J,, uuUUl i uu: I /- _..., {i!!_ _. COUNTER 1 COUNTER [TPSi... -
Page 11: To Find The Beginning Of A Program (Tps Function)
• During operation of the TPS function, the play indicator will (TPS:Tape Program Sensor) flash quickly. • To find the beginning of a track which is several tracks before or after the track currently being played, repeat the procedure until the desired track is found •... -
Page 12: Recording
Either normal, CrO2 or metal type cassettes can 4 1375 be used. This unit is equipped with an ATC function (refer to page 14) which automatically sets the optimum recording conditions to match the characteristics of the tape being used. It is recommended that you use this function l,o, o,]1 when recording. - Page 13 About the selection of the Dolby NR type to adjust the recording level. The Dolby NR effect can be obtained by using the same type of o _J)lo (Refer to the right of this page.) Dolby NR during both recording and playback: Refer to the follow- ing table when selecting the type (either B or C).
-
Page 14: About The Atc Function
The ATC (auto tape calibration)function recordsa test signal in order to automatically set the bias, equalizer and recor- ding/playbacklevelto the optimumrecordingconditionsin accor- dance with the characteristicsof the tape being used. The table below shows the conditions of the display and the operation of the unit while the ATC settings are being made. -
Page 15: Series Recording
Recordings can be made first on side "A" and then side "B" of the cassette in either Deck 1 or Deck 2, and then continued to eck 2. side "A" and side "B" of the cassette in the other Deck. This means, for example, if two 90-minute cassettes are used, Both Decks will then change to the that a long recording (total length 3 hours) can be made. -
Page 16: Parallel Recordings
The same sound source can be recorded simultaneously to both ..F_'_C;.;'V;"- ..Begin piayback of the Sound Deck 1 and Deck 2. source, then use the 0_)10 REC LEVEL control to ad- Just the recording level. 64 135 2 14 After that, atop the play being done so as to ad- Just the recording level. -
Page 17: To Make • Silent Interval
A silent interval of 4 seconds or more can be provided between When new recordings are made on a pre-recorded tape, tracks. This function is useful for playing back on decks which sounds recorded on that portion of the tape are automatically can skip to the beginning of tracks, and for cutting... -
Page 18: Tape-To-Tape Recording
Either normal, Cr02 or metal type cassettes can be used. Use Deck 2 to record the sound being played back on Deck 1. 1253 To record on only one side of the tape, set the tape side in- dicators (<1 or D) on Deck 1 and Deck 2 in accordance with the tape sides to be played back and recorded. -
Page 19: To Record Selected Tracks
)ECK ,i,r I-'71,1 I'1"1 To record selected tracks To cut unwanted parts during recording ..0 ..........P, U SE ..Press ii PAu$E on"'0eck2 on Deck 1. durlng recording. During recording, press • (Deck 1 will stop, and Deck 2 will (Deck 2, which was recording, will... -
Page 20: Concerning Cassette Tapes
Selection o£ cassette tapes Erasure prevention Cassette tapes exceeding 90 minutes Remove the tab(s). These tapes are handy for their long playback and recording time but be careful about repeatedly stopping and starting, rewinding and fast forwarding these tapes in short intervals as they are thin, tend to stretch and may become entangled in the machine. -
Page 21: Maintenance
• CASSETTE DECK SECTION Head care Stereo cassette deck Deck system 4-track, 2-channel Track system To assure sound quality for recording and playback, be sure to AC bias Recording system clean the heads after approximately every 10 hours of use. 80 kHz Bias frequency 1) Press the openlclose button to open the cassette holder. -
Page 22: Troubleshooting Guide
Some sim- unit) to locate a convenient service center, or consult your Technics dealer for instructions. ple checks or a minor adjustment on your part many eliminate the problem and restore proper operation. (In U.S.A. consult MSC Authorized Servicenters for detailed... -
Page 23: Product Service
Do not attempt to remove the cover(s) or repair the unit yourself. Refer servicing to qualified personnel only. Product information For product service, product information or assistance in product operation, refer to the servicenter directory. - Page 24 © Matsushita E lectric Industrial C o.Ltd.. Allri_ts reserved. U nauthorized copying anddistribution i sa violation oflaw Panasonic Company, Division of Panasonic Company (West) of America, Division of Matsushlta Electric Corporation of America Matsushlta Electric Corporation of America One Panasonic Way 6550 Katella Ave.