Table of Contents
Advertisement
Instruction
Manual
CRRFTSMR
2.5
H.P,
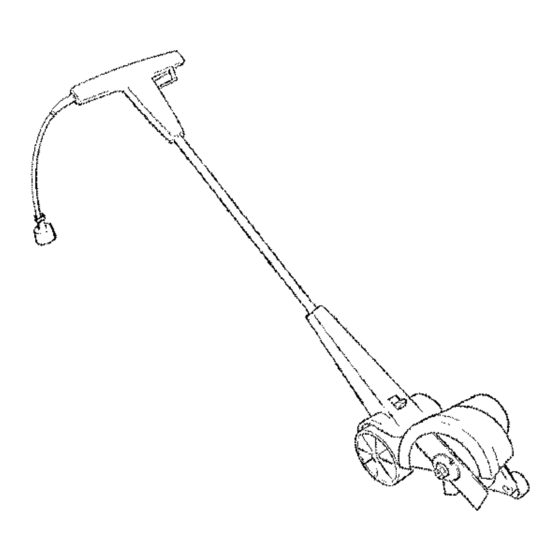
ELECTRIC
EDGER
Model No.
358.796471
•
Safety
•
Assembly
•
Operation
•
Maintenance
•
Espa_ol
@
WARNING:
Read and follow all Safety
Rules and Operating
Instructions
before first use of this product.
For answers
to your questions
about this product,
call 7am-7pm,
Mon.-Sat.,
or 10am-7pm,
Sun.
•
1-800-235-5878
_Hooro Hsted are CentraITime)
Sears,
Roebuck
and Co., Hoffman
Estates,
IL 60179
USA
530087669
10/1/01
Advertisement
Table of Contents

Related Manuals for Craftsman 358.796471


Summary of Contents for Craftsman 358.796471
- Page 1 Instruction Manual CRRFTSMR H.P, ELECTRIC EDGER Model No. 358.796471 • Safety • Assembly • Operation • Maintenance • Espa_ol Read and follow all Safety Rules and Operating WARNING: Instructions before first use of this product. For answers to your questions about this product, call 7am-7pm, Mon.-Sat.,...
- Page 2 FULL ONE YEAR WARRANTY ON SEARS CRAFTSMAN ELECTRIC EDGER If this Craftsman Electric Edger fails to perform properly due to a defect in material or workmanship within (1) one year from the date of purchase, Sears wilt replace it free of charge.
- Page 3 • Avoid u nintentionaI starting ofthe • Do not attempt to repair unit. Inspect unit. Never carry t he unit w ith your insulation and connectors on unit finger onthe switch. Be sure the and appliance cord before each use. switch i snot i nthe onposition when If there is any damage, do not use...
- Page 4 MENTS section. Keep blade and blade ken, ordamaged inany other way. guard clean to reduce the risk of injury. • Use only genuine Craftsman • Never start unit with blade guard re- placement blades and accessories moved; blade can fly off or can throw asrecommended forthis unit.
- Page 5 CARTON CONTENTS extension cord to the unit. Otherwise, Model 358.796471 toss of power and overheating can oc- cur causing damage to unit. Refer to • Edger table for minimum wire gauge recom- • Screws mendations. The cord must be • Locknuts marked with the proper wire gauge.
- Page 6 DOUBLE INSULATION or DOUBLE INSU- _ILWARNING: All electrical repairs LATED. The symbol [] (square within a to this unit, including housing, switch, square) may also be marked on the motor, etc., must be diagnosed and re- appliance. Failure to have the unit re- paired by qualified service personnel.
- Page 7 • If blade does not turn when switch activated, make sure it is not stuck BEVELING bound by debris, Blade rotates mo- mentarily after the switch is released. Stop rotating blade by contact with cut material• OPERATING TIPS • Allow the blade to reach futt speed before placing the blade in the cut.
-
Page 8: Blade Maintenance
CUSTOMER RESPONSIBILITIES CARE & MAINTENANCE TASK WHEN TO PERFORM Check for Loose fasteners and parts Before each use Check for damaged or worn parts Before each use Clean unit and labels After each use GENERAL RECOMMENDATIONS CHECK FOR DAMAGED WORN PARTS The warranty on this unit does not cover items that have been subjected to oper- Refer replacement... - Page 9 ACCESSORIES Front WheeI ..530402970 Safety G_asses ... 71-85707 Cup Washer ..530403500 Blade Guard ..530402859 Extension Cord ... 71-5702 Edge Guide ... 530402865 CUSTOMER SERVICEABLE PARTS Rear Axte .... 530403071 Blade ....71-85717 Front Axle .... 530402907 Locknut (axle) ..530016245 Washer (axie) ..