Table of Contents
Advertisement
Advertisement
Table of Contents

Related Manuals for White 1409 white


Summary of Contents for White 1409 white
- Page 3 CONTENTS Names of Parts............I & 2 Accessories Before sewing (Power suoply and Sewing Lamp) Take Out extension tabte, free arm sewing Winding the bobbin Removing bobbin case and boboin Inserting bobbin into bobbin case Inserting bobbin case Into race shuttle Threading ucper thread &...
-
Page 4: Product Front View And Parts
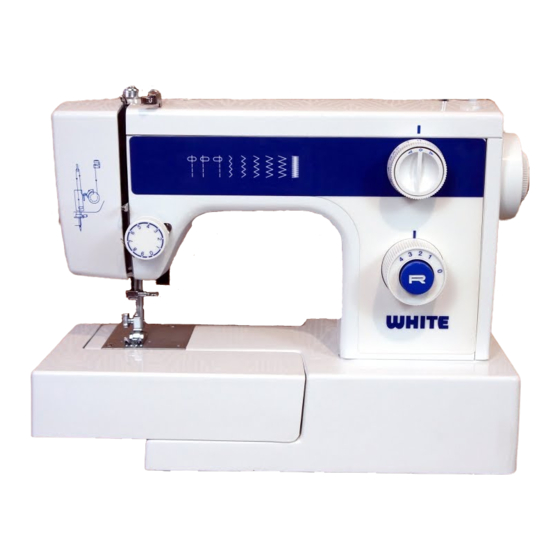
NAME OF PARTS (FRONT VIEW) Sub-spool pin Top cover Presure Regulator knob Needle position Take up lever Reverse button Stitch lengtfl aiai Thread tension dial Presser foot Shuttle read guide for upper threading Extension table —1—... - Page 6 ACCESSORIES Bobbin Spool pin felt Zigzag foot Buttonhole foot (On machine) Button attaching loot Macgine Qjj Zipper foot Buttonhole cutter Screw driver Needle —3-—...
- Page 7 1. Fit plug into the macnine. 2. Plug the macnine tc he power supply 3. Sewing speed can be varied by the toot control. Sewing lamp REMOVE ORHNSTALL BULB Qoen face cover in direction of arrow. 2. emove bulb unscrew it counter-clockwise.
-
Page 9: Winding Bobbin
WINDING ThE BOBBIN 1 .elease stop motion knob. 2.Thread as shown. 3.When bobbin filled, tighten stop motion knob. 5cm thread 7’ThcbbIn winder Push bobbin winder spindle in spindle direction of arrow. When bobbin winding is com pleted return spindle original position. When bobbin winding is in correct, release the screw of upper thread guide and ad... - Page 12 THREAD THREADING UPPER Twin need’e tt,reading —9—...
- Page 14 CONTROL DIAL 1 Reverse button 2 Zig-zaq wOth dia’ Thread tensOfl daI Needle posiUofl knoo SutCh length dal —11—...
- Page 15 ADJUSTING THREAD TENSION Corec Upper thread Weak Strong Bobbin thread Uoper thread tension may be aciusted by turning the thread tension dial. ncorrect insice of fabric Upoer thread LOWER THREAD TENSION Lower thread tension can adlusted turning screw on bobbin case siight• to the right (clock-wise) increase tension.
- Page 16 — —...
- Page 18 — — —...
- Page 20 —...
- Page 24 — —...
- Page 27 — —...
- Page 28 — —...