Table of Contents
Advertisement
Quick Links
Advertisement
Table of Contents

Related Manuals for Behringer EURODESK MX9000 User´s


Summary of Contents for Behringer EURODESK MX9000 User´s
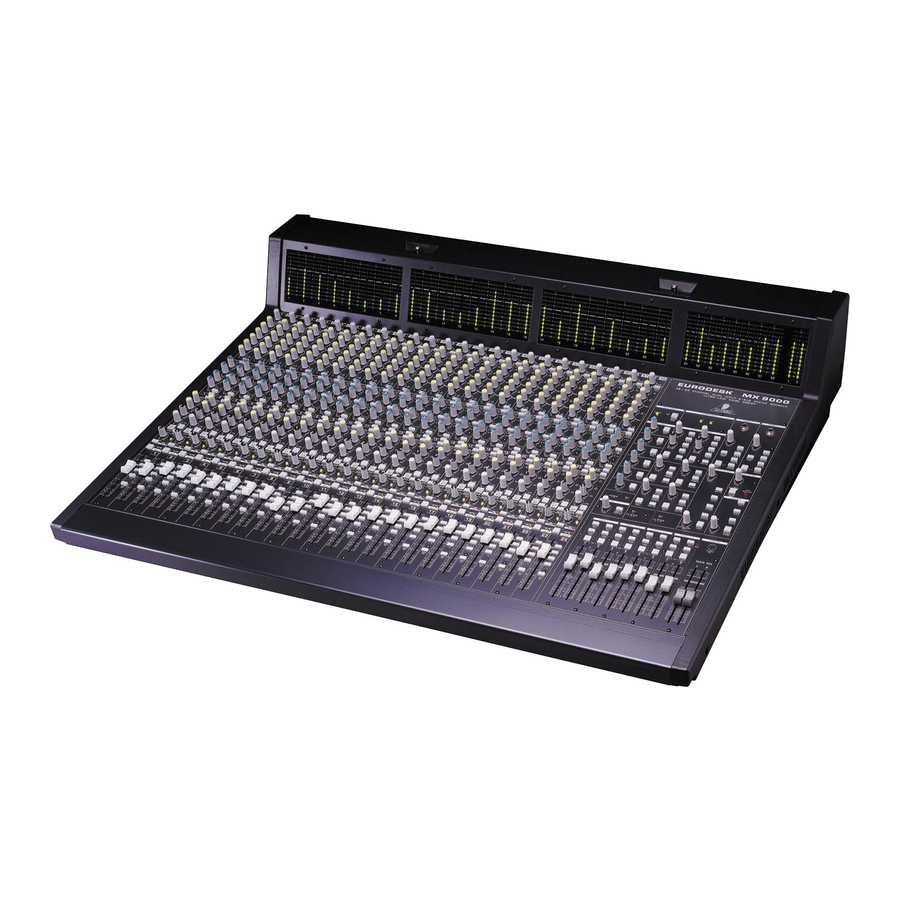
- Page 1 User´s Manual Version 1.0 June 2000 www.behringer.com...
-
Page 2: Safety Instructions
SAFETY INSTRUCTIONS CAUTION: To reduce the risk of electrical shock, do not remove the cover (or back). No user serviceable parts inside; refer servicing to qualified personnel. WARNING: To reduce the risk of fire or electrical shock, do not expose this appliance to rain or moisture. This symbol, wherever it appears, alerts This symbol, wherever it appears, alerts you to the presence of uninsulated... - Page 3 It is our philosophy to share our joy with you, because you are the most important member of the BEHRINGER family. With your highly competent suggestions for new products you’ve greatly contributed to shaping our company and making it successful.
-
Page 4: Table Of Contents
TABLE OF CONTENT 1. THE MANUAL .......................... 6 1.1 Nomenclature ..........................6 1.2 An un-holstic approach ........................6 1.3 Key ..............................6 2. EURODESK OVERVIEW ......................6 2.1 Architecture ............................ 6 2.2 Metering ............................7 2.3 PSU (Power Supply Unit) ........................ 7 3. - Page 5 13.START-UP ..........................37 13.1 A-channel setting up procedure ..................... 37 13.1.1 Selecting inputs ........................37 13.1.2 Initializing channel for gain-setting ..................37 13.1.3 Auditioning a signal ......................37 13.2 Desk/tape setting up procedures ....................37 13.2.1 Desk normalization ......................37 13.2.2 Multitrack initialization ......................
-
Page 6: The Manual
1. THE MANUAL 1.1 Nomenclature Most specialist subjects are not really all that difficult provided you understand the language used, and the vocabulary of mixing is pretty straight-forward. Nevertheless it is as well to be clear about what certain terms mean. -
Page 7: Metering
enables much flexibility to be bestowed onto the tape monitor signal path, not least being its ability to pick up functions easily from the main channel. Also, during mixdown, when tape tracks are no longer monitored but MIXED, the signal path between tape input and main channel is kept to a minimum. The configuration is 24 into 8 into 24. -
Page 8: Input/Output Channel
Why? Any amplifier circuit is limited in it’s transient response by the available current. In common with most desks of this size, the EURODESK has more than a thousand line-level operational amplifiers (op-amps) inside. When being driven hard, many desks begin to show signs of stress due to power supply limitations. Not so with the EURODESK MX9000. -
Page 9: Input Gain Setting
Fig. 3.2: Channel input switching architecture The B-channels 25 to 48 are only routable EN BLOC to the main mix, via S48. Therefore the MIX-B bus can only have one function at any one time, either as a stereo AUX or secondary mix send (S48 UP) or as a set of 24 extra line or tape inputs to the main mix (S48 DOWN). -
Page 10: Main Equalizer
3.4 Main equalizer Fig. 3.3: Main equalizer The main equalizer can be switched (S10) out of circuit for easy A/B comparisons between EQed and straight signals, or for when you know you don’t want to use desk EQ at all. It is best considered in three sections. First off there are two Baxendall shelving frequency controls for treble and bass, at 12 kHz and 80 Hz respectively (P4 and P9). -
Page 11: Routing And Muting
Fig. 3.4: Aux sends For almost all FX SEND purposes, you will want auxes to be post fader, so that when a fader level is adjusted, any reverb send from that channel follows the fader. Otherwise, when the fader is pulled down, the reverb from that channel would still be audible. For CUEing purposes, aux sends will usually be set pre fader, i.e. -
Page 12: B-Channel
Fig. 3.5: Routing Level to the subgroup and main mix buses is ultimately determined by the channel faders. These are designed to give a smooth logarithmic taper of a type more usually associated with the name of some pretty expensive brand ... -
Page 13: Inserts
have their own MUTE buttons (S22). Aux sends 3/4/5/6 may be diverted from the A to the B-channel via S17. Therefore if the B-channel is being used to monitor off-tape, some FX processing e.g. reverb and echo can still be applied. (See section 16.3 “Wet monitoring”.) When B-channel looks at A-channel (S23 DOWN), the signal comes A-channel mute switch and pre fader. -
Page 14: Subgroup And Direct Outputs
Fig. 4.1: Post EQ channel insert In this arrangement you might find that compression tends to soften the perceived amount of EQ applied. The solution? Apply more EQ. This creates a real “pressure” sound, great for high energy music such as dance. (For a more subtle approach, use the desk insert points word for word.) Using a group insert to effect post EQ processing precludes the use of POSTPROCESSING AUX SENDS without some serious re-patching. - Page 15 Fig. 5.1: Stereo subgroup channel schematic Try merging a dry signal with a little wet, then compressing the sum heavily. Though the reverb proportion will be low when a signal is present, the resultant reverb tail pumped up by the compressor at the start of each silence will give the illusion that the reverb was massive alt the time.
-
Page 16: Direct Outputs
Fig. 5.2: Using insert to add channel EQ to subgroup output (while keeping the number of line inputs unchanged!) 5.2 Direct outputs Each of the 24 main channels on the EURODESK MX9000 has its own DIRECT OUTPUT, which is taken from a point immediately after the fader (i.e. -
Page 17: Aux Returns
Fig. 6.1: Aux sends 6.1.2 Aux returns Next to the aux sends are the stereo aux returns (see fig. 6.2). These can be thought of as a dozen extra line inputs configured as six stereo pairs. On these inputs there is up to 20 dB of gain available. Alternatively, a mono (center-panned) signal may be returned by plugging into the left aux return jack only. - Page 18 Fig. 6.2: Stereo aux returns...
-
Page 19: Mix-B Master
a) Aux returns 1 and 2 Aux returns 1 and 2 have full subgroup routing matrices to enable returning FX to be sent to tape, plus main mix bus assignment. The functions for aux return 1 (mirrored by aux return 2) are: ROUTING (S49/50/51/52/ 53) LEVEL (P49), BALANCE (P51) and SOLO (S54). -
Page 20: Monitoring
It can provide 24 extra B-inputs to the mix (S48 DOWN, S23 UP). For live applications try using MIX-B to feed a secondary set of speakers. These could be sidefills, or more spectacularly, the rearward portion of a quadraphonic sound system. There is no SOLO provision for MIX-B. -
Page 21: Headphones
This is fine for a MIDI suite with overdub booth, but for the bigger studio’s headphone network we’d recommend using a separate headphones distribution amplifier like our BEHRINGER POWERPLAY PRO HA4400. This can offer the added advantage of independent headphones level control for every performer. -
Page 22: Pfl/Solo
6.5 PFL/SOLO Fig. 6.6: Solo section 6.5.1 PFL Pressing S95 disengages the stereo SOLO bus, and replaces it with a separate mono PFL (Pre-Fader-Listen) bus. Now anything at all which is SOLOed, isn’t. It is PFLed instead. PFL should be used for gain-setting. (See also the essential section 13 “Start-up”.) 6.5.1 SOLO SOLO is short for SOLO IN PLACE, and is the preferred method for auditioning an isolated signal or a group of... -
Page 23: Connections
The built in mic (above the main mix faders) allows you to converse with artists remotely. Most important controls are the VOLUME (P99) and PHONES & STUDIO button (S99, see fig. 6.7). It is possible to route the talkback mic to any of the following: aux 1, aux 2, subgroups, and phones and studio (S96 to S99). Complex headphone or stage monitoring networks could be constructed where HP1, HP2, aux 1 (pre), aux 2 (pre) and one or more subgroups all feed separate monitor mixes. - Page 24 The chunky remote 19" racked power supply is connected via a circular multiway (DC POWER IN) at the bottom left-rear of the console. This supplies several DC operating voltages incl. +/-18 V (audio circuits), +48 V (mic phantom power), +12 V (BNCs) and +5 V (LEDs). Fig.
- Page 25 Subgroup inserts Unbalanced send and return from a single stereo jack socket, wired tip = out, ring = in and sleeve = ground/ screen. Fig. 7.5: Subgroup inserts 2-track in/out RCA sockets for use with tape recorders, etc., signal = main mix, wired center post = signal (+ve) and sleeve = ground/screen.
- Page 26 Meter/analyzer out Unbalanced jacks at +4 dBu for use with external measuring equipment, e.g. the built-in real-time analyzer of our BEHRINGER ULTRA-CURVE PRO DSP8024 (signal = master LED meters). Master balanced outputs Balanced XLR for connecting to the mastering recorder. Wired pin 1 ground/screen, pin 2 hot and pin 3 cold.
-
Page 27: Plug Soldering Guide
A-channel line inputs These accept balanced or unbalanced 1/4" jacks, tip = hot, ring = cold and sleeve = ground/screen. Mic inputs These are via XLR-type connectors, wired pin 1 = ground, pin 2 = hot and pin 3 = cold, for balanced low-level operation. -
Page 30: The Patchfield
Enhancers are usually applied across INSERTS like compression and EQ etc., but most BEHRINGER enhancers have a SOLO mode, in which they can be addressed via an aux send and blended back into the main mix like any other reverb. - Page 31 Fig. 8.1: Example of patchbay configurations...
-
Page 32: Looming Problems
Bay 8: L7 & R8 equals the L/R recording input to the 2-tracks. On Bay 8 we have hard-wired these to recording outputs 1 to 6 in order to drive all recorders simultaneously. Copying from any 2-track source to all recorders may be done by patching the source outputs into L7 and R8. -
Page 33: Equalization
EQ curve for all but the tightest of Q’s actually occurs in the audible spectrum, below 16 to 18 kHz. For example if the BEHRINGER EQ is boosted by +15 dB at 20 kHz, the amount of boost at 10 kHz will be 3 dB. -
Page 34: Gain Optimization
(FX GAIN TOO HIGH), and the same goes for a high noise level (FX GAIN TOO LOW). Noisy FX (or synth) returns can be greatly improved by the addition of single-ended noise reduction between FX output and aux (or channel) returns. The BEHRINGER DENOISERS are ideally suited for this purpose. -
Page 35: Impedances And Tuning
11. IMPEDANCES AND TUNING Electronic inputs tend to have impedances measured in tens of kiloOhms. Outputs, on the other hand, are generally two or three orders of magnitude less. This is just as well, otherwise a signal at an output might find that the line of least resistance is the limit of the preceding unit. - Page 36 signal (to spot them visually you’d need to perform a FOURIER TRANSFORM). AC mains frequency and its overtones are picked up by any wire, and some will always leak through a cable screen. The question is, when does it become audible? Well, all other things being equal, the amount of mains hum picked up by a cable is independent of the signal level.
-
Page 37: Start-Up
13. START-UP 13.1 A-channel setting up procedure 13.1.1 Selecting inputs MICROPHONE: MIC/LINE switch (S1) UP,PAD switch (S1a) UP, FLIP switch (S3) UP LINE: MIC/LINE switch DOWN, FLIP switch UP TAPE: FLIP switch DOWN 13.1.2 Initializing channel for gain-setting 1) Set GAIN (P2) and all aux sends (P12,13,14 and 15) to OFF (fully counterclockwise). 2) EQ switch (S10) UP (off). -
Page 38: Multitrack Initialization
13.2.2 Multitrack initialization Set up the multitrack so that any track in “record ready” condition has its input monitored when the tape is stationary. Place all tracks to be recorded into “record ready” status (once a recording has been made, these tracks should automatically switch to tape playback). -
Page 39: Sends
14.1 Sends Fig. 14.1: Send routing In a dance production, effects are often of paramount importance in creating interesting/evolving sounds, and aux sends are usually all dedicated to this purpose. Also it is not unusual for a vocalist to be drafted in to add some colour to the mix at a late stage. -
Page 40: Returns
Fig. 14.3: Slightly more complicated auxless headphones mix Alternatively: If you need to hear the harmonies, but they’re putting the vocalist off key, you’ll want to be able to delete channels from the headphone mix. If you still don’t want to assign a couple of aux buses to headphones monitoring because this would disturb the main mix, the following suggestion might prove useful. -
Page 41: Lining Up Record/Sample Inputs
Channel 24 is of course the MIC input. A compressor might be patched into the channel 24 insert. Keep this channel free until the mix absolutely demands its services, just in case you want to add in any last minute singing, or any last minute anything! The B-channel line inputs (tape returns) can accomodate even more MIDI expanders and synths, etc. -
Page 42: Headphones
15.2 Headphones While auxless headphone monitoring (see section 14.2) is still an option (and a pretty good one), a small general purpose studio might require a more straightforward way of working using one or two discrete headphone mixes. Here it would be best to keep aux sends 1 and 2 free for monitoring purposes until mixdown time. -
Page 43: Very Tricky Headphones
Channels Source Route Destination Kick Direct out Track 2 Snare Direct out Track 3 Hi Hat Direct out Track 4 Tom 1 Subgroups 5 and 6 Tracks 5 and 6 Tom 2 Subgroups 5 and 6 Tracks 5 and 6 Tom 3 Subgroups 5 and 6 Tracks 5 and 6... -
Page 44: Wet Monitoring
Overdubbing: It’s all change. Flip the recorded music onto A-channels, in order to feed from tape into all the headphones buses. Alternatively: (and probably much more sensibly): use the headphones routine outlined in section 15.2 (fig. 15.1). 16.3 Wet monitoring It is customary with live recording to lay tracks dry. -
Page 45: Live P.a. With 2-Track Recording
17. LIVE P.A. WITH 2-TRACK RECORDING In this example we'll use the aux sends 1 and 2 for stage foldback, and 3/4/5/6 for front-of-house effects. The P.A. is driven from the main mix. MIX-B will be used to set up the mix to DAT. Channels Source Wedges / monitoring... -
Page 46: Live Concert With 24-Track Recording
18. LIVE CONCERT WITH 24-TRACK RECORDING Stereo (quadraphonic) P.A. with sidefills, three infills, two wedge mixes, four FX and simultaneous 24-track recording. Channels Source Tape route Destination Kick Direct out Track 1 Snare Direct out Track 2 Hi Hat Direct out Track 3 Tom 1 Subgroups 5 and 6 Tracks 5 and 6... - Page 47 Channels Source F.O.H. Wedges Infills Kick MIX-B Subgroups 1/2, 3/4 and 7/8 Snare MIX-B Aux send 4 Aux send 1 and 2 Subgroups 1/2 and 3/4 Hi Hat MIX-B Subgroups 1/2 and 3/4 Tom 1 MIX-B Aux send 4 Tom 2 MIX-B Aux send 4 Tom 3...
-
Page 48: Expanding The Eurodesk Mx9000
19. EXPANDING THE EURODESK MX9000 19.1 Connections The EXPANDER PORT is input only, and provides access to all but the PFL/SOLO buses. Since the nominal internal operating level of your EURODESK MX9000 is 0 dB, and that at the jack outputs +4 dB, the sends from the outputs of console 2 must be attenuated by +4 dB if unity gain between it and the primary console is to be maintained. -
Page 49: Bouncing
21. BOUNCING Sometimes you want to play back from one or more tracks, route the signals to a new track or pair of tracks, and re-record. This process is commonly referred to as bouncing. Examples would be when reducing 4 lead vocal take tracks down to 1, reducing 4 separate tom-tom tracks down to a stereo pair via noise gates, putting a wild effect or EQ onto a dry signal, “comping”... -
Page 50: Input/Output Configuration
PCBs. Otherwise, refer to qualified personnel. After modification the warranty becomes discretionary. Excuse us for repeating ourselves once again: BEHRINGER is not responsible for anything what happens after you start disassembling your EURODESK MX9000. Don't even think of it, if you make much of your warranty privileges. -
Page 51: Aux Sends > Post Eq
24.1 Aux sends > post EQ All channel aux sends are post mute and pre fader. If you want to convert these to post EQ, carry out the following modification to each channel. You will find a corresponding printing on the PCB (see fig. 24.1). 1. -
Page 52: Specifications
25. SPECIFICATIONS Main channel strip Mic input electronically balanced, discrete input configuration Mic E.I.N. (22 Hz to 22 kHz) -129.0 dBu, 150 Ohms source -117.3 dBqp, 150 Ohms source -132.0 dBu, input shorted -122.0 dBqp, input shorted Distortion (THD & N) 0.007 % at +4 dBu, 1 kHz, bandwidth 80 kHz Gain range +10 dB to +50 dB... - Page 53 30 kg (without PSU) BEHRINGER is constantly striving to maintain the highest professional standards. As a result of these efforts, modifications may be made from time to time to existing products without prior notice. Specifications and appearance may differ from those listed or illustrated.
-
Page 54: Warranty
(user included) will void the warranty. shall, at its sole discretion, either repair or replace the product. 6. If an inspection of the product by BEHRINGER shows that the 2. If the warranty claim proves to be justified, the product will be defect in question is not covered by the warranty, the inspection returned to the user freight prepaid.