Table of Contents
Advertisement
ASSEMBLY, CARE & USE MANUAL
WARNING & SAFETY INFORMATION
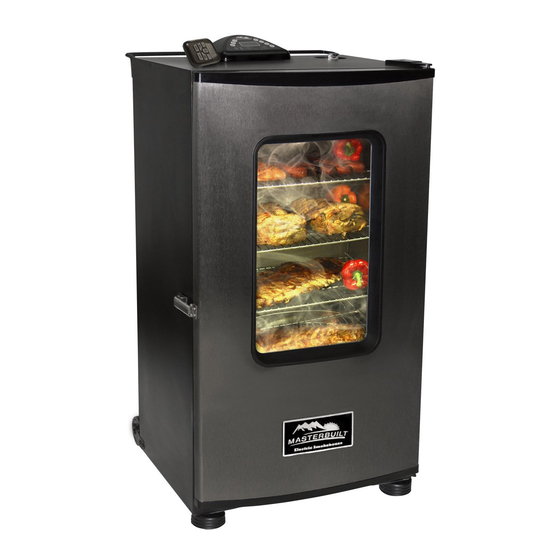
ELECTRIC SMOKER MODELS 20070211, 20070311, 20070411
THIS PRODUCT IS FOR OUTDOOR USE ONLY
Approximate assembly time : 15 minutes
Tool needed for assembly: Phillips Head Screwdriver
CARBON MONOXIDE HAZARD
WARNING
This manual contains important
Burning wood chips gives off carbon
information necessary for the proper
monoxide, which has no odor
and safe use of this unit.
and can cause death.
Read and follow all warnings
DO NOT burn wood chips inside homes,
and instructions before using
vehicles, tents, garages or any enclosed areas.
smoker and during use.
Use only outdoors where it is
Keep this manual for future reference.
well ventilated.
Some parts may have sharp edges
handle with care.
Failure to follow these warnings and instructions properly could result in personal injury or death.
Advertisement
Chapters
Table of Contents

Related Manuals for Masterbuilt 20070211


Summary of Contents for Masterbuilt 20070211
- Page 1 ASSEMBLY, CARE & USE MANUAL WARNING & SAFETY INFORMATION ELECTRIC SMOKER MODELS 20070211, 20070311, 20070411 THIS PRODUCT IS FOR OUTDOOR USE ONLY Approximate assembly time : 15 minutes Tool needed for assembly: Phillips Head Screwdriver CARBON MONOXIDE HAZARD WARNING This manual contains important Burning wood chips gives off carbon information necessary for the proper monoxide, which has no odor...
- Page 2 • Do not operate any appliance with a damaged cord or plug, or after appliance malfunctions or has been damaged in any manner. Contact Masterbuilt Customer Service for assistance at 1-800-489-1581. • Keep a fi re extinguisher accessible at all times while operating electric smoker.
-
Page 3: General Warnings And Safety Information
• Do not store electric smoker with HOT ashes inside unit. Store only when all surfaces are cold. • Accessory attachments not supplied by Masterbuilt Manufacturing, Inc. are not recommended and may cause injury. • The use of accessory attachments not recommended by the appliance manufacturer may cause injuries. -
Page 4: Let's Get Started
LET’S GET STARTED! • This is a slow smoker…allow suffi cient time for cooking. Smoker is for OUTDOOR USE ONLY. • “Preseason” smoker prior to fi rst use. See page 11. • Pre-heat smoker for 30 to 45 minutes at max temperature before loading food. •... -
Page 5: Parts List & View
DO NOT RETURN TO RETAILER STOP For Assembly Assistance, Missing or Damaged Parts Call: MASTERBUILT Customer Service at 1-800-489-1581. PARTS LIST PART NO QUANTITY DESCRIPTION PART NO QUANTITY DESCRIPTION Smoker Body Drip Pan Smoker Door Smoking Rack Air Damper Door Hinge... -
Page 6: Hardware List
Grease Tray Bracket Kit 9900500024 Grease Tray Bracket Kit 9900500024 Hardware Kit 998050010 Hardware Kit 998050010 Instruction Manual 9807100002 Instruction Manual 9807100002 DO NOT RETURN TO RETAILER STOP For Assembly Assistance, Missing or Damaged Parts Call: MASTERBUILT Customer Service at 1-800-489-1581. -
Page 7: Assembly
ASSEMBLY • BEFORE ASSEMBLY READ ALL INSTRUCTIONS CAREFULLY. • ASSEMBLE UNIT ON A CLEAN, FLAT SURFACE. • TOOL NEEDED: PHILLIPS HEAD SCREWDRIVER STEP 1 Position wheel (5) on bottom of smoker body (1) as shown. Insert adjustable screw leg (4) into bottom of wheel (5). - Page 8 ASSEMBLY STEP 3 Secure control panel (6) to smoker body (1) with phillips screws (A). Note: Do not over tighten. STEP 4 Attach rear handle (7) to back of smoker body (1) using phillips screws (A) as shown. NOTE: Do not lift unit by rear handle.
-
Page 9: Water Bowl
ASSEMBLY STEP 5 Slide cooking racks (13) onto guides inside smoker. STEP 6 Place water bowl (9) onto lower bracket inside smoker. Note: Water bowl must always be in place during smoking process, even if there is no water or other liquid in bowl. -
Page 10: Wood Chip Holder
ASSEMBLY STEP 7 Place wood chip holder (10) in smoker as shown. Note: Wood chip holder and wood chip loader MUST be in place when using smoker. This minimizes the chance of fl are ups. STEP 8 Place drip pan (12) inside smoker below heating element as shown. -
Page 11: Grease Tray
ASSEMBLY STEP 9 Slide brackets on back of grease tray (15) onto tabs on back of smoker body (1) until grease tray stops. Note: Wheels will not operate while grease tray is in place. Remove grease tray to push/pull smoker. STEP 10 Insert wood chip loader (11) into side of smoker as shown. -
Page 12: To Use Wood Chip Loader
PRE-SEASON INSTRUCTIONS Preseason smoker prior to fi rst use. Make sure water pan is in place with NO WATER. Set temperature to 275°F (135°C) and run unit for 3 hours. Shut down and allow to cool. Some smoke may appear during this time, this is normal. During last 45 minutes, add 1 cup of wood chips in chip loader to complete preseasoning. -
Page 13: Control Panel & Remote Control
HOW TO USE CONTROL PANEL & REMOTE CONTROL Note: Direct sunlight may interfere with ability to read LED display, block light if needed. To set temperature: •Press ON button. •Press SET TEMP button once-LED display will blink. •Use +/- to set temperature. •Press SET TEMP button again to lock in temperature. - Page 14 HOW TO USE CONTROL PANEL & REMOTE CONTROL *Batteries not included To replace batteries: • Slide belt clip to the left to remove. • Press tab down on battery cover and pull out. • Install 2 “AAA” Alkaline batteries. Check positive (+) and negative (-) symbols, on the case and battery, to insure proper installation.
-
Page 15: Troubleshooting Guide
Wire connector on controller not See Step 2 on Page 5 properly connected to smoker Controller malfunctioning Contact Masterbuilt at 1.800.489.1581 Unit takes excessive amount of Unit plugged into an extension Set unit so an extension cord does time to heat up... - Page 16 IMPORTANT FACTS ABOUT USING SMOKER • Maximum temperature setting is 275°F (135°C). • Do NOT move unit across uneven surfaces. • Rear handle is NOT for lifting. • Wood chip loader and wood chip holder MUST be in place when using smoker. This minimizes the chance of wood fl...
- Page 17 Mix above ingredients until dissolved in water. Place in pre-heated smoker at 140 degrees and cook for about 7 hours using water mixture in water pan. For more tantalizing recipes and cooking tips visit us online at www.masterbuilt.com WOOD SMOKING GUIDE FOR MEATS WOOD FLAVOR POULTRY...
- Page 18 This device complies with Part 15 of the FCC Rules. Operation is subject to the following two conditions : (1) this device may not cause harmful interference, and (2) this device must accept any interference received, including interference that may cause undesired operation.
-
Page 19: Limited Warranty
This expressed warranty is the sole warranty given by Masterbuilt and is in lieu of all other warranties, expressed or implied including implied warranty, merchantability, or fi tness for a particular purpose. - Page 20 Masterbuilt Manufacturing, Inc. 1 Masterbuilt Ct. Columbus, GA 31907 Customer Service 1-800-489-1581 www.masterbuilt.com...