Alesis Spitfire 30 User Manual
Alesis user manual amplifier spitfire 60, spitfire 30, spitfire 15
Hide thumbs
Also See for Spitfire 30:
- Quick start manual (16 pages) ,
- Quick start owner's manual (16 pages)
Table of Contents
Advertisement
Advertisement
Table of Contents

Related Manuals for Alesis Spitfire 30


Summary of Contents for Alesis Spitfire 30
- Page 1 User Manual...
- Page 2 This page intentionally left blank 100%...
-
Page 3: Table Of Contents
Table Of Contents Chapter 1: Introduction ... 3 About the Spitfire... 4 Spitfire Basics ... 5 How to Use This Manual ... 7 Chapter 2: Hookup Diagram ... 9 Chapter 3: A Tour of the Spitfire... 11 Front Panel...11 Rear Panel ...15 Chapter 4: Selecting Programs... - Page 4 Table of Contents This page intentionally left blank...
-
Page 5: Chapter 1: Introduction
Introduction Welcome! Thank you for making the Alesis Spitfire a part of your setup. Since 1984, we've been designing and building creative tools for the audio community. We believe in our products, because we've heard the results that creative people like you have achieved with them. One... -
Page 6: About The Spitfire
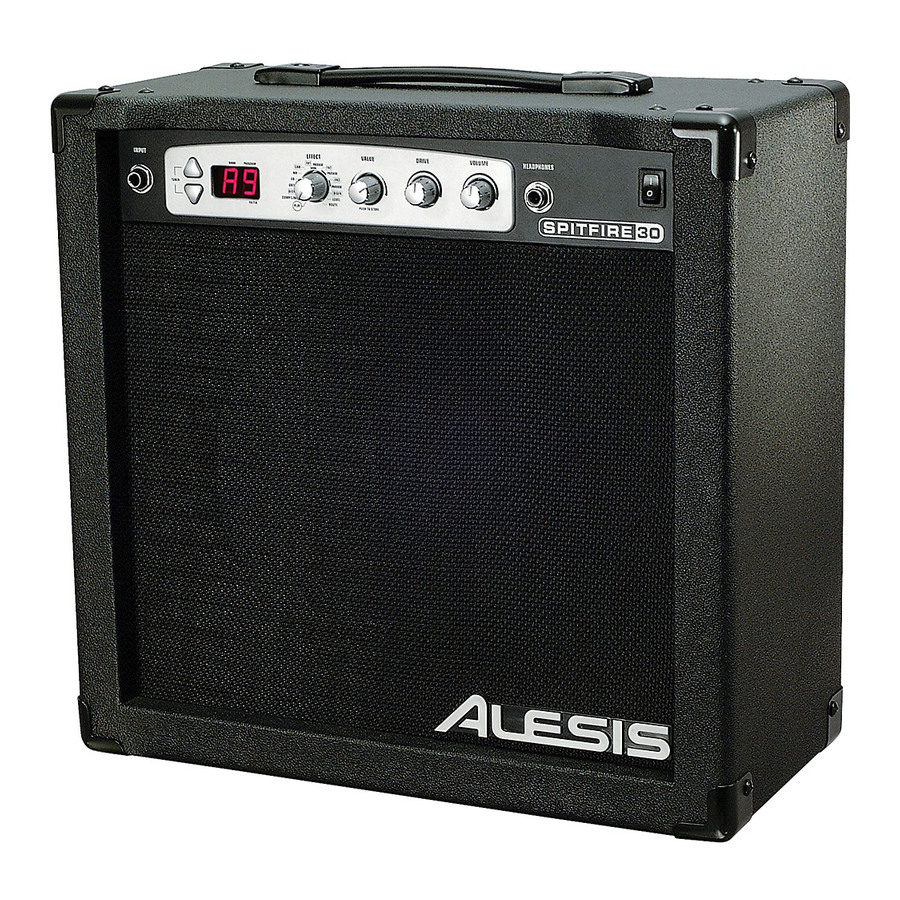
Just take a look: Spitfire Key Features • Three models: Spitfire 15 (15W RMS and 8” speaker), Spitfire 30 (30W RMS and 10” speaker) and Spitfire 60 (60 W RMS and 12” speaker) • On-board stereo effect processor with 9 effect modules that provide multiple selectable effects •... -
Page 7: Spitfire Basics
Introduction Spitfire Basics Benefits of an On-Board Effect Processor If you use guitar effects, you probably do so by linking pedals together into a chain or by using a multi-effect processor. All this extra equipment can cost a fortune and crowd your playing space. The Spitfire, however, simplifies things because it includes all the effects you need right in your amplifier. - Page 8 Introduction Parameters A parameter is a control that changes the characteristics of an effect. When we use the word “parameter,” we are referring to the “direct control” parameter available to the DIST, FX1, FX2 and FX3 modules. DIST’s parameter is called DRIVE, and the parameters for FX1, FX2 and FX3 are labeled PARAM.
-
Page 9: How To Use This Manual
How to Use This Manual This manual is divided into the following sections describing the various functions and applications for the Spitfire. While it's a good idea to read through the entire manual once carefully, if you already have general knowledge about guitar amplifiers and effects, you should use the table of contents to look up specific functions. - Page 10 Introduction This page intentionally left blank...
-
Page 11: Chapter 2: Hookup Diagram
Hookup Diagram The first thing we’ll show you is how to get your Spitfire up and running. The following diagram shows you the most common method of hooking up your Spitfire, but you certainly aren’t limited to the devices you see here. For example, you may want to connect a tape player to the AUX inputs instead of a CD player. - Page 12 Hookup Diagram This page intentionally left blank...
-
Page 13: Chapter 3: A Tour Of The Spitfire
A Tour of the Spitfire The diagrams in this section illustrate the features you’ll find on the Spitfire’s front and rear panels. The text that follows the diagrams explains those features. Front Panel Some of the front-panel features described here are not available on all Spitfire models. - Page 14 A Tour of the Spitfire Input Plug in your guitar here using a guitar patch cord. You can also plug in another amplifier’s line output in order to create a stereo link with that amplifier (refer to chapter 9 for details).
- Page 15 EFFECT Knob The EFFECT knob is used for selecting effect modules, parameters and other settings to edit. Around the knob, you’ll see the names of sixteen different settings, including nine effect modules, four effect parameters (DRIVE and the three PARAMs) and two program- level settings (LEVEL and ROUTE).
-
Page 16: Headphones Jack
A Tour of the Spitfire BASS Knob (Spitfire 60 only) This knob gives you the ability to equalize (EQ) the low frequencies present in your guitar’s audio signal. This setting is not related to the EQ module found on the EFFECT knob. -
Page 17: Rear Panel
Rear Panel All three Spitfire models offer the rear-panel features described here: Fuse FOOTSWITCH UP/DOWN INPUTS Power Cord Fuse The fuse protects the Spitfire from damage caused by a defective AC outlet. If this fuse blows, you must replace it. Power Cord Plug the power cord into an AC outlet. -
Page 18: Speaker Output
A Tour of the Spitfire accepts a 1/4” plug. Expression pedals may be purchased at your local Alesis dealer. AUX (Auxiliary) INPUT The AUX INPUT allows you to play along with your favorite songs! Just connect this RCA input to the output from your CD player, tape player or some other external audio device. -
Page 19: Chapter 4: Selecting Programs
Selecting Programs After you’ve plugged everything in, you’ll probably want to check out the factory presets we programmed into the Spitfire. This chapter shows you how to do that. To Select Programs Make sure the Spitfire is hooked up properly and turned on, as outlined in chapter 2. - Page 20 Selecting Programs This page intentionally left blank...
-
Page 21: Chapter 5: Editing Programs
Editing Programs To Edit a Selected Program Select a program to edit using the Program Up and Down buttons, the VALUE knob or the optional footswitches. Turn the EFFECT knob to the effect module or parameter you wish to modify. Turn the VALUE knob to select an effect type or value for the module. - Page 22 Editing Programs This page intentionally left blank...
-
Page 23: Chapter 6: Storing & Copying Programs
Storing & Copying Programs To Store a Program In PLAY or EDIT mode, press the VALUE knob. The display will flash the current program number. Use the Program Up and Down buttons, VALUE knob or the optional footswitches to select the program number where the current program will be stored. - Page 24 Storing & Copying Programs Arranging Programs for Performance You can use the copy function to arrange programs logically for easy recall during a performance. Take a typical song structure for example (intro, verse, refrain, etc.). For each part of the song, you may want to use a different effect program.
-
Page 25: Chapter 7: Using The Tuner
Using the Tuner To Tune Your Guitar In Play mode, enter BYPASS mode by pressing the Program Up and Down buttons at the same time once (for BYPASS) or by holding them both down for more than half a second (for MUTE). The display will now show tuning information. -
Page 26: Using The Tuner
Using the Tuner Visual Guide to Tuning In tune The bottom four segments rotate counterclockwise if pitch is low. The top four rotate clockwise if the pitch is high. An 8 means the string you have played is in tune with the displayed pitch. -
Page 27: Chapter 8: Deferred Program Change
Deferred Program Change When you switch programs, the Spitfire normally changes immediately to the program shown on the display. However, in some situations—especially when playing live—you may want the ability to scroll through program numbers while remaining in the current program setting. - Page 28 Deferred Program Change This page intentionally left blank...
-
Page 29: Chapter 9: Stereo-Linking Two Amplifiers
Stereo-Linking Two Amplifiers To take full advantage of the Spitfire’s stereo capability, you can link it to another amplifier to create a true stereo setup. This section explains how to do that. To Stereo-Link Two Amplifiers Place the Spitfire and the auxiliary amplifier far enough apart to allow for a decent stereo spectrum. - Page 30 Stereo-Linking Two Amplifiers This page intentionally left blank...
-
Page 31: Chapter 10: Effect Knob Settings
EFFECT Knob Settings Following are descriptions of each of the effect modules (and other settings of the EFFECT knob), along with their effect types and parameters. PLAY In this setting the display shows you the current program number. This is the mode in which you should be performing, as it allows you to easily switch programs via the foot pedals. - Page 32 EFFECT Knob Settings DIST (Distortion) This setting adds that universal effect that was first used in rock music decades ago and now has become a staple for guitarists in many genres. Acoustic Emulates the sound of an acoustic guitar. Tube Clean Simulates the clean sound of a classic tube amplifier.
- Page 33 DRIVE This is a parameter of the DIST module. Increasing levels of drive/gain for the DIST module. Pedal control of the drive/gain. EQ (Equalizer) This setting gives you a 4-band equalizer that you can use to shape the sound of your audio signal by cutting and boosting certain frequencies.
- Page 34 EFFECT Knob Settings Noise Reduction (Right digit of display) Increasing levels of gate threshold. Turns off noise reduction. CAB (Cabinet Simulator) This module allows your Spitfire to emulate cabinet setups of various sizes. A single 12” driver cabinet. A 2 x 12” driver cabinet. A 4 x 10”...
- Page 35 EFFECT Knob Settings Pedal-Controlled Phaser A phaser effect with its feedback controlled by the expression pedal. Tremolo Varies the volume of the signal, creating a rising and falling effect. Higher values result in greater depth of variation. Pedal-Controlled Tremolo A tremolo effect with its depth controlled by the expression pedal. Ring Modulation An effect that modulates the amplitude of the signal, giving it a metallic sound.
- Page 36 EFFECT Knob Settings Flanger Shifts the pitch of the signal up and down, creating a swirling effect. Higher values result in longer delay. Pedal-Controlled Flanger A flanger with its delay controlled by the expression pedal. Rotary Speaker Emulates the sound of the classic rotary, creating a Doppler effect similar to that achieved by an organ’s rotating speaker.
- Page 37 PARAM (Direct-Control Parameter for FX1) This parameter modifies the operation of the effect selected for the FX1 module. Changing between effect types with dissimilar value ranges will scale this value accordingly. For example, if you set Phaser to PARAM=63 and then switch to the Auto Wah effect, its PARAM value will be 12.
- Page 38 EFFECT Knob Settings PARAM (Direct-Control Parameter for FX2) These parameters work exactly the same way as the direct-control parameter for FX1, with the following addition. For Auto Phaser, indicates the rate of the effect. FX3 (Multi-Effect Module 3, Delay-Based Effects) This module gives you a choice of delay-based effects.
- Page 39 EFFECT Knob Settings Pedal Stereo Delay A Stereo Delay effect for which the feedback level is controlled by the expression pedal. Echo An echo for which higher values indicate a wetter signal and lower values indicate a drier signal. Pedal Echo An echo for which the wet/dry mix is controlled by the expression pedal.
- Page 40 EFFECT Knob Settings Chorus – same as in FX1. Pedal Chorus – same as in FX1. Flanger – same as in FX1. Pedal-Controlled Flanger – same as in FX1. Rotary Speaker – same as in FX1. Pedal-Controlled Rotary Speaker – same as in FX1. Pitch Transpose –...
- Page 41 Indicates that the expression pedal controls the parameter. Indicates FX3 is off. DIGFX (Digital Sampling Effects) This effect module emulates the effect that different variations of digital sampling can have on an audio signal. Sample Rate Decimation Lower values indicate lower decimation frequency (more decimation, more aliasing).
- Page 42 EFFECT Knob Settings ROUTE In this position, the display indicates the current signal-routing order of the FX modules. This ordering can have a big effect on your sound, as each effect in the configuration feeds into the next. Whatever the configuration, the LEVEL setting always comes last in line.
-
Page 43: Chapter 11: Troubleshooting
Troubleshooting Symptoms Spitfire does not function (no display or audio). Audio distorted, even in BYPASS. No sound, level low. Guitar too quiet compared to CD audio. Stereo-linking not working. Amplifiers are stereo- linked but effects aren’t in stereo. Footswitches not functioning properly. - Page 44 Troubleshooting This page intentionally left blank...
-
Page 45: Chapter 12: Specifications
Specifications Output Power Rating SpitFire 15: SpitFire 30: SpitFire 60: Internal Speaker Size/Power SpitFire 15: SpitFire 30: SpitFire 60: Internal Speaker Sensitivity SpitFire 15: SpitFire 30: SpitFire 60: Internal Speaker Max Output SpitFire 15: SpitFire 30: SpitFire 60: Amplifier Specifications... -
Page 46: Specifications
Signal Processing Specifications Sample Rate: Effect Modules: Programs: A/D Converter: D/A Converter: A/C Power Requirements (Refer to the Rear Panel) SpitFire 15: SpitFire 30: SpitFire 60: Mechanicals SpitFire 15: SpitFire 30: SpitFire 60: 1/4” TS (Unbalanced) 2.2Ω 2.4Vp (100KΩ load) >1KΩ... -
Page 47: Chapter 13: Contact Information
Alesis Distribution, LLC Los Angeles, USA E-mail: Website: Spitfire User Manual Version 1.0 by Edwin Erdmann Copyright 2003, Alesis Distribution, LLC. All rights reserved Reproduction in whole or in part is prohibited. Specifications subject to change without notice. 7-51-0148-B 10/21/2003 support@alesis.com... - Page 48 7-51-0148-B...