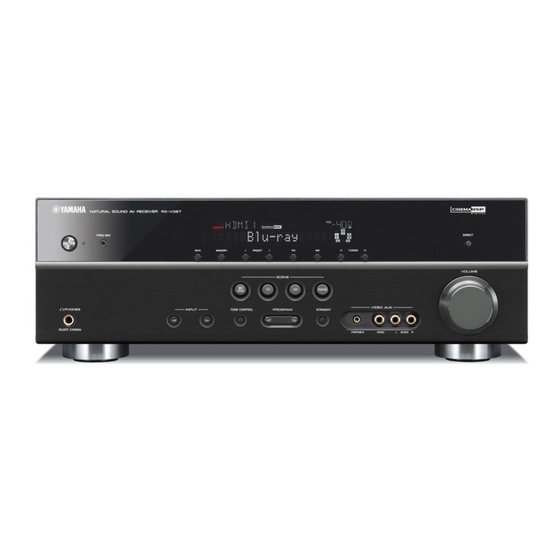
Yamaha RX-V567 Quick Reference Manual
Quick reference guide
Hide thumbs
Also See for RX-V567:
- Hook-up diagram (2 pages) ,
- Service manual (130 pages) ,
- Owner's manual (98 pages)
Advertisement
Table of Contents
- 1 Preparing the Remote Control
- 2 Connections
- 3 Connect a Tv
- 4 Connect the Speakers
- 5 Connecting Speakers
- 6 Connecting the Subwoofer
- 7 Connect a TV
- 8 Listening to Tv Audio
- 9 Connect BD/DVD Players and Recorder
- 10 Connect the AC Power Cable
- 11 Setup Speaker Parameters Automatically
- 12 Set up the Speaker Parameters Automatically (YPAO)
- 13 Operation Guide
- Download this manual
Quick Reference Guide
Accessories
The following accessories are supplied with this product.
Remote control
Batteries (2) (AAA, R03, UM-4)
Preparing the remote control
1
3 3
2 2
Items necessary for connection
Speakers
Ex.
Front speaker
•
Use speakers with an impedance of at least 6 Ω.
•
If you are using a CRT monitor, we recommend that you use magnetically shielded speakers.
•
Prepare at least two speakers (for front). The priority of the other speakers is as follows:
1 Two surround speakers
2 One center speaker
3 One (or two) surround back speaker (s)
External components
TV
AM loop antenna
1
Take off the battery compartment cover.
2
Insert the two supplied AAA batteries
into the battery case, following the
polarity markings.
3
Snap the battery compartment cover
back into place.
Ex.
Center speaker
Playback device such as BD
(Blu-ray Disc)/DVD players
Indoor FM antenna*
VIDEO AUX input cover
* The confi guration of the supplied FM antenna will differ depending on
the country or region where the unit is being used.
Be sure to aim the remote control directly at the
remote control sensor on this unit during operation.
Ex.
Surround speaker and
Surround back speaker
Cable
•
Cables for connecting external components
(may differ depending on the components you are connecting)
•
Speaker cables
(a quantity to match the number of speakers you are connecting)
•
Audio pin cable
(for subwoofer)
Some features are not available in certain regions.
- 1 -
English
YPAO microphone
within 6 m
(20 ft)
Ex.
Active subwoofer
Advertisement
Table of Contents

Related Manuals for Yamaha RX-V567


Summary of Contents for Yamaha RX-V567
-
Page 1: Preparing The Remote Control
If you are using a CRT monitor, we recommend that you use magnetically shielded speakers. • Prepare at least two speakers (for front). The priority of the other speakers is as follows: 1 Two surround speakers 2 One center speaker... -
Page 2: Connections
Connect and install as follows the fi rst time you use this unit. See the following explanations for the connections for each number. Connect when using with 7.1-channel speaker layout. Place the surround back speakers (L/R) 30 cm or more away from each other. -
Page 3: Connect The Speakers
Connect when using with 6.1-channel speaker layout. Caution: • Remove the AC power cable of this unit from the power outlet before connecting the speakers. • Generally speaker cables consist of two parallel insulated cables. One of these cables is a different color, or has a line running along it, to indicate different polarity. -
Page 4: Connect A Tv
( TV ) ( TV ) When using a TV compatible VIDEO with video input only. Video input to this unit is output to a TV using output jacks of the same kind. Input Output When connecting to a HDMI compatible TV... -
Page 5: Connect Bd/Dvd Players And Recorder
Refer to Owner's Manual for details. • Only U.K. and Europe models are equipped with the S VIDEO jacks. The video signals input from the S VIDEO jack are output only from HDMI. -
Page 6: Setup Speaker Parameters Automatically
When using YPAO, be careful of the following. • The test tone is output at high volume. Please refrain from using this function at night when it may be a nuisance to others nearby. • Please take care that the test tone does not frighten any small children. - Page 7 TRANSMIT TRANSMIT CODE SET CODE SET • Wait in the corner of the listening room during measurement or leave it entirely, to avoid SOURCE SOURCE RECEIVER RECEIVER A becoming an obstruction between the speakers and the YPAO microphone. SLEEP...
-
Page 8: Operation Guide
7ch Enhancer Pressing and holding this key allows you to store input sources/sound fi eld programs. Press this key when this unit is in standby mode to switch on the unit. Adjusting high/low-frequency sound (Tone control) Press TONE CONTROL to select “Treble” or “Bass.”...