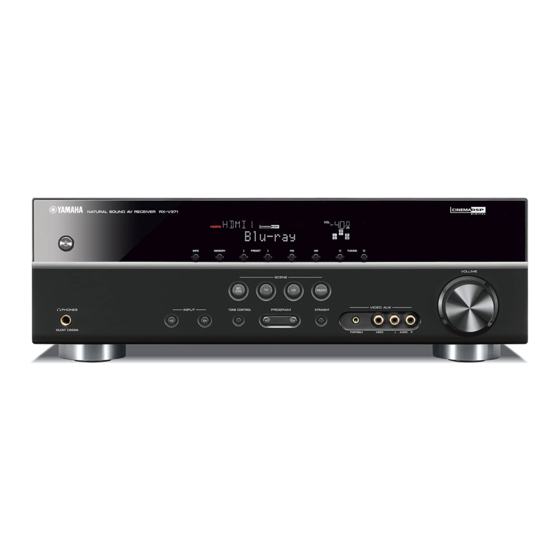
Yamaha RX-V371 Quick Reference Manual
Quick reference guide
Hide thumbs
Also See for RX-V371:
- Owner's manual (88 pages) ,
- Service manual (103 pages) ,
- Quick reference manual (9 pages)
Advertisement
Table of Contents
Quick Reference Guide
Accessories
The following accessories are supplied with this product.
Remote control
Batteries (2) (AAA, R03, UM-4)
Preparing the remote control
1
3
3
2 2
Items necessary for connection
Speakers
Ex.
Front speaker
• Use speakers with an impedance of at least 6Ω.
• If you are using a CRT TV, we recommend that you use magnetically shielded speakers.
• Prepare at least two speakers (for front). The priority of the other speakers is as follows:
1 Two surround speakers
2 One center speaker
External components
TV
AM loop antenna
1
Take off the battery compartment cover.
2
Insert the two supplied AAA batteries into the battery case, following the polarity
markings.
3
Snap the battery compartment cover back into place.
Center speaker
Playback device such as BD
(Blu-ray Disc)/DVD players
Indoor FM antenna
Ex.
Surround speaker
Cable
• Cables for connecting external components
(may differ depending on the devices you are connecting)
• Speaker cables
(a quantity to match the number of speakers you are connecting)
• Audio pin cable
(for subwoofer)
- 1 -
for North America
VIDEO AUX input cover
Ex.
Active subwoofer
English
Ex.
Advertisement
Table of Contents

Summary of Contents for Yamaha RX-V371
-
Page 1: Preparing The Remote Control
• Use speakers with an impedance of at least 6Ω. • If you are using a CRT TV, we recommend that you use magnetically shielded speakers. • Prepare at least two speakers (for front). The priority of the other speakers is as follows: 1 Two surround speakers... - Page 2 Connect and install as follows the fi rst time you use this unit. See the following explanations for the connections for each number. BD/DVD player (recorder) This unit Front speaker R Front Subwoofer speaker L Surround speaker R Center speaker...
-
Page 3: Connect The Speakers
Surround speaker Front speaker Caution: • Remove the AC power cord of this unit from the power outlet before connecting the speakers. • Generally speaker cables consist of two parallel insulated cables. One of these cables is a different color, or has a line running along it, to indicate different polarity. -
Page 4: Listening To Tv Audio
Connect a TV Video input to this unit is output to a TV using output jacks of the same kind. Input Output HDMI HDMI When you have made connections using different types of video HDMI input such as HDMI and component video, make the same connection... -
Page 5: Connect Ac Power Cord, Turn Power On
• Connecting to AV3 allows you to select the AV3 input just by pressing the “CD” under “SCENE” key. • If necessary, you can connect components that cannot be connected using the above methods, such as devices that output video from component video output jacks and audio from analog output jacks. -
Page 6: Set Distance From Listening Point
• Use the following as a guide when setting speaker sizes. When you have completed the settings for one speaker, repeat the same procedure for all speakers to complete settings. -
Page 7: Adjust Volume
Use Cursor D / E to select “On.” A test tone plays back from the speakers as soon as you select “On.” The test tone plays back in a clockwise fashion. Only speakers confi gured for use in procedure 5 output the test tone. -
Page 8: Operation Guide
- Pressing and holding this key allows you to store input sources/sound fi eld programs. - Press this key when this unit is in standby mode to switch on the unit. Adjusting high/low-frequency sound (Tone control) Press TONE CONTROL to select “Treble” or “Bass.”...


