
Related Manuals for Omron E5CSV


Summary of Contents for Omron E5CSV
- Page 1 P e r f e c t c o n t r o l » E a sy s e t t i n g u p » E n h a n c e d f u n c t i o n a l i t y » Advanced Industrial Automation...
- Page 2 ON/OFF or PID control with Self-Tuning. established itself throughout the world as the ideal What’s more, it still provides an indication of output and alarm status and direction of deviation from set point. choice for simple, cost-effective temperature control.
- Page 3 E5CSV series offers much more. Like an Auto-Tune function • Easy setting-up using DIP and rotary switches and the fact that as standard you can now select multiple input • Meets broad range of basic temperature-control types (thermocouple/RTD). A new 3.5 digit display also means...
-
Page 4: Model Number Structure
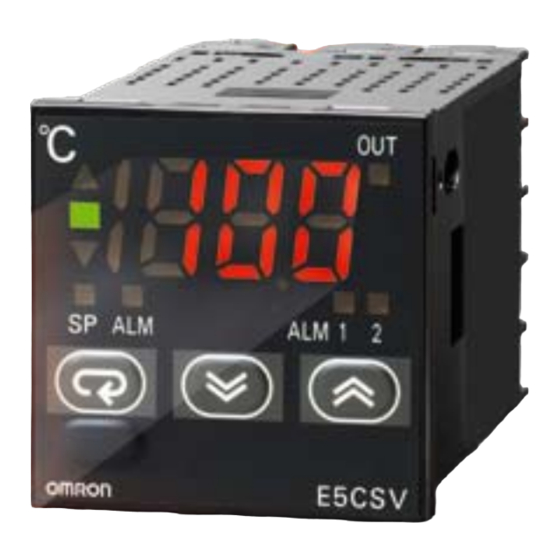
Functions in DIN 48 x 48 mm-size Temperature Controllers • Easy setting using DIP and rotary switches. • Multi-input (thermocouple/platinum resistance thermometer). • Clearly visible digital display with character height of 13.5 mm. • RoHS compliant. Model Number Structure ■ Model Number Legend... -
Page 5: Specifications
Thermocouple (See note 1.): (±0.5% of indication value or ±1° C, whichever is greater) ±1 digit max. Platinum resistance thermometer (See note 2.): (±0.5% of indication value or ±1° C, whichever is greater) ±1 digit max. Indication accuracy (ambient temperature of 23° C) -
Page 6: Installation
3. Push the adapter from the terminals up to the panel, and temporarily fasten the E5CSV. 4. Tighten the two fastening screws on the adapter. Alternately tighten the two screws little by little to maintain a balance. Tighten the screws to a torque of 0.29 to 0.39 N·m. -
Page 7: Operation
Remove the E5CSV from the case to make the settings. rubber is in place and push the E5CSV toward the rear case until 1. Insert the tool into the two tool insertion holes (one on the top and it snaps into position. While pushing the E5CSV into place, push one on the bottom) and release the hooks. - Page 8 -99 will be displayed as “[[[“ and values above 1,999 will be displayed as “]]].” Press for 2. If unit is changed to 1 degree when the SP and alarm value for at least 2 s. AT execution in progress the temperature range are displayed in 0.1-units from 0.0 to...
-
Page 9: Operation Settings
Alarm output Note: Turn OFF the power before changing the DIP switch settings on the E5CSV. Each of the switch settings will be enabled after the power is turned ON. For details on the position of the temperature range switch, control mode switches, and alarm mode switch, refer to page 4. - Page 10 4. Using the Control Mode Switches (1) Using ON/OFF Control and PID Control (1.1) ON/OFF Control The control mode is set to ON/OFF control as the default setting. To perform cooling control of freezers, etc., turn ON switch 3. Switch 1 OFF: ON/OFF control...
-
Page 11: Protect Switch
0 to 1999 0 to 400 Note: The control range for multi-input (thermocouple/platinum resistance thermometer) models is -40 to +40° F of each temperature range. The previous name J-DIN has been changed to L in accordance with revisions to DIN standards. - Page 12 OMRON EUROPE B.V. Wegalaan 67-69, NL-2132 JD, Hoofddorp, The Netherlands. Tel: +31 (0) 23 568 13 00 Fax: +31 (0) 23 568 13 88 www.omron-industrial.com Austria France Netherlands Spain Tel: +43 (0) 1 80 19 00 Tel: +33 (0) 1 56 63 70 00...