Table of Contents
Advertisement
Quick Links
W
ELCOME
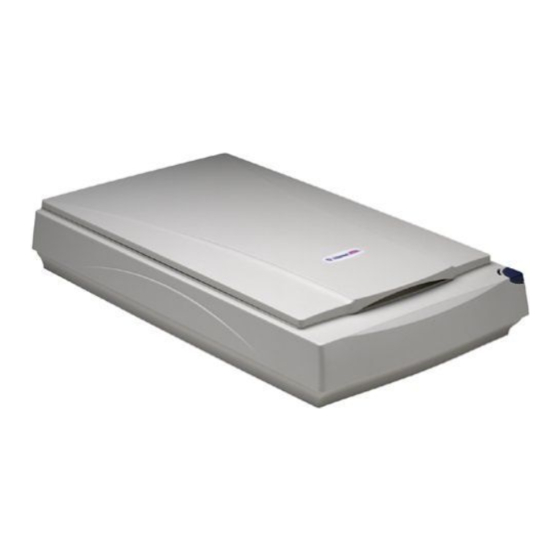
Congratulations on purchasing your Visioneer PaperPort flatbed
scanner. With your scanner, you can quickly scan paper documents and
color photos to place their electronic images on your computer.
Please note that this guide covers installation steps for a family of
PaperPort flatbed scanners—the PaperPort 3100, 6000, and 6100 series
of scanners.
W
'
HAT
S IN THE
Before starting the installation, check the contents of the box to make
sure that all parts are included. If any items are missing or damaged,
contact the dealer where you purchased the scanner.
Software CD
Installation Guide
NOTE: The CD also includes the PaperPort User's Guide, the manual
for the PaperPort software. You can print a copy from the CD to
your printer.
B
OX
Scanner cable
P
P
F
S
APER
ORT
LATBED
CANNER
Power cord
I
G
NSTALLATION
UIDE
1
Advertisement
Table of Contents

Related Manuals for Visioneer PaperPort 6100 Series


Summary of Contents for Visioneer PaperPort 6100 Series
- Page 1 With your scanner, you can quickly scan paper documents and color photos to place their electronic images on your computer. Please note that this guide covers installation steps for a family of PaperPort flatbed scanners—the PaperPort 3100, 6000, and 6100 series of scanners. ’...
-
Page 2: What You Need
To use the scanner and software, you need the following: IBM PC (or 100-percent compatible) 486 or higher Microsoft Windows 95 or Microsoft NT 4.0 16 megabytes (MB) or more of available internal memory (RAM) 35 MB of free hard disk space A VGA or SVGA monitor. - Page 3 Button (Some Models Only). Previews scan or starts PaperPort software if it is not running. Power jack. Plug the scanner power cord into this jack. To PC parallel. Plug the cable that connects the scanner to the computer into this port. To printer. Plug your printer cable into this port.
- Page 4 CANNER The following table lists some of the important features of the scanners: Feature PaperPort 3100 Series PaperPort 6000 Series PaperPort 6100 Series Optical 300 x 600 dpi Resolution Maximum 2400 x 2400 dpi Resolution Scanning 30 bit color (24-bit...
-
Page 5: Connecting The Scanner To Your Computer
5. Plug the PC end of the scanner cable into an available parallel port on the back of your computer. 6. Plug the other end of the scanner cable into the port on the back of the scanner marked “To PC parallel port.”... - Page 6 NOTE: If you want to “daisy-chain” the scanner and a Zip drive so they share the port, first connect the Zip drive to the computer, then connect the scanner to the Zip drive. 7. Plug the power adapter cable into the jack on the PaperPort scanner.
- Page 7 The CD automatically starts. 3. Follow the instructions on the screen to install the PaperPort software on your computer. Later, after the scanner is working, you can install the other applications provided on the CD. NOTE: If the PaperPort CD does not automatically start, make sure the CD drive’s door is completely shut.
-
Page 8: Setting Up The Scanner
ETTING P THE CANNER The steps to set up the scanner identify the type of scanner you have and prepares the PaperPort software to scan with it. To set up the scanner: 1. If the PaperPort software isn’t currently running, double-click the PaperPort icon on the Windows desktop to start it. -
Page 9: Scanning An Item
PaperPort icon on the Windows desktop to start it. The PaperPort Desktop appears. If your scanner has a button on its front panel you can also press the button to start the PaperPort software. 2. Open the scanner cover, place the item face down onto the upper left edge of the scanner glass, and close the cover. - Page 10 6. Click the Preview button. If your scanner has a button on the front panel, you can press it instead of clicking the Preview button. The scanner scans the item and displays a preview of the item in the Preview area of the PaperPort Scan Manager dialog box.
-
Page 11: Adjusting Scan Settings
Thumbnail item DJUSTING With the PaperPort scanner, you can adjust the scan settings to fine-tune the scanned item. This section tells you how to: Select a predefined scan setting. Customize a scan setting. Scan in color. Adjust the brightness and contrast. - Page 12 Scan Page For Default Setting Faxing, Filing, Black-and-white or Copying 200 dpi Editing Text Black-and-white (OCR) 300 dpi Black & White Grayscale Photo 100 dpi Color Photo— Color Faster 100 dpi Color Photo— Color Better Quality 300 dpi To select a scan setting: 1.
- Page 13 5. Click OK to return to the PaperPort Scan Manager dialog box. CANNING IN OLOR Your PaperPort scanner is initially set to scan Color Photo—Faster. To scan at a higher resolution, select Color Photo—Better Quality. NOTE: Scanning at a higher resolution creates a larger file size and takes longer to scan.
- Page 14 To scan in color: 1. Click the Twain icon on the Command Bar, or choose Acquire from the File menu. The PaperPort Scan Manager dialog box appears. 2. Click Color Photo—Faster or Color Photo—Better Quality. You can also use these settings for any other color items such as color pages from articles.
- Page 15 17. By default, the PaperPort software automatically scans an entire item placed on the scanner. However, you may want to select only a certain area of an item to scan. Selecting an appropriate scan area can result in a faster scan and a smaller file size.
- Page 16 To select the area you want to scan: 1. Click the Twain icon on the Command Bar, or choose Acquire from the File menu. The PaperPort Scan Manager dialog box appears. 2. Click the Preview button. An image of the scanned item appears in the Preview area.
- Page 17 ELECTING THE REA OF THE This section only applies to the PaperPort 6000B scanner. When you preview an item to scan, the selection rectangle around the image indicates the scan area. However, you may want to select only a certain area of an item to scan. Selecting an appropriate scan area can result in a faster scan and a smaller file size.
-
Page 18: Scanner Glass
CANNER Scanning items that have excessive amounts of dirt or dust may dirty the glass. To ensure the best quality scanned item, wipe the scanner glass with a soft clean cloth to rid the glass of dust or other debris. -
Page 19: Specifications
(internal), 1-Bit line art/text Optical resolution: 3000/3100 Series: 300 x 600 dpi 6000 Series: 600 x 1200 dpi 6100 Series: 600 x 1200 dpi Maximum resolution (interpolated): 2400 x 2400 8.5 x 11.69 inches (21.6 x 29.7 cm) 3.2 inches (8.2 cm) 12 inches (30.6 cm) -
Page 20: Declaration Of Conformity
Type of Product: Image Scanner Model Numbers: PaperPort 3000; PaperPort 3100; PaperPort 6000 Distributed by: Visioneer, Inc. Located at: 34800 Campus Drive Fremont, CA 94555 is herewith confirmed to comply with the requirements set out in the Council Directive on the Approximation of the Laws of the Member of States relating to Electromagnetic Compatibility (89/336/EEC;... - Page 21 Type of Product: Image Scanner Model Numbers: PaperPort 6000B Distributed by: Visioneer, Inc. Located at: 34800 Campus Drive Fremont, CA 94555 is herewith confirmed to comply with the requirements set out in the Council Directive on the Approximation of the Laws of the Member of States relating to Electromagnetic Compatibility (89/336/EEC;...
- Page 22 APER LATBED CANNER NSTALLATION UIDE...