Norcold N621 Installation Manual
Thetford n621: install guide
Hide thumbs
Also See for N621:
- Owner's manual (22 pages) ,
- Parts list (11 pages) ,
- Service manual (30 pages)
Table of Contents
Advertisement
For N62X and N62XXX models:
For N64X and N64XXX models:
For N64XIM and N64XIMXX models:
For N82X and N82XXX models:
For N84X and N84XXX models:
For N84XIM and N84XIMXX models:
The model numbers of 3-way refrigerators include ".3". The model numbers of 2-way refrigera-
tors do not.
The letter "X", in the model numbers above, stands for a letter or numeral which means a refrig-
erator option.
WARNING:
can cause personal injury or property damage. Refer to this manual.
For assistance or additional information, contact a qualified installer,
service agency, or the gas supplier.
FOR YOUR SAFETY
Do not store or use gasoline or other flammable vapors and liquid in
the vicinity of this or any other appliance.
FOR YOUR SAFETY
If you smell gas:
WARNING:
DO NOT install this refrigerator in below deck marine
applications. Do not install this refrigerator in a fixed indoor cabin or
other dwelling applications. This refrigerator must use only
NORCOLD designed and approved outside air intake and exhaust
ventilation for correct and safe operation. Any other ventilation could
cause lethal combustion exhaust fumes and/or explosive propane
gas fumes to be in the living area and/or to be below deck.
NORCOLD, Inc.
P.O. Box 4248
Sidney, OH 45365-4248
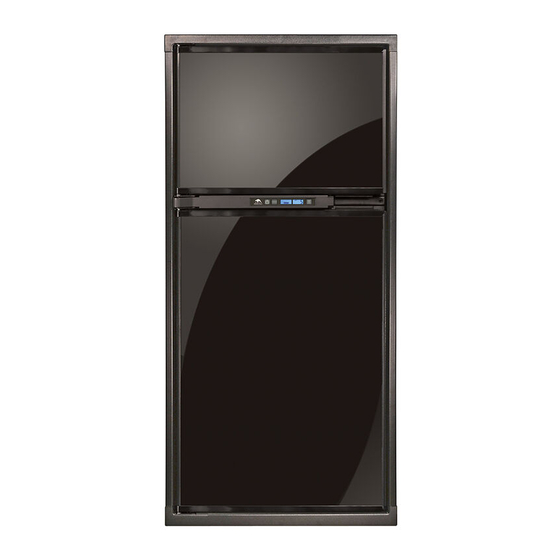
6 cu.ft., 2-way, R.V. refrigerators.
6 cu.ft., 2-way or 3-way, R.V. refrigerators.
6 cu.ft., 2 way, R.V. refrigerators with ice maker.
8 cu.ft., 2-way, R.V. refrigerators.
8 cu.ft., 2-way or 3-way, R.V. refrigerators.
8 cu.ft., 2-way, R.V. refrigerators with ice maker.
Improper installation, adjustment, alteration, service or maintenance
1. Open windows.
2. Don't touch electrical switches.
3. Extinguish any open flame.
4. Immediately call your gas supplier.
Installation Manual
English
French
Part No. 628929A (2-06)
Advertisement
Table of Contents

Related Manuals for Norcold N621


Summary of Contents for Norcold N621
-
Page 1: Installation Manual
4. Immediately call your gas supplier. WARNING: DO NOT install this refrigerator in below deck marine applications. Do not install this refrigerator in a fixed indoor cabin or other dwelling applications. This refrigerator must use only NORCOLD designed and approved outside air intake and exhaust ventilation for correct and safe operation. -
Page 2: Table Of Contents
Be aware of possible safety hazards when you see the safety alert symbol on the refrigerator and in this manual. A signal word follows the safety alert symbol and identifies the danger of the hazard. Carefully read the descriptions of these signal words to fully know their meanings. -
Page 3: Certification And Code Requirements
If this air flow is blocked or decreased, the refrigerator will not cool correctly. Each NORCOLD model is certified by CSA International for correct ventilation. -
Page 4: Key Refrigerator Dimensions
These key refrigerator dimensions are for your reference as necessary (See Art01733). Refrigerator cabinet width w/o trim - 23.1in..1 Refrigerator width overall w/ trim - 24.6 in..2 Refrigerator cabinet to side trim - 0.80 in..3 Refrigerator cabinet height w/o trim ... 4 N600 models - 52.6 in. - Page 5 - If the design of the vehicle does not allow you to install a roof exhaust vent, install an upper side-wall exhaust vent. NOTE: The refrigerator is 23.7 in. min. to 24.0 in. max. from the rear of the breaker to the rear of the condenser [11].
-
Page 6: Install The Decorative Door Panels (Nonmetal Door Models)
[17]. - Make sure the baffle is the full width of the inside of the enclosure - Make sure the clearance at the sides of the refrigerator is correct: - If there is more than 1/2 inch of clearance between... -
Page 7: Install The Refrigerator
- Push the refrigerator completely into the enclosure. - Put the upper trim piece [13] onto the front of the refrigerator. - Put screws [12] through the upper and lower mounting flanges on the front of the refrigerator and into the enclo- sure wall and floor. -
Page 8: Reverse The Door Swing-Metal Doors (Optional)
- Remove and save the screw [7] from the front box [6] (See Art01573). - Pull the front box away from the refrigerator and out from under the controls [8]. - Reverse the front box and put it on the opposite side of the controls. -
Page 9: Connect The Ice Maker (N64Xim, N64Ximxx, N84Xim, And N84Ximxx Models)
The ice maker is assembled to the refrigerators at the factory as optional equipment. If the refrigerator does not have a factory installed ice maker, one can not be added to the refrigerator at a later time. The refrigerator installer must connect a cold water supply line to the solenoid valve at the rear of the refrigerator. -
Page 10: Connect The 120 Volts Ac Supply
- Attach a 1/4 inch Quick Connect terminal to each DC power supply wire. NOTE: Do not use the chassis of the refrigerator or the vehicle frame as one of the conductors. Attach the DC power supply wires only to the battery and the power board [1] of the refrigerator. -
Page 11: Examine The Gas Supply System For Leaks
If you use compressed air for the test: - The pressure of the compressed air at the manual shut off valve of the refrigerator must not be more than 1/2 psig (14 inches Water Column). - If the pressure of the compressed air is more than 1/2 psig (14 inches Water Column), remove the gas supply line from the bulkhead fitting of the refrigerator before the test. -
Page 12: Ignition And Start Up (N62X, N62Xx, N82X, And N82Xx Models)
If an energy source is available to the refrigerator, but is not operating correctly: - A fault code shows in the center display. - The refrigerator controls try to change to a less efficient energy source. - If a less efficient energy source is not available: - An audible alarm starts. -
Page 13: Fault Codes (N62X, N62Xx, N82X, And N82Xx Models)
Fault Codes (N62X, N62XXX, N82X, and N82XXX models) t l u t l u a l i " " d " " F " " A a l i a t l " " " " n t i n a l f t l u "... -
Page 14: N84X, N84Xxx, N84Xim, And N84Ximxx Models)
Fault Codes (N64X, N64XXX, N64XIM, N64XIMXX, N84X, N84XXX, N84XIM, and N84XIMXX models) t l u t l u a t l a l i " " r " " " " " " " " a t l a l i a t l "... - Page 19 Art01727...