Table of Contents
Advertisement
Operator's Manual
[CRRFTSMRNq
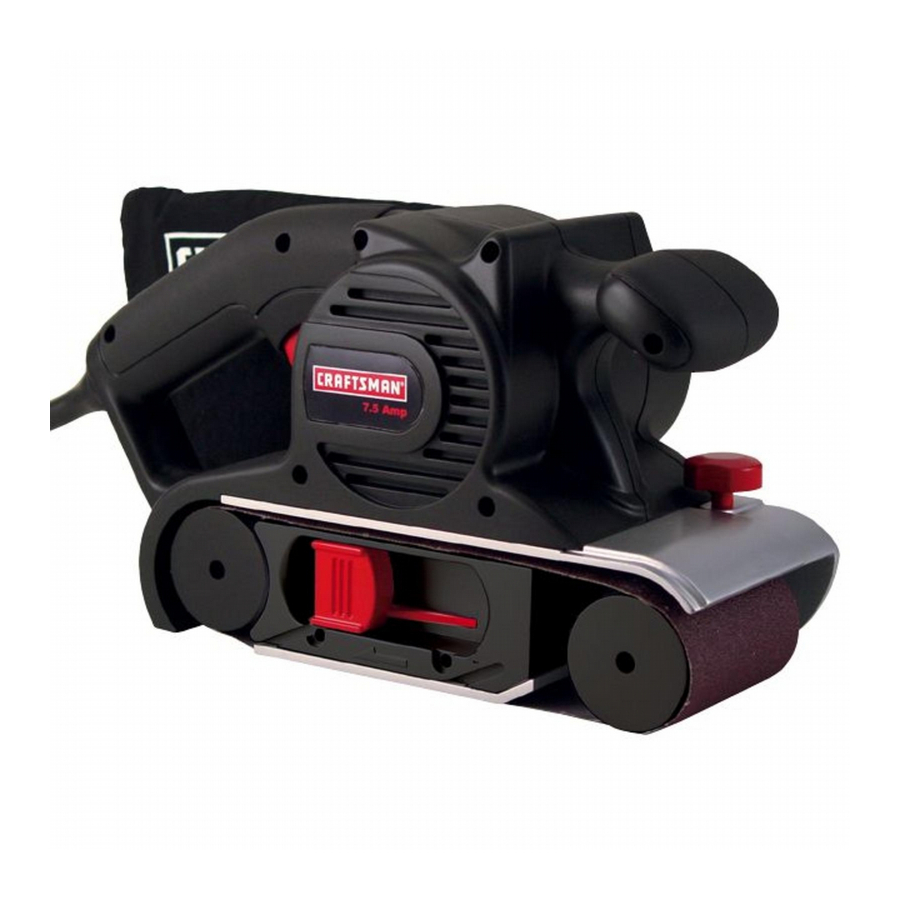
Belt Sander
Double Insulated
Model No.
315.117260
Save this manual for future reference.
_,
WARNING:
To reduce the risk of injury, the user
must read and understand
the operator's
manual
before using this product.
Customer
Help Line: 1-800-932-3188
Sears,
Roebuck
and Co., 3333
Beverly
Rd., Hoffman
Estates,
IL 60179
USA
Visit the Craftsman
Web page: www.sears.com/craftsman
COUS
983000-260
9-03
Advertisement
Table of Contents

Summary of Contents for Craftsman 315.11726
- Page 1 To reduce the risk of injury, the user must read and understand before using this product. Customer Help Line: 1-800-932-3188 Sears, Roebuck and Co., 3333 Visit the Craftsman Web page: www.sears.com/craftsman 983000-260 9-03 the operator's manual Beverly Rd., Hoffman Estates,...
- Page 2 Your belt sander has many features for making the use of this tool more pleasant and enjoyable. Safety, performance, and dependability have been given top priority in the design of this belt sander making it easy to maintain and operate. Look for this symbol to point...
-
Page 3: Work Area
WARNING: Read and understand all instructions. Failure to follow all instructions listed below, may result in electric shock, fire and/or serious personal injury. SAVE THESE INSTRUCTIONS WORK AREA • Keep your work area clean and well lit. Cluttered benches and dark areas invite accidents. •... - Page 4 SERVICE • Tool service must be performed only by qualified repair personnel. Service or maintenance performed by unqualified personnel could result in a risk of injury. • Hold tool by insulated gripping surfaces when performing an operation where the cutting tool may contact hidden wiring or its own cord.
- Page 5 Important: Some of the following symbols may be used on your tool. Please study them and learn their meaning. Proper interpretation of these symbols will allow you to operate the tool better and safer. SYMBOL NAME Volts Amperes Hertz Watt Minutes "%' Alternating Current...
-
Page 6: Double Insulation
For service, we suggest you return the tool to your nearest authorized service center for repair. When servicing, use only identical Craftsman replacement parts. intendedWARNING: protect the user from shock resulting... - Page 7 • If any parts are damaged or missing, please call 1-800-932-3188 for assistance. You may use your belt sander for the purposes listed below: • Sanding wood, metals, plastics, and other materials. • Smoothing rough boards, chamfering, rounding edges, etc.
- Page 8 See Figure 1. LOCK-ON The lock-on feature allows you to lock the trigger switch in the ON position. Locking the trigger switch on allows you to operate the sander for extended periods of time. TENSION RELEASE LEVER The tension release lever aids in quick and easy belt changes.
- Page 9 DUST COLLECTIONBAG FRONT REAR HANDLE HANDLE TENSION SANDING RELEASELEVER BELT LOCK-ON BUTTON TRACKING KNOB TRIGGER SWITCH BLOWER EXHAUSTHOLE Fig. 1...
- Page 10 WARNING: Failure to unplug the tool could result in serious injury due to accidental starting. • Position the sander on its side with the cord on the left. ,_,1= WARNING: Keep hands and fingers clear of the rollers and spring mechanism at all times. Failure to do so could result in fingers getting pinched, causing serious injury.
- Page 11 • Connect the sander to a power supply. • Position the sander upside down with the cord on the left. Note: This position is for adjustments only. The sanding belt should not contact a workpiece or any foreign object when you are making belt tracking adjustments.
- Page 12 TURNING ON/OFF See Figure 8. Follow these directions to turn the sander on and off. • To turn on the sander. Depress the trigger switch. • To turn off the sander. Release the trigger switch.
-
Page 13: Operating The Sander
The lock-on feature allows you to lock the trigger switch in the On position. Locking the trigger switch on allows you to operate the sander for extended periods of time. If you have the lock-on feature engaged during use and the sander is accidentally disconnected from the power supply, disengage the lock-on feature immediately. -
Page 14: Proper Hand Placement
PROPER HAND PLACEMENT See Figure 10. For ease of operation and maintaining proper control, the sander has a front handle and a rear handle. These handles allow two-handed operation, which aids in maintaining control, keeping the sanding area level with the workpiece, and keeping hands clear of the sanding belt. - Page 15 WARNING: When servicing, use only identical Craftsman replacement parts. Use of any other part may create a hazard or cause product damage. WARNING: The belt sander should never be connected to a power supply when you are assembling parts, making adjustments, cleaning, performing maintenance, or when the tool is not in use.
- Page 16 CRAFTSMAN SEE NOTE Note: The assembly shown represents an important part of the double insulated system. To avoid the possibility of alteration or damage to the system, service should be performed by your nearest Sears repair center. Contact your nearest Sears retail store for service center information.
-
Page 17: Ordering Instructions
* Standard Hardware Item - May Be Purchased Locally *** Complete assortment available at your Nearest SearsRetail Store BELT SANDER - MODEL NUMBER regarding your BELT SANDER or when ordering repair parts. PAGE FOR PARTS ORDERING PARTS LIST ** Available From Div. 98 - Source 980.0 315.117260... - Page 18 For repair-in your home-of lawn and garden equipment, no matter who made it, no matter who sold it! For the replacement owner's manuals that you need to do-it-yourself. For Sears professional and items like garage door openers and water heaters. 1-800-4-MY-HOME Call anytime, www.sears.com...


