Table of Contents
Advertisement
Quick Links
Advertisement
Table of Contents

Related Manuals for Cortelco Colleague 2205


Summary of Contents for Cortelco Colleague 2205
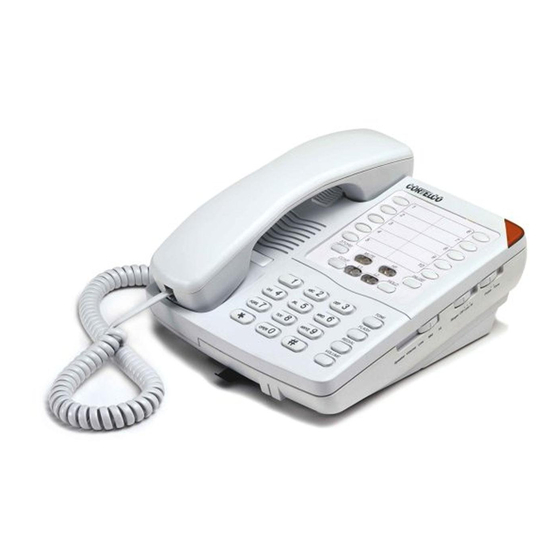
- Page 1 WNER’S NSTRUCTION ANUAL PEAKERPHONE 2205...
- Page 2 URCHASING OLLEAGUE PEAKERPHONE We want you to know all about your new Colleague Telephone, how to install it, the features it provides, and the services you can expect from its use. We have included this information in your Owner’s Instruction Manual.
-
Page 3: Table Of Contents
SPEAKER VOLUME ... 13 RINGER VOLUME ... 13 MUTE BUTTON ... 13 CONFERENCE BUTTON ... 13 DIP SWITCH ... 14 HEADSET COMPATIBLE ... 14 LINE VOLTAGE ... 14 TELEPHONE SERVICE PROBLEMS/MAINTENANCE INFORMATION ... 15 TELEPHONE REPAIR ... 16 ABLE ONTENTS... -
Page 4: Important Safety Instructions
Unplug this product from the wall outlet before cleaning. Use a damp cloth for cleaning. Do not use liquid or aerosol cleaners. Do not use the telephone near water. For example, do not use near a bathtub, wash bowl, kitchen sink, laundry tub, swimming pool, or in a wet basement. - Page 5 Avoid using a telephone during a local thunderstorm. There may be a remote risk of electrical shock from lightning. Do not use a telephone to report a gas leak in the vicinity of the leak. Unplug the telephone from the wall outlet and refer servicing to qualified service personnel under the following conditions: •...
-
Page 6: Telephone Usage
TELEPHONE SET UP 1. Use the new line cord to connect the PHONE jack of your new phone to the modular wall jack. 2. Remove plastic insulator from the battery compartment located under the directory card to allow proper functioning of the battery. -
Page 7: Answering Machine Set Up
Use the new line cord to connect the PHONE jack of your new phone to the modular wall jack. Use the additional line cord to connect the Answering Machine Jack to the Data Jack of your new telephone using a duplex modular adaptor. The answering machine will respond to calls received on Line 1. -
Page 8: Modem Set Up
Line MODEM SET UP Use the telephone line cord to connect the Phone Jack of your new phone to the modular wall jack. Use the additional line cord to connect the Modem jack to the Data Jack of your new telephone. Data Jack is Line 2. -
Page 9: Wall Mount Instructions
TELEPHONE INITIALIZATION Lift the handset to allow telephone initialization and listen for dial tone. When you hear dial tone, your telephone is ready to use. If you do not hear dial tone, repeat this process to obtain dial tone. Wall... -
Page 10: Telephone Part Identification
ELEPHONE DENTIFICATION 21 22 24 25... - Page 11 Tone Button Flash Button Redial Button Volume Button Dial Keys Conference Button Store Button Battery Compartment DIP Switches Line Voltage Tone/Pulse Switch Message Waiting Lamp Control Flash Switch Data Port Telephone Line Jack Speaker Volume Ringer 1 Volume Ringer 2 Volume...
-
Page 12: Telephone Features
If you are unsure which system you have, set the switch to the TONE position. Lift the handset. When you get a dial tone, dial a telephone number. If the dial tone continues, move the switch to PULSE, and then dial the telephone number again. -
Page 13: Redial Button
This telephone provides a line break signal for accessing PABX service or for conve- nient use of Call Waiting from your local telephone company. If you have Call Waiting service, you can alternate the Call Waiting function per the following instructions. -
Page 14: Data Port
DATA PORT This is a connection which is in parallel with the telephone line. It allows the connection of a device such as a modem, caller ID, or an answering machine. The data port is across line 2. STORE BUTTON To Store A Number In Memory: Lift the handset and press the STORE button. -
Page 15: Handsfree Button
The first conference person is on Hold, the HOLD LED will light. Press Line 1 or Line 2 whichever is not being used. Listen for dial tone. Dial the telephone number of the second person. Press the conference button. You may now speak to the first and second person simultaneously. -
Page 16: Dip Switch 4
DIP SWITCH The DIP Switch located under the plastic memory index cover provides for: a) Positive line disconnect option selection insures that any hookswitch depression disconnects the call. b) A-Lead option selection used for special applications such as use with 1A2 Key Systems. -
Page 17: Telephone Service Problems/Maintenance Information
NO DIAL TONE Wire is disconnected at telephone jack or at wall jack. Test the telephone in a different wall jack. If it works, the first jack may be defective. HAVE DIAL TONE BUT CANNOT DIAL OUT Check if the PULSE/TONE switch is at the correct position. -
Page 18: Telephone Repair
DO NOT ATTEMPT TO REPAIR THIS PRODUCT YOURSELF. Telephones manufac- tured by CORTELCO must be returned to us for repair. You can return your telephone to CORTELCO for repair or replacement in accordance with our LIMITED WARRANTY. CORTELCO warrants THIS PRODUCT against defects in material and workmanship in accordance with our LIMITED WARRANTY. - Page 19 FCC prior to its connection to the network. This equipment complies with Part 68 of FCC rules. On the bottom of the telephone is a label that contains, among other information, the FCC Registration Number and the Ringer Equivalence Number (REN) for this equipment.
- Page 20 Part Indentification Pause Button Placing Calls Pulse dialing Q, R Receiving calls Redial Repair Ringer Volume Control Safety Service Problems Setup Speaker Volume Store Button Telephone Setup Tone dialing Troubleshooting U, V Visual Ringing Indicator W, X, Y, Z Wall Mounting...
- Page 21 CORTELCO with the product and loss of parts. The warranty is voided in the event any unauthorized person alters or repairs the unit.