Advertisement
Quick Links
Align the Everest II Printer
Align the Everest II Printer
When the Everest printer is installed, it may need to be aligned to the lift arm.
Tools Needed: T25 Torx driver
Before you begin:
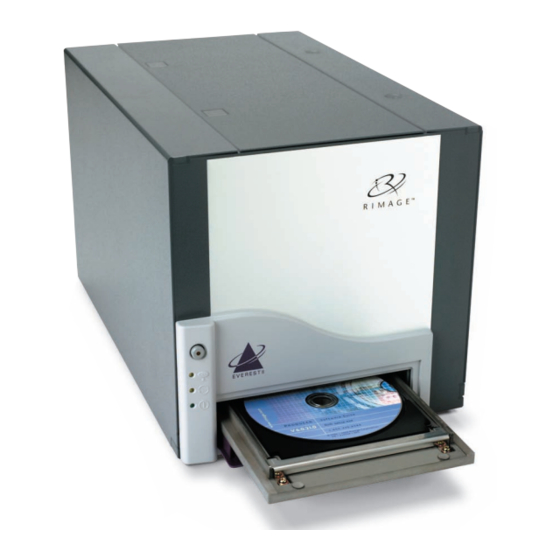
Install the Everest Printer
Power on the Rimage DiscLab. Wait for the unit to initialize.
Note: The Everest printer takes 2 to 3 minutes to complete the initialization.
1. Select Diagnostic 4, Jog Lift Diagnostic.
a. Press and hold the Operator Button to place the unit in diagnostics mode. The Operator
Panel indicates when to release the button.
b. When the Operator Panel displays 01 CYCLE OUTPUTS DIAGNOSTIC, press the Operator
Button four times and hold on the fourth press. This selects the JOG LIFT DIAGNOSTIC
TEST. The Lift Arm moves down toward the Print Drawer as the Print Drawer opens.
c. When the Operator Panel prompts you to place a disc, place a disc on the print pad.
2. Check the printer alignment.
a. Press the Operator Button to move the Lift Arm closer to the Print Pad.
b. Press the Operator Button again and the Lift Arm moves down and picks up the disc.
c. Manually rotate the Lead Screw counterclockwise to move the Lift Arm down to the Print Pad.
3. Check the disc alignment.
To see if the disc is centered, observe the gap
between the edge of the disc and the raised edges
as shown by the arrows.
If the disc is not centered side-to-side on the Print
Pad, continue to step 3.
If the side-to-side alignment is correct, go to step
4.
112063_A
Lift Arm
Disc
Print Pad
Print Drawer
October 29, 2004
Print Pad
Lead Screw
1
Advertisement

Related Manuals for Rimage Everest II


Summary of Contents for Rimage Everest II
- Page 1 Align the Everest II Printer Align the Everest II Printer When the Everest printer is installed, it may need to be aligned to the lift arm. Tools Needed: T25 Torx driver Before you begin: Install the Everest Printer Power on the Rimage DiscLab. Wait for the unit to initialize.
- Page 2 Align the Everest II Printer 3. If necessary, perform a side-to-side alignment. a. Loosen the two torx side-to-side alignment screws. b. Slide the printer until the side gaps are equal. Important! Slide the entire printer, not the drawer. c. Tighten the two side-to-side alignment screws.