Table of Contents
Advertisement
Quick Links
Advertisement
Table of Contents

Related Manuals for Hanns.G HW194


Summary of Contents for Hanns.G HW194
-
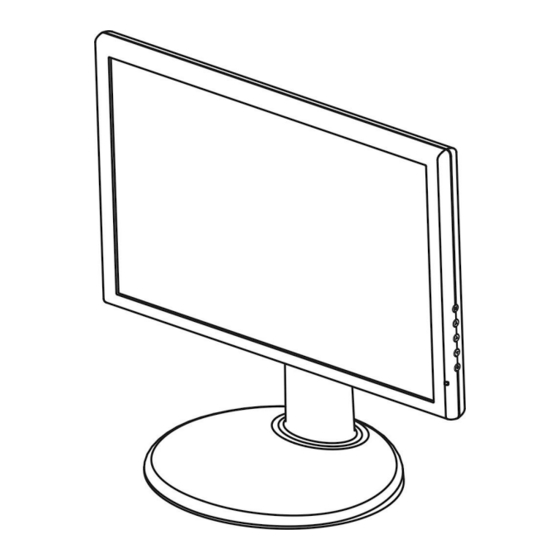
Page 1: Tft Lcd Monitor
19 inch Wide Screen TFT LCD Monitor HW194 USER’S MANUAL... - Page 2 User’s Manual Before operating the monitor, please read this manual thoroughly. This manual should be retained for future reference. FCC Class B Radio Frequency Interference Statement This equipment has been tested and found to comply with the limits for a Class B digital device, pursuant to Part 15 of the FCC Rules.
-
Page 3: Recycling Information
User’s Manual Recycling Information We, Hanns.G care very much about our environment protection strategy and firmly believe that it helps us have healthier earth via appropriate treatment and recycling of industrial technology devices at the end-of-life. These devices contain recyclable materials, which can be re-decomposed and re-integrated into brand-new marvels. -
Page 4: Table Of Contents
User’s Manual SAFETY NOTICE ... 5 PRECAUTIONS ... 5 SPECIAL NOTES ON LCD MONITORS ... 6 BEFORE YOU OPERATE THE MONITOR ... 7 FEATURES ... 7 CHECKING THE CONTENTS OF THE PACKAGE ... 7 INSTALLATION INSTRUCTIONS ... 8 POWER... 8 MAKING CONNECTIONS ... -
Page 5: Safety Notice
SAFETY NOTICE 1. The changes or modifications not expressly approved by the party responsible for compliance could void the user's authority to operate the equipment. 2. Shielded interface cables and AC power cord, if any, must be used in order to comply with the emission limits. -
Page 6: Special Notes On Lcd Monitors
User’s Manual SPECIAL NOTES ON LCD MONITORS The following symptoms are normal with LCD monitor and do not indicate a problem. Due to the nature of the fluorescent light, the screen may flicker during initial use. Turn • off the Power Switch and then turn it on again to make sure the flicker disappears. You may find slightly uneven brightness on the screen depending on the desktop pattern •... -
Page 7: Before You Operate The Monitor
BEFORE YOU OPERATE THE MONITOR FEATURES 19” Wide screen TFT Color LCD Monitor • Crisp, Clear Display for Windows • Recommended Resolutions: 1440 X 900 @60Hz • ® EPA ENERGY STAR • Ergonomic Design • Space Saving, Compact Case Design •... -
Page 8: Installation Instructions
User’s Manual INSTALLATION INSTRUCTIONS Install INSTALLATION: 1. Align the monitor with the opening in the base. 2. Note that the longer section of the base points forward. 3. Snap the monitor into its base. A clear click sound will affirm that the base is connected correctly. -
Page 9: Making Connections
MAKING CONNECTIONS CONNECTING TO A PC: Turn off your computer before performing the procedure below. 1. Connect one end of the 15-pin D-Sub cable to the back of the monitor and connect the other end to the computer’s D-Sub port. 2. -
Page 10: Adjusting The Viewing Angle
User’s Manual ADJUSTING THE VIEWING ANGLE For optimal viewing it is recommended to look at the full face of the monitor, then adjust • the monitor’s angle to your own preference. Hold the stand so you do not topple the monitor when you change the monitor’s angle. •... -
Page 11: Screen Height Adjustment
SCREEN HEIGHT ADJUSTMENT • Press the button in (1) direction, the monitor may be adjusted to the desired height freely. • Push the screen in (2) direction to lower the screen to its lowest position, the height will be fixed to that position and the button will lock automatically. NOTES: Do not touch the LCD screen with your hand when adjusting the viewing angle or rotating •... -
Page 12: Operating Instructions
User’s Manual OPERATING INSTRUCTIONS GENERAL INSTRUCTIONS Press the power button to turn the monitor on or off. The other control buttons are located on the front panel of the monitor (See Figure 4). By changing these settings, the picture can be adjusted to your personal preferences. -
Page 13: Front Panel Control
FRONT PANEL CONTROL Power Button: • Press this button to switch ON/OFF of monitor’s power. Power Indicator: • Green — Power On mode. Orange — Power saving mode. MENU / ENTER: • 1. Activates the OSD menu or confirms adjustments to settings. 2. -
Page 14: How To Adjust A Setting
User’s Manual HOW TO ADJUST A SETTING FUNCTION DESCRIPTION Select the 「 Brightness」 option on the 「 Main Menu」 . Enter the option and Brightness adjust the level. Select the 「Contrast」 option on the 「Main Menu」 . Enter the option and Contrast adjust the level. - Page 15 Select the「Phase Adjustment」option to reduce the horizontal flicker of Phase Adjustment characters on the screen. Enter the option and adjust the level. Exit Exit the OSD menu function. FUNCTION DESCRIPTION 5500/6500/9300/PD Move the cursor to one of the preset options and select it. Move the cursor to the User option and select it 1.
- Page 16 User’s Manual Language Select the 「Language」 option to change the language of the OSD. Enter the option and select a language. (Reference only, the OSD Language is depended on selected model) Exit Exit the OSD menu function. FUNCTION DESCRIPTION Volume Select the「Volume」option to set the volume level from 0 to 100.
-
Page 17: Plug And Play
User’s Manual PLUG AND PLAY Plug & Play DDC2B Feature This monitor is equipped with VESA DDC2B capabilities according to the VESA DDC STANDARD. It allows the monitor to inform the host system of its identity and, depending on the level of DDC used, communicate additional information about its display capabilities. The DDC2B is a bidirectional data channel based on the I²C protocol. -
Page 18: Technical Support (Faq)
User’s Manual TECHNICAL SUPPORT (FAQ) Q & A FOR GENERAL PROBLEMS PROBLEM & QUESTION Power LED is not on No Plug & Play Picture is fuzzy Picture bounces or a wave pattern is present in the picture The power LED is ON (orange) but there’s no video or no picture. -
Page 19: Error Message & Possible Solutions
APPLE MAC-480 640x480 VESA-480-72Hz 640x480 VESA-480-75Hz 720x400 VGA-400-TEXT 832x624 APPLE MAC-800 800x600 800x600 VESA-600-60Hz 800x600 VESA-600-72Hz 800x600 VESA-600-75Hz 1024x768 1024x768 COMPAQ-XGA 1024x768 VESA-768-70Hz 1024x768 VESA-768-75Hz 1024x768 APPLE MAC-768 1152x864 1280x960 1280x1024 VESA-1024-60Hz 1280x1024 VESA-1024-75Hz 1440x900 VESA-1440-60Hz 1440x900 VESA-1440-75Hz HORIZONTAL MODE... -
Page 20: Appendix
User’s Manual APPENDIX SPECIFICATIONS Driving system LCD Panel Size Pixel pitch Video H-Frequency V-Frequency Display Colors Maximum Screen Size Max. Resolution Plug & Play ON Mode EPA ENERGY Power Saving Mode ≤2W ® STAR OFF Mode Input Connector Power Source Environmental Considerations Ascend...