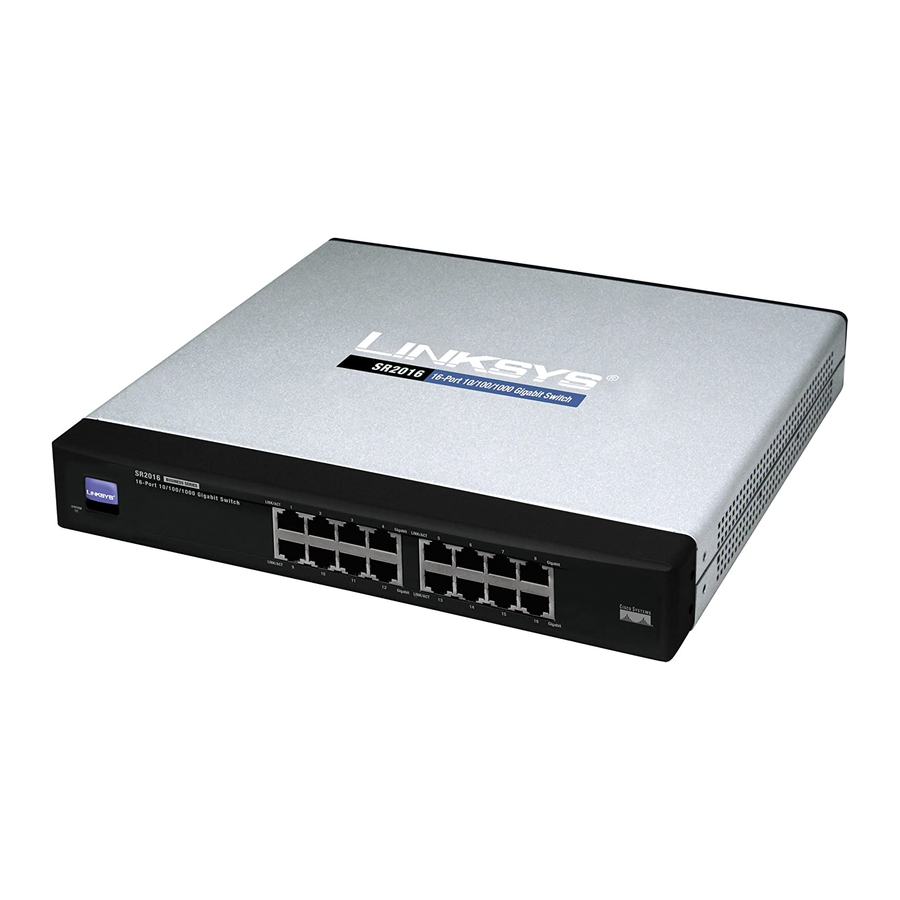
Linksys SR2016 User Manual
16/24-port 10/100/1000 gigabit switch
Hide thumbs
Also See for SR2016:
- User manual (26 pages) ,
- Product data (2 pages) ,
- Product data (2 pages)
Summary of Contents for Linksys SR2016
- Page 1 16-Port and 24-Port 10/100/1000 Gigabit Switches Use this guide to install the following products: SR2016 16-Port 10/100/1000 Gigabit Switch SR2024 24-Port 10/100/1000 Gigabit Switch User Guide...
- Page 2 (the “Warranty Period”) Your Linksys product will be free of defects in materials and workmanship under normal use. Your exclusive remedy and Linksys’s entire liability under this warranty will be for Linksys at its option to repair or replace the product or refund Your pur- chase price less any rebates.
-
Page 3: Table Of Contents
Fast store-and-forward switching prevents damaged packets from being passed on into the network. World famous Linksys reliability and the limited lifetime warranty give you peace of mind and the rackmount form factor integrates smoothly into your net- work infrastructure. -
Page 4: Chapter 2: Getting To Know The 10/100/1000 Gigabit Switch
The 16-Port Switch’s Side Panel Figure 2-3 Featured only on the 16-Port Switch, the security slot is located on a side panel (see Figure 2-3). The security slot is where you can attach a lock so the 16- (security slot) -
Page 5: Chapter 3: Connecting The 10/100/1000 Gigabit Switch
To connect network devices to the Switch, follow these instructions: Your Network 1. Make sure all the devices you will connect to the Switch are powered off. 2. Connect a Category 5 Ethernet network cable to one of the numbered ports on the Switch. -
Page 6: Appendix A: Glossary
Placement Options for the 16-Port Switch There are three ways to physically install the 16-Port Switch: set the Switch on its four rubber feet, mount the Switch in a standard-sized, 1U high rack, or hang the Switch on a wall using its wall-mount slots. -
Page 7: Appendix B: Specifications
MDI (Medium Dependent Interface) - On a network hub or switch, a MDI port, also known as an uplink port, connects to another hub or switch using a straight- through cable. To connect a MDI port to a computer, use a crossover cable. -
Page 8: Environmental
FROM THE PRODUCT’S PACKAGING ON HAND WHEN CALLING. RETURN REQUESTS CANNOT BE PROCESSED WITHOUT PROOF OF PURCHASE. IN NO EVENT SHALL LINKSYS’S LIABILITY EXCEED THE PRICE PAID FOR THE PRODUCT FROM DIRECT, INDIRECT, SPECIAL, INCI- DENTAL, OR CONSEQUENTIAL DAMAGES RESULTING FROM THE USE OF THE PRODUCT, ITS ACCOMPANYING SOFTWARE, OR ITS DOCUMENTATION. -
Page 9: Appendix D: Contact Information
Appendix D: Contact Information For help with the installation or operation of this 10/100/1000 Gigabit Switch, contact Linksys Technical Support at one of the phone numbers or Internet addresses below. Sales Information 800-546-5797 (LINKSYS) Technical Support 800-326-7114 RMA (Return Merchandise Authorization) Issues www.linksys.com (or call 949-271-5461)


