
Related Manuals for Clarity Cordless Telephone


Summary of Contents for Clarity Cordless Telephone
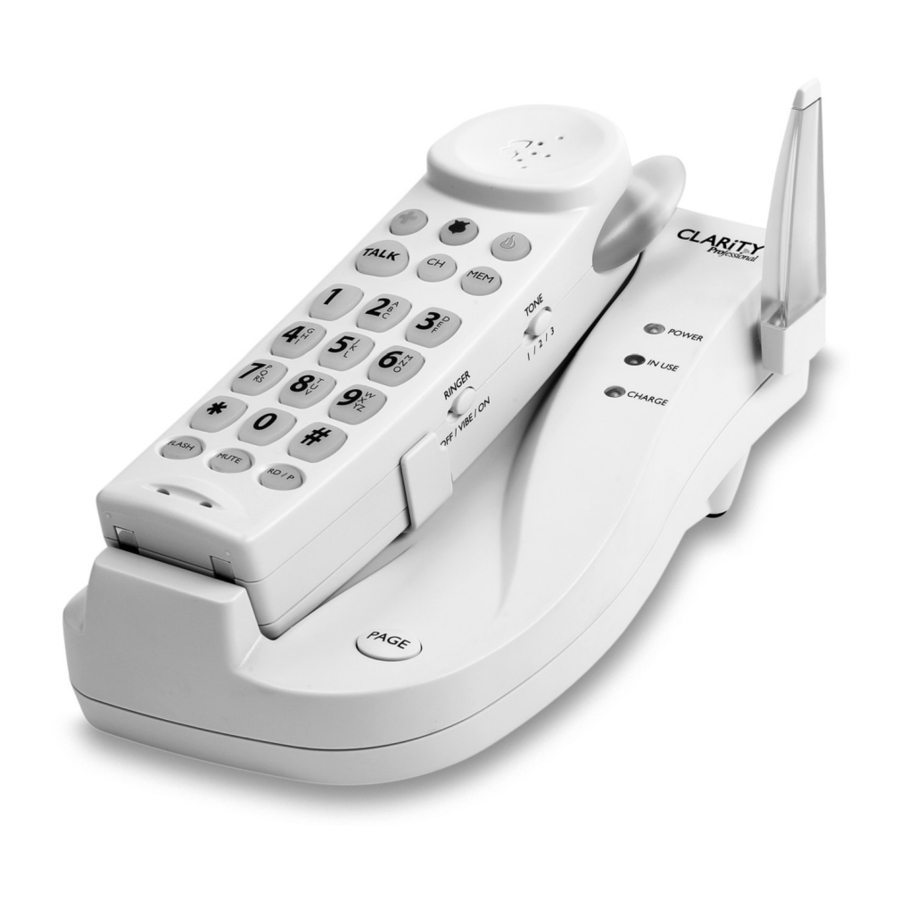
- Page 1 C4205™ User Guide 2.4 GHz Cordless Telephone Featuring Digital Clarity Power Technology ™...
-
Page 2: Table Of Contents
TABLE OF CONTENTS Important Safety Instructions ... 3 Features ... 8 Choosing a Location ... 10 Telephone Installation ... 12 Handset Battery ... 14 Telephone Handset Features ... 17 Telephone Base Features ... 20 Using Your Telephone ... 24 Memory Storage ... 27 Maintenance and Care ... -
Page 3: Important Safety Instructions
IMPORTANT SAFETY INSTRUCTIONS When using your telephone equipment, basic safety precautions should always be followed to reduce the risk of fire, electric shock and injury to persons including the following: 1. Read and understand all instructions. 2. Follow all warnings and instructions marked on the telephone. - Page 4 IMPORTANT SAFETY INSTRUCTIONS 8. Do not cover the slots and openings on this telephone. This telephone should never be placed near or over a radiator or heat register. This telephone should not be placed in a built-in installation unless proper ventilation is provided. 9.
- Page 5 IMPORTANT SAFETY INSTRUCTIONS 13. To reduce the risk of electrical shock, do not take this phone apart. Opening or removing covers may expose you to dangerous voltages or other risks. Incorrect reassembly can cause electric shock when the appliance is subsequently used.
- Page 6 IMPORTANT SAFETY INSTRUCTIONS F. If the telephone exhibits a distinct change in performance. 15. Never install telephone wiring during a lightning storm. 16. Never install telephone jacks in wet locations unless the jack is specifically designed for wet locations. 17. Never touch uninsulated telephone wires or terminals unless the telephone line has been disconnected at the network interface.
- Page 7 IMPORTANT SAFETY INSTRUCTIONS 1. Use only the approved battery pack in the handset of your cordless phone. For Handset Unit: 3.6V 600mAHr NiMH Rechargeable Battery Sanik Battery Co. Ltd.: 3SNAAA60HSJ1 GPI International Ltd.: GP60AAAH3BMJZ For Base Unit: Four (4) AA alkaline batteries 2.
-
Page 8: Features
FEATURES Telephone Base 1. Handset Page 2. Ringer Volume 3. Ringer Style 4. Ringer On/Off 5. Antenna/Visual Ringer 6. Boost On/Off 7. Pulse/Tone... -
Page 9: Handset View
Handset 1. Neckloop Jack 2. Handset Volume 3. Boost 4. Dial Pad 5. Emergency Buttons 6. Talk 7. Channel 8. Memory FEATURES 9. Flash Mute Redial/Pause Handset Ringer Off/ Vibe/On Handset Tone Belt Clip Headset Jack Antenna/Visual Ringer... -
Page 10: Choosing A Location
CHOOSING A LOCATION 1. This phone requires a modular phone jack (RJ11C) and a standard 120V AC wall outlet. 2. Plug the AC Adapter directly into outlet. 3. Do not plug other appliances into the same outlet or have outlet controlled by a wall switch. - Page 11 CONNECTING YOUR TELEPHONE Carefully remove your cordless telephone from its box. If there is any visible damage, do not attempt to operate this equipment. Return it to the place of purchase. Check to be sure that you have all items that come with your telephone.
-
Page 12: Telephone Installation
TABLE/DESK TOP INSTALLATION CAUTION: Disconnect the telephone line cord before connecting or disconnecting the battery backup in the wall mount bracket. 1. Plug one end of the supplied modular telephone line cord into the jack marked TEL located on the back of the telephone base as shown in the diagram. -
Page 13: Wall Mounting Installation
type of service. 8. Place handset in the cradle to begin initial charging. WALL MOUNTING INSTALLATION CAUTION: Disconnect the telephone line cord before connecting or disconnecting the battery backup in the wall mount bracket. The base unit may be mounted on a standard wall plate. -
Page 14: Handset Battery
base of the phone downward to secure it on the wall. 5. Plug the adapter into a standard AC power (electrical) outlet. 6. Press and lift out the handset holder tab, turn it around so the narrow tab end extends out and slide back into its slot. - Page 15 Handset Battery must be connected before beginning initial charging To Install a New Battery 1. Remove battery cover 2. Install new battery 3. Connect battery pack 4. Replace battery cover 5. Charge for 12 hours before first use Handset Battery Charging 1.
- Page 16 Low Battery When the handset battery gets low, there will be two (2) beeps every thirty (30) seconds. If the battery becomes low while you are on a call, you will be disconnected after about two (2) minutes. Terminate the call and recharge the battery. To recharge the battery pack, place the handset in the base.
-
Page 17: Telephone Handset Features
TELEPHONE HANDSET Digital Clarity Power Technology With Digital Clarity Power, the high frequency sounds are amplified more than the low frequency sounds so words are not just louder, but clearer and easier to understand. It also provides intelligent amplification to make soft sounds audible, while keeping loud sounds bearable. - Page 18 The dial controls the level of volume the handset and headset receive. The volume dial provides up to 15 decibels of volume before the CLARITY POWER button is activated. Once the CLARITY POWER button is pressed, the C4205 will provide up to 50 decibels of amplification.
- Page 19 Headset Jack You can use this telephone hands-free when you install a 2.5mm headset (purchased separately). To install, plug the headset into the HEADSET JACK at the top of the handset. While in headset mode, the volume of headset is controlled by the telephone and the handset’s earpiece and microphone are disconnected.
-
Page 20: Telephone Base Features
TELEPHONE BASE Ringer Volume The base ringer volume adjustments are located on the side of the telephone base. Pressing the UP ( ) key on the base increases the ringer sound by one level while pressing the DOWN ) key reduces the sound by one level. There are a total of six levels from maximum to minimum. - Page 21 OFF, the Boost function will be OFF every time a call starts, and the user will need to press the BOOST Clarity Power button in order to gain the extra level of amplification. If the phone hangs up, the Clarity Pow- er will reset to OFF.
- Page 22 Flash The FLASH button is activated to use custom calling services such as Call Waiting or Three-Way Calling. Please contact your local telephone company for information on these services. Mute The MUTE button allows the user to conduct a private conversation that you do not want the person on the other end to hear.
- Page 23 To Install Battery Back-up Batteries 1. Disconnect telephone line cord and remove desk/ wall mount bracket from telephone base. 2. Disconnect battery back-up connector from the telephone base. 3. Install four (4) AA Alkaline batteries with negative (-) end of battery touching the spring. 4.
-
Page 24: How To Use
After installing the four (4) AA Alkaline batteries please refer to the chart below: Power Supply AC adapter and good batteries AC adapter and no batteries Power failure and good batteries Power failure and bad batteries USING YOUR TELEPHONE Placing a Call 1. - Page 25 If the handset is in the cradle, simply lift the handset to answer. Note: Refer to BOOST Clarity Power and Volume Control for information on adjusting volume controls on Page 15. Last Number Redial The last number dialed (up to 32 digits) is stored in the redial memory until another number is dialed.
- Page 26 Temporary Tone If you have rotary (pulse) dial service, you can change from pulse to touch tone (tone) during a call. 1. Make phone call and wait until it is connected. 2. Press the * key. Keys pressed after this are sent as tone signals.
-
Page 27: Memory Storage
Channel Operation The C4205 cordless telephone automatically searches and selects the clearest of 40 channels when it is being used. If interference develops on the line, pressing this button will move to another channel. Security Code The security code prevents your cordless phone conversations from being accessed by a phone on a different line. - Page 28 Adding a Memory Location 1. Unit must be in standby mode only. 2. Press the MEM button. 3. Enter the telephone number you wish to store. 4. Press the MEM button. 5. Press the number on the dial pad that you wish to store the number to.
-
Page 29: Maintenance And Care
3. Enter the telephone number you wish to store. 4. Press the MEM button. 5. Press the emergency button on the dial pad that you wish to store the number to. 6. A long beep will indicate the programming process is complete. Dialing an EMERGENCY Number 1. -
Page 30: Troubleshooting
TROUBLESHOOTING The unit will not operate/no dial tone: • Verify the TALK Button is lit. • Verify the AC Adapter is securely plugged into AC outlet, the base and the telephone. • Verify the telephone line cord is securely plugged into the wall jack and the telephone. - Page 31 plugged into the wall jack and the telephone. • Make sure you are in the usable range of the base station. • You may have too many extensions on your line. Try unplugging a few devices. Noise, Static, Interference or Other Calls Heard while Using the Handset: •...
- Page 32 • If necessary, replace the handset battery. (See Handset Battery Charging) Difficulty in Placing or Receiving Calls: • Move closer to the base and try again. • If moving closer does not work, you may have lost the security code. •...
- Page 33 4289 Bonny Oaks Drive, Suite 106 Chattanooga, TN 37406 1-800-552-3368 www.clarityproducts.com Made in China ©2005-2007 Clarity, a Division of Plantronics, Inc. All rights reserved. Clarity, Clarity Professional, C4205, Digital Clarity Power and DCP are trademarks or registered trademarks of Plantronics, Inc.