Clarion bd239rg Owner's Manual
Rds-eon/fm/mw/lw radio cd combination
Hide thumbs
Also See for bd239rg:
- Manuel du propriétaire (21 pages) ,
- Bedienungsanleitung (21 pages) ,
- Service manual (22 pages)
Table of Contents
Advertisement
Owner's manual /
Mode d'emploi
Bedienungsanleitung /
Gebruiksaanwijzing /
Bruksanvisning /
Manual de instruções
DB338R/DB338RB
BD239R/BD239RG
DB238R
RDS-EON/FM/MW/LW RADIO CD COMBINATION
COMBINÉ RADIO RDS-EON/FM/PO/GO CD AVEC
UKW-MPX/MW/LW-RADIO-CD-KOMBINATION
MIT RDS-EON
SINTOLETTORE CD RDS-EON/FM/MW/LW
RDS-EON/FM/MW/LW TUNER MET CD
COMBINACIÓN DE RADIO DE RDS-EON/FM/MW/LW Y
REPRODUCTOR DE DISCOS COMPACTOS
KOMBINERAD RDS-EON/FM/MV/LV-RADIO OCH CD
COMBINAÇÃO DE AUTO-RÁDIO DE RDS-EON/
FM/OM/OC E LEITOR DE CDs
Istruzioni per l'uso
Manual de instrucciones
•
•
•
•
•
•
•
Advertisement
Table of Contents

Related Manuals for Clarion bd239rg


Summary of Contents for Clarion bd239rg
- Page 1 Owner’s manual / Mode d’emploi Bedienungsanleitung / Istruzioni per l’uso Gebruiksaanwijzing / Manual de instrucciones Bruksanvisning / Manual de instruções DB338R/DB338RB BD239R/BD239RG DB238R RDS-EON/FM/MW/LW RADIO CD COMBINATION • COMBINÉ RADIO RDS-EON/FM/PO/GO CD AVEC • UKW-MPX/MW/LW-RADIO-CD-KOMBINATION MIT RDS-EON • SINTOLETTORE CD RDS-EON/FM/MW/LW •...
- Page 2 Thank you for purchasing this Clarion product. ∗ Please read this owner’s manual in its entirety before operating this equipment. ∗ After reading this manual, be sure to keep it in a handy place (e.g., glove compartment). ∗ Check the contents of the enclosed warranty card and keep it carefully with this manual.
- Page 3 4. DCP The control panel can be detached to prevent Storing the DCP in the DCP Case theft. When detaching the control panel, store it Hold the DCP, in the orientation as shown in the in the DCP (DETACHABLE CONTROL PANEL) figure below, and put it into the supplied DCP case to prevent scratches.
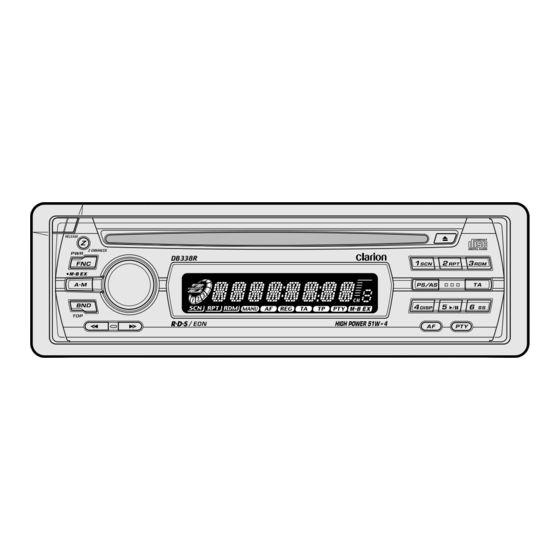
- Page 4 CONTROLS / LES COMMANDES / REGLER / CONTROLLI REGELAARS / CONTROLES / KONTROLLER / CONTROLOS Main unit / Appareil principal / Hauptgerät / Apparecchio principale Hoofdtoestel / Unidad principal / Huvudenhet / Unidade principal [ RPT ] [ CD SLOT ] [ SCN ] [ RELEASE ] [ Z ]...
-
Page 5: Basic Operations
5. OPERATIONS Basic Operations CAUTION Be sure to lower the volume before switch- ing off the unit power or the ignition key. The unit remembers its last volume setting. If you switch the power off with the volume up, when you switch the power back on, the sud- den loud volume may hurt your hearing and damage the unit. -
Page 6: Basic Operations
This function is not compatible with all cellular telephones. Contact your local authorized Clarion dealer for information on proper installation and compatibility. The factory default setting is “TEL OFF”. -
Page 7: Radio Operations
Basic Operations Turning the screen saver function on or off This unit is provided with the screen saver func- tion. You can turn on and off this function. If the button operation is performed with the screen saver function on, the operation display corresponding to the button operation is shown for about 30 seconds and the display returns to the screen saver display. -
Page 8: Manual Tuning
Radio Operations Manual tuning There are 2 ways available: Quick tuning and step tuning. When you are in the step tuning mode, the fre- quency changes one step at a time. In the quick tuning mode, you can quickly tune the desired frequency. -
Page 9: Rds Operations
RDS Operations RDS (Radio Data System) This unit has a built-in RDS decoder system that supports broadcast stations transmitting RDS data. This system can display the name of the broad- cast station being received (PS) and can auto- matically switch to the broadcast station with the best reception as you move long distances (AF switching). -
Page 10: Selecting Pty
RDS Operations Cancelling the TA standby mode With “TP” and “TA” lit in the display, press the [TA] button. The “TA” in the display goes off and the TA standby mode is cancelled. If “TP” is not lit, pressing the [TA] button searches for a TP station. - Page 11 PTY preset memory 1. When you press the [PTY] button, the PTY select mode is turned on. 2. Turn the [ROTARY] knob clockwise or coun- terclockwise to select the desired PTY. The 29 types of PTY below can be selected. PTY item ENGLISH Contents...
-
Page 12: Scan Play
CD Operations Loading a CD Insert a CD into the centre of the CD SLOT with the labeled side facing up. “LOADING” appears in the dis- play, the CD enters into the slot, and the play starts. For CD (12 cm) For single CD (8 cm) CD SLOT Notes:... -
Page 13: In Case Of Difficulty
6. IN CASE OF DIFFICULTY Problem Power does not turn on. Fuse is blown. (No sound is produced.) Incorrect wiring. Compact disc cannot be Another compact disc is loaded. already loaded. Sound skips or is noisy. Compact disc is dirty. Compact disc is heaviiy scratched or warped. -
Page 14: Error Displays
7. ERROR DISPLAYS If an error occurs, one of the following displays is displayed. Take the measures described below to eliminate the problem. Error Display ERROR 2 A CD is caught inside the CD deck and is not ejected. ERROR 3 A CD cannot be played due to scratches, etc. -
Page 15: Specifications
8. SPECIFICATIONS Radio section Tuning System: PLL synthesizer tuner Receiving Frequencies: : 87.5 to 108 MHz (0.05 MHz steps) : 531 to 1602 kHz (9 kHz steps) : 153 to 279 kHz (3 kHz steps) CD player section System: Compact disc digital audio system Frequency Response: 10 Hz to 20 kHz (±...