Advertisement
Quick Links
WinTV-D
Quick Installation Guide
for Windows
Note: WinTV-D has several different speaker configurations. The WinTV-D software can
be configured for all configurations, but you may not need all the cables supplied.
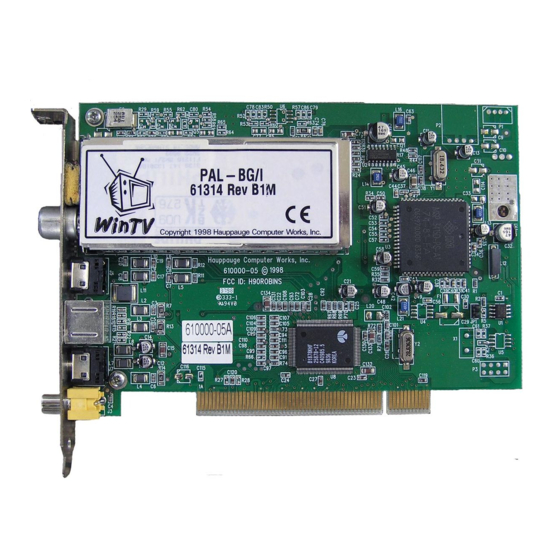
Contents of the WinTV-D package
WinTV-D
board
composite video.
Remote control transmitter
with 2
AAA batteries
Remote control receiver
with vel-
cro dot fastener
WinTV for Windows Installation
CD-ROM
with:
WinTV applications
Remote control application
Utilities
A/V cable
- connects between the
WinTV board and your sound card (1/8"
miniplug), connection to the Center (black
RCA) and Surround speakers (white and
red RCA) and the auxiliary video input
(yellow RCA).
Audio adapter
- 1/8" miniplug to 1/8"
miniplug.
Audio extension cable
- 1/8" mini-
plug to RCA red and white male connec-
tors.
Remote
S-Video to composite adapter
-
receiver
will convert the WinTV-D S-Video output to
Step 1: Prepare your computer
Step 2: Install the WinTV board
Locate a free PCI slot (a short
white slot).
Unscrew and remove the metal
cover plate which covers the
back of the empty slot.
Plug the WinTV board into the
PCI slot, and screw the
WinTV's metal cover plate to
the PC.
Replace the computer cover.
Page 1
Step 3a: Connect the WinTV-D cables
The WinTV-D board has two coax video
connectors: one for a Digital TV antenna
and one for cable TV. Screw your Digital TV
antenna (a rooftop antenna is recommend-
ed in most areas) into the Antenna con-
nector. Plug your cable TV connection to
the Cable TV connector.
Plug the A/V cable into the A/V connec-
tor. The supplied A/V cable has 5 connec-
tors:
1/8" miniplug - LineOut audio
Yellow RCA - VideoIn
Black RCA - Center audio
White RCA - Surround audio1 (left)
Red RCA - Surround audio2 (right)
The black 1/8" minijack should be
WinTV-D Connectors
Antenna
This board and remote are sub-
ject to change
connector
Cable TV
connector
Digital TV
output (S-Video)
A/V cable
connector
Remote control
Remote
receiver plug
transmitter
Audio Input
Step 3b: Connecting speakers for Surround Sound
Switch off the computer.
The manufacturer of your
If you have extra self-amplified speakers,
PC supplies instructions on
you can connect the WinTV-D for enhanced
removing the PC cover.
Surround sound. When making connections
Remove the cover.
to the speakers, you can use an Audio
extension cable and the supplied
Adapter to connect your speakers to the
A/V cable's Black, White or Red
RCA jacks.
You can configure the following modes:
3 speaker mode (L,R,C)
If you have one extra speaker, connect this
speaker as the Center speaker (use the
Black RCA jack). Position the speaker
behind the PC user.
5 speaker mode
This mode gives you the best effect of the
WinTV-D. Connect two speakers as Sur-
round (use the White and Red RCA
plugged into the
LineIn connector
on
your PC's sound card, for Left and Right
speaker sound.
The
yellow VideoIn RCA jack and the
Audio input can be used to connect to
the output of a VCR, camcorder, DVD play-
er or satellite TV receiver.
The Remote Control receiver is
plugged into the the Remote control receiv-
er plug. Use the Velcro dot to position the
Remote Receiver where it will be able to
4a.
receive infra-red commands from the
time after the WinTV board has been installed,
Remote Transmitter.
the Add New Hardware Wizard will
appear.
Click Next. Select Search for the best
driver for your device (Recommended).
Click Next.
A/V cable
Line out
Video in
(yellow
)
Audio Center
(black)
Audio Surround
Audio Surround 1
4c.
2 (right/red)
(left/white)
driver has been detected, click Next.
Remote receiver
jacks) and one as the Center speaker (the
Black RCA jack).
4e.
PC
left
right
After all files are copied, the Haup-
pauge WinTV System Inspection
utility will be run.
center
Check for the message "Your Haup-
pauge WinTV hardware and soft-
user
ware drivers appear to have
been installed and configured
correctly". If not, refer to the Quick
Troubleshooting section.
surround
surround
Click on Close.
Page 2
Step 4: Install the WinTV driver for Windows
4b.
When re-starting Windows for the first
When you see the above dialog box,
insert the WinTV Windows Installa-
tion CD-ROM into your CD-ROM drive.
Select CD-ROM drive and click Next.
4d.
You
will see a
number of
files being
copied to
your hard
disk drive.
If you receive an error message saying a
file cannot be found, browse for these
files in the Win98 directory on the
WinTV Windows Installation CD-
Once the Hauppauge WinTV video
ROM.
4f.
After the Hauppauge WinTV
video driver has been installed, the
Hauppauge WinTV audio driver will
be automatically installed.
Click Finish.
Step 5: System check
Page 3
Advertisement

Related Manuals for Hauppauge WinTV-D


Summary of Contents for Hauppauge WinTV-D
- Page 1 WinTV-D Quick Installation Guide for Windows Note: WinTV-D has several different speaker configurations. The WinTV-D software can be configured for all configurations, but you may not need all the cables supplied. Contents of the WinTV-D package WinTV-D board composite video.
- Page 2 Also, you can increase the memory range used by the WinTV board in Device Manager. To do this, look under Sound, video and game controllers, double click on the Hauppauge video section, click on Resources, unclick Use Automatic settings and double click on Memory range. In the Edit memory range dialog box, there are small up/down arrows next to Value.