Brother MFC-L6900DW Quick Setup Manual
Hide thumbs
Also See for MFC-L6900DW:
- Online user's manual (710 pages) ,
- User manual (705 pages) ,
- Service manual (408 pages)
Advertisement
Quick Links
MFC‑L6750DW / MFC‑L6900DW
Quick Setup Guide
Unpack the machine and check the components
Watch our Video FAQs for
help with setting up your
Brother machine:
solutions.brother.com/videos.
1
Remove the packing materials and install the drum unit and toner cartridge assembly
2
Load paper in the paper tray
Connect the power cord and turn on the
3
machine
Back
Select your language
5
(if needed)
1.
On the machine's Touchscreen, press
[Settings] > [All Settings] >
[Initial Setup] >
[Local Language].
2.
Press your language.
3.
Press
.
Drum Unit
Starter Toner Cartridge
(pre-installed)
Quick Setup Guide
Product Safety Guide
AC Power Cord
Telephone Line Cord
Remove the orange part.
Adjust the paper
Front
Configure the machine for faxing
6
If you do not plan to use the fax feature on this machine, go to step
NOTE:
• For more information on using the fax feature, see the Basic User's Guide.
• Your machine is programmed to automatically receive faxes. To change this default mode, see the Basic User's Guide.
A. Set the date and time
Press
[Settings] >
[All Settings] >
[Initial Setup] >
[Date & Time].
Date
1.
Press [Date].
2.
Enter the last two digits for the
year using the Touchscreen,
and then press [OK].
3.
Enter the two digits for the
month using the Touchscreen,
and then press [OK].
4.
Enter the two digits for the day
using the Touchscreen, and
then press [OK].
Read the Product Safety Guide first, then read this Quick
Setup Guide for the correct installation procedure.
The latest manuals are available at the Brother Solutions
Center: solutions.brother.com/manuals.
Installation CD‑ROM
Basic User's Guide
Remove the orange part.
guides.
4
Connect the telephone line cord
If you do not plan to use the fax feature on this machine, go to step
Clock Type
1.
Press [Clock Type].
2.
Press [12h Clock] or
[24h Clock].
Time
1.
Press [Time].
2.
Enter the time using the
Touchscreen.
„ 12h Clock only
Press [AM/PM] to
select [AM] or [PM].
3.
Press [OK].
4.
Press
NOTE:
• Manuals in Spanish for this model are available on the Brother Solutions Center.
(USA only): solutions.brother.com/manuals
Los manuales en español de este modelo están disponibles en el Brother
Solutions Center. (Solamente en los Estados Unidos):
solutions.brother.com/manuals
• You must purchase the correct interface cable for the interface you want to use.
USB cable
We recommend using a USB 2.0 cable (Type A/B) that is no more than
6 feet (2 meters) long.
Network cable
Use a straight-through Category 5 (or greater) twisted-pair cable.
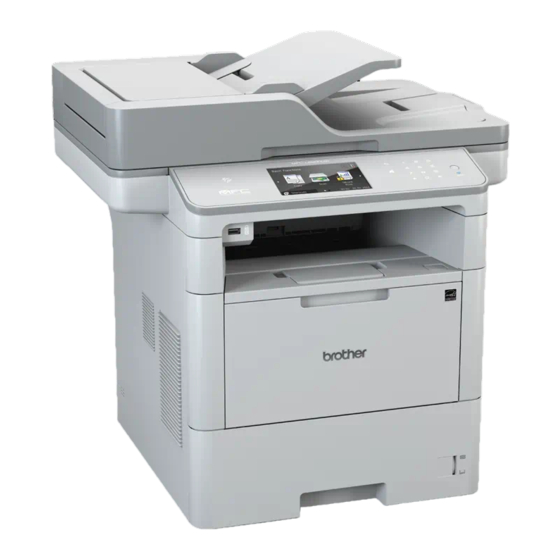
• The illustrations in this Quick Setup Guide show the MFC-L6900DW.
.
B. Set the Station ID
Press
[Settings] > [All Settings] >
[Initial Setup] > [Station ID].
Fax number
1.
Press [Fax].
2.
Enter your fax number (up to 20 digits) using
the Touchscreen, and then press [OK].
Telephone number
1.
Press [Tel].
2.
Enter your telephone number (up to 20 digits)
using the Touchscreen, and then press [OK].
Name
1.
Press [Name].
.
2.
Enter your name (up to 20 characters) using
the Touchscreen, and then press [OK].
3.
Press
.
D005J6001-02
USA/CAN
Version B
.
Advertisement

Related Manuals for Brother MFC-L6900DW


Summary of Contents for Brother MFC-L6900DW
- Page 1 Center: solutions.brother.com/manuals. Unpack the machine and check the components NOTE: • Manuals in Spanish for this model are available on the Brother Solutions Center. (USA only): solutions.brother.com/manuals Los manuales en español de este modelo están disponibles en el Brother Solutions Center. (Solamente en los Estados Unidos): Installation CD‑ROM...
- Page 2 Disconnect the cable. computer and/or mobile device. Go to Alternate wireless Wireless network configuration method (Setup Wizard). NOTE: If you repeat these steps and connection is still unsuccessful, please visit the Brother Solutions Center at: http://support.brother.com. Brother support website http://support.brother.com...