LG LRG3093SB User Manual
Large capacity free standing gas range
Hide thumbs
Also See for LRG3093SB:
- Guía para el uso (39 pages) ,
- User manual (76 pages) ,
- Installation manual (33 pages)

Related Manuals for LG LRG3093SB


Summary of Contents for LG LRG3093SB
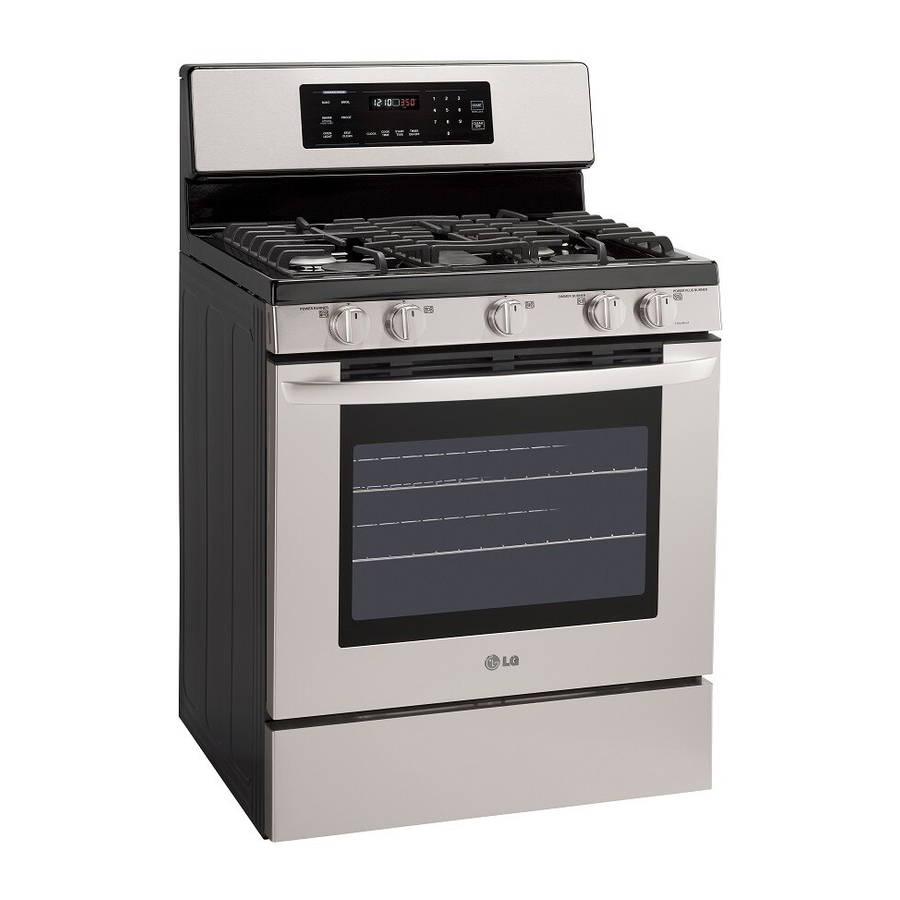
- Page 1 USER’S GUIDE GAS RANGE Please read this manual carefully before operating your range and retain it for future reference. LRG30 93ST LRG30 93SB LRG30 93SW P/ No.: MFL330 29603 Printed on 100% Recycled Paper www.lg.com...
-
Page 2: Table Of Contents
Before Calling for Service ...33-36 WARRANTY Product Registration Information...37 THANK YOU! Congratulations on your purchase and welcome to the LG family. Your new LG Gas Range combines precision cooking features with simple operation and stylish design. By following the operating and care instructions... -
Page 3: Important Safety Information
I M P O RTA N T S A F E T Y I N F O R M AT I O N READ ALL INSTRUCTIONS BEFORE USE Read and follow all instructions before using your oven to prevent the risk of fire, electric shock, personal injury, or damage when using the range. -
Page 4: Basic Safety Precautions
I M P O RTA N T S A F E T Y I N F O R M AT I O N READ ALL INSTRUCTIONS BEFORE USE ANTI-TIP DEVICE • DO NOT step or sit on the door. Install the Anti- Tip Bracket packed with range. - Page 5 I M P O RTA N T S A F E T Y I N F O R M AT I O N READ ALL INSTRUCTIONS BEFORE USE SAFETY PRECAUTIONS • Make sure your range is properly adjusted by a qualified service technician or installer for the type of gas (natural or LP) that is to be used.
-
Page 6: Surface Burners
I M P O RTA N T S A F E T Y I N F O R M AT I O N READ ALL INSTRUCTIONS BEFORE USE SURFACE BURNERS WARNING: • If the top burner flame goes out, gas is still flowing to the burner until the knob is turned to the “OFF”... - Page 7 I M P O RTA N T S A F E T Y I N F O R M AT I O N READ ALL INSTRUCTIONS BEFORE USE COOK MEAT AND POULTRY THOROUGHLY Cook meat and poultry thoroughly—meat to at least an INTERNAL temperature of 160°F and poultry to at least an INTERNAL temperature of 180°F.
- Page 8 I M P O RTA N T S A F E T Y I N F O R M AT I O N READ ALL INSTRUCTIONS BEFORE USE OVEN When opening the door of a hot oven, stand away from the range. The hot air and steam that escape can cause burns to hands, face and eyes.
-
Page 9: Operating Instructions
PARTS AND FEATURES Oven vent Oval burner Medium burner Large burner Knobs (5 ea) Broiler pan & Grid Gasket Anti-tip bracket Model and serial number plate Grid Broiler pan Standard racks (2ea) O P E R AT I N G I N S T RU C T I O N S Anti-tip Screws (6 ea) Template... -
Page 10: Using The Gas Surface Burners
O P E R AT I N G I N S T RU C T I O N S USING THE GAS SURFACE BURNERS Throughout this manual, features and appearance may vary from your model. • Make sure all grates on the range are properly placed before using any burner. -
Page 11: Using The Gas Surface Burners
USING THE GAS SURFACE BURNERS HOW TO SELECT FLAME SIZE NEVER let the flames extend up the sides of the cookware for safe handling of cookware. Watch the flame, not the knob, as you reduce heat. When fast heating is desired, the flame size on a gas burner should match the cookware you are using. -
Page 12: Control Panel-Lrg3093S
O P E R AT I N G I N S T RU C T I O N S CONTROL PANEL—LRG3093S Throughout this manual, features and appearance may vary from your model. OVEN CONTROL, CLOCK, AND TIMER FEATURES BAKE PAD – Press the pad to enter the normal bake function. -
Page 13: Using The Oven
USING THE OVEN BEFORE YOU BEGIN The oven has 7 rack positions for various types of cooking. To install a rack insert the curved end of the rack into the desired position and push all the way back. To remove a rack pull out until the rack stops, then tilt up and pull out. - Page 14 O P E R AT I N G I N S T RU C T I O N S USING THE OVEN To avoid possible burns, place the racks in the desired position before you turn the oven on. HOW TO SET THE OVEN FOR BAKING OR ROASTING Your oven is not designed for open-door cooking.
- Page 15 USING THE OVEN HOW TO SET THE OVEN FOR BROILING Your oven is designed for CLOSED DOOR broiling. Place the food on the grid of the broiler pan. Follow suggested rack positions in the Broiling Guide. The oven door must be closed to begin broiling.
-
Page 16: Using The Oven
O P E R AT I N G I N S T RU C T I O N S USING THE OVEN BROILING GUIDE Broiling times will be affected by the size, weight, thickness, starting temperature and your preference of doneness. This guide is based on meats at refrigerated temperatures. -
Page 17: Using The Clock And Timer
USING THE CLOCK AND TIMER HOW TO SET THE CLOCK The clock should be set to the correct time of day for the automatic oven timing functions to work properly. The time of day cannot be changed during cooking or self-clean mode. -
Page 18: Using The Timed Baking Features
O P E R AT I N G I N S T RU C T I O N S USING THE TIMED BAKING FEATURES NOTE: DO NOT leave foods that spoil easily – such as milk, eggs, fish, stuffings, poultry and pork – more than 1 hour before or after cooking. -
Page 19: Using The Timed Baking Features
USING THE TIMED BAKING FEATURES HOW TO SET A DELAYED START AND AUTOMATIC STOP The oven will turn on at the time of day you set, cook for a specific length of time and then turn off automatically. Be sure the clock shows the correct time of day. Press the “BAKE”... -
Page 20: Setting The Warm Feature
O P E R AT I N G I N S T RU C T I O N S SETTING THE WARM FEATURE The WARM feature will maintain an oven temperature of 170°F(77°C). This feature should not be used to reheat cold foods. -
Page 21: Special Features Of Your Oven Control
SPECIAL FEATURES OF YOUR OVEN CONTROL Your new control has additional features that you may choose to use. The following pages describe these features and how you may activate them. The special feature modes can only be activated while the display is showing the time of day. HOW TO ADJUST THE OVEN THERMOSTAT You may find that your new oven cooks differently than the one it replaced. -
Page 22: Special Features Of Your Oven Control
O P E R AT I N G I N S T RU C T I O N S SPECIAL FEATURES OF YOUR OVEN CONTROL HOW TO SET PREHEATING ALARM LIGHT ON/OFF The interior oven light automatically turn on when the oven door is opened. -
Page 23: Using The Self-Cleaning Oven
USING THE SELF-CLEANING OVEN BEFORE A CLEAN CYCLE When running a self clean cycle, it is recommended that a kitchen window be opened or the use of ventilation fan or hood be used. Remove the oven racks, broiler pan, Wipe up heavy soil on the broiler grid, all oven bottom. -
Page 24: Using The Self-Cleaning Oven
O P E R AT I N G I N S T RU C T I O N S USING THE SELF-CLEANING OVEN The oven door must be closed and all controls set correctly for the cycle to work properly. HOW TO DELAY THE START OF CLEANING Make sure the clock shows the correct time of day. -
Page 25: Care And Cleaning Of The Range
CA R E A N D C L E A N I N G O F T H E R A N G E CARE AND CLEANING Make sure electrical power is off and all surfaces are cool before cleaning any part of the range. If your range is pulled away from the wall for cleaning, servicing or any reason, ensure that the anti-tip device is re-... -
Page 26: Burner Caps And Heads
CA R E A N D C L E A N I N G O F T H E R A N G E BURNER CAPS AND HEADS • DO NOT use bleach on product to clean. BURNER CAPS Lift off when cool. Wash burner caps in hot, soapy water and rinse with clean water. -
Page 27: Burner Grates
CA R E A N D C L E A N I N G O F T H E R A N G E BURNER GRATES Your range has three professional-style grates. For maximum stability, these grates should only be used in their proper position;... -
Page 28: Stainless Steel Surfaces
CA R E A N D C L E A N I N G O F T H E R A N G E STAINLESS STEEL SURFACES DO NOT use a steel wool pad; it will scratch the surface. To clean the stainless steel surface, use warm sudsy water or a stainless steel cleaner or polish. -
Page 29: Oven Door
CA R E A N D C L E A N I N G O F T H E R A N G E OVEN DOOR The oven door is removable, but it is heavy. You may need help removing and replacing the door. CAUTION: •... -
Page 30: Oven Bottom
CA R E A N D C L E A N I N G O F T H E R A N G E OVEN BOTTOM The oven bottom has a porcelain enamel finish. To make cleaning easier, protect the oven bottom from excessive spillovers by placing a cookie sheet on the rack below the rack you are cooking on. -
Page 31: Oven Racks
CA R E A N D C L E A N I N G O F T H E R A N G E OVEN RACKS Your oven is equipped with nickel oven racks, remove them from the oven before beginning the self-clean cycle. -
Page 32: Removing & Replacing The Storage Drawer
CA R E A N D C L E A N I N G O F T H E R A N G E REMOVING & REPLACING THE STORAGE DRAWER To Remove Storage Drawer: CAUTION - Turn power OFF before removing the storage drawer. -
Page 33: Troubleshooting
BEFORE CALLING FOR SERVICE Before you call for service, review this list. It may save you time and expense. This list includes common occurrences that are not the result of a defect in workmanship or materials. Problem Possible Causes Top burners do not •... - Page 34 T RO U B L E S H O OT I N G BEFORE CALLING FOR SERVICE Problem Food does not broil • Improper oven controls setting. properly in the oven • Oven door not closed. • Incorrect rack position. •...
- Page 35 BEFORE CALLING FOR SERVICE Problem Possible Causes Broil or self-clean • The oven temperature is too high. doesn’t work Oven not clean after a • Improper oven controls setting. self-clean cycle • The oven was heavily soiled. “CLOSE DOOR TO •...
- Page 36 T RO U B L E S H O OT I N G BEFORE CALLING FOR SERVICE Problem Drawer does not slide • The drawer is out of alignment. smoothly or drags • Drawer is over-loaded or load is unbalanced. Warming drawer will •...
- Page 37 LG GAS RANGE LIMITED WARRANTY – USA LG Electronics Inc. will repair or replace your product, at LG’s option, if it proves to be defective in material or workmanship under normal use, during the warranty period set forth below, effective from the date of original consumer purchase of the product.
- Page 38 M e m o...
- Page 39 LG Customer Information Center 1-800-243-0000 USA, Consumer User 1-888-865-3026 USA, Commercial User 1-888-542-2623 CANADA Register your product Online! www.lg.com Printed on 100% Recycled Paper Printed in Mexico...