Table of Contents
Advertisement
Available languages
Available languages
Quick Links
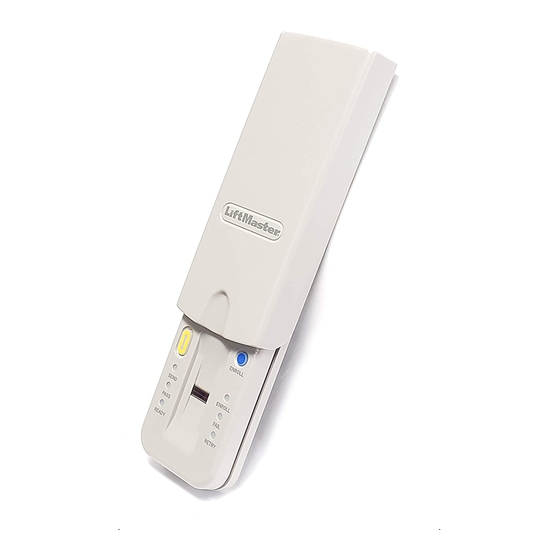
Overview
For use with any 315 MHz SECURITY
having a purple "learn" button (refer to Step 4.)
The system uses biometric technology that enables an
authorized user to gain access by scanning their fi ngerprint.
The sensor strip on the unit makes a numeric template of the
fi ngerprint that is unique to that user. The unit's memory can
store up to ten fi ngerprints.
• The term "enroll" refers to scanning the fi ngerprint so the
device will recognize the user.
• The term "swipe" refers to the movement of the fi nger across
the sensor strip.
• The term "LED" stands for Light Emitting Diode. There are 6
LEDs located on the Fingerprint Keyless Entry.
When unit is on, it is programmed to shut off after a short period
of time. The unit's sensor strip is sensitive so it is important to
read the Tips for Success before attempting to use the
Fingerprint Keyless Entry.
Step 1 Install the Unit
1. Remove cover.
2. Fasten bottom screw to mounting surface. Allow 1/8" (3 mm)
to protrude above surface. Position unit on screw head and
adjust for snug fi t.
3. Fasten top screw. Replace cover.
1
3
®
garage door openers
2
Model 379LM-10 and 379LMC-10
Fingerprint Keyless Entry
To prevent possible SERIOUS INJURY or DEATH from a
moving gate or garage door:
• Install Keyless Entry Control within sight of the garage door,
out of reach of children at a minimum height of 5 feet
(1.5 m), and away from ALL moving parts of door.
• ALWAYS keep remote controls out of reach of children.
NEVER permit children to operate, or play with remote
control transmitters.
• Activate gate or door ONLY when it can be seen clearly, is
properly adjusted, and there are no obstructions to door
travel.
• ALWAYS keep gate or garage door in sight until completely
closed. NEVER permit anyone to cross path of moving gate or
door.
NOTICE: To comply with FCC and or Industry Canada (IC) rules, adjustment or modifi cations of
this receiver and/or transmitter are prohibited, except for changing the code setting or replacing
the battery. THERE ARE NO OTHER USER SERVICEABLE PARTS.
Tested to Comply with FCC Standards for Home or offi ce use. Operation is subject to the following
two conditions: (1) this device may not cause harmful interference, and (2) this device must
accept any interference received, including interference that may cause undesired operation.
Tips for Success
CORRECT
1. Make sure fi nger is clean and dry.
Place fi nger fl at above the sensor strip
with the top knuckle above the sensor.
2. Swipe fi nger straight down keeping
fi rm contact with the sensor. The swipe
should be a slow, constant speed.
SPECIAL NOTES: Use the same fi nger for
every swipe. It is important to swipe fi nger slowly and fi rmly as
this is the reason most swipes fail.
Start swipe with
the top knuckle
above the
sensor strip.
Sensor Strip
INCORRECT
• Do not bend fi nger during swipe as this will only scan the tip of
your fi nger.
• Swipe fi nger straight down, not at an angle.
• Swipe fl at, not tilted or rolled to one side.
1
Swipe finger straight down
keeping firm contact with
the sensor.
Sensor Strip
The scan
should end
at the tip of
finger.
Advertisement
Table of Contents

Related Manuals for Chamberlain LiftMaster 379LM-10


Summary of Contents for Chamberlain LiftMaster 379LM-10
- Page 1 2. Fasten bottom screw to mounting surface. Allow 1/8" (3 mm) to protrude above surface. Position unit on screw head and adjust for snug fi t. 3. Fasten top screw. Replace cover. Model 379LM-10 and 379LMC-10 To prevent possible SERIOUS INJURY or DEATH from a ® garage door openers moving gate or garage door: •...
- Page 2 Reference Cover Resend button: When pressed the door will stop if moving up or reverse if moving down. Send LED (yellow): Lit after a passed fingerprint scan and indicates that the Resend button is active and can be used to stop or reverse door travel.
-
Page 3: Step 5 Operation
Step 4 Program to Opener NOTE: The unit must have an enrolled user before it can be programmed to the opener. Due to the 30 second time interval, a second person may be needed to press the “learn” button. If there is no purple “learn”... -
Page 4: Troubleshooting
3. Replace the batteries. Screw the battery cover back on. 4. Slide cover back into place. Replacement parts: Cover ...41A6481 FOR SERVICE DIAL OUR TOLL FREE NUMBER: 1-800-528-9131 © 2008, The Chamberlain Group, Inc. All Rights Reserved Cover Battery Cover Screws ENROLL... -
Page 5: Caractéristiques
3 mm (1/8 po) au-dessus de la surface. 3. Serrez la vis du haut. Repositionnez le couvercle. Modèle 379LM-10 et 379LMC-10 Afi n d’éliminer les risques de BLESSURES GRAVES ou de MORT découlant de l’actionnement d’une clôture ou d’une porte de garage : AVERTISSEMENT •... - Page 6 Referencía Couvercle Bouton Resend (Renvoyer) : Lorsqu’il est appuyé, la porte s’arrête si elle monte ou s’inverse si elle descend. LED Send (Envoyer) (jaune) : S’allume après une vérification réussie de l’empreinte digitale ; elle indique que le bouton Resend (Renvoyer) est actif et peut être utilisé...
- Page 7 Étape 4 Programmation au dispositif d’ouverture REMARQUE : L’appareil doit avoir un utilisateur inscrit avant d’être programmé au dispositif d’ouverture. Étant donné l’intervalle de 30 secondes, une deuxième personne peut être nécessaire pour appuyer sur le bouton « learn » (« apprendre »). Si personne n’est présent pour appuyer sur le bouton «...
-
Page 8: Dépannage
4. Repositionnez le couvercle en le faisant glisser. Pièces de Reparation: Couvercle ...41A6481 POUR LE SERVICE, PRIÈRE DE COMPOSER NOTRE NUMÉRO SANS FRAIS: 1-800-528-9131 © 2008, The Chamberlain Group, Inc Tous droits réservés. AVERTISSEMENT AVERTISSEMENT Couvercle Couvercle du compartiment de...