Table of Contents
Advertisement
Advertisement
Table of Contents

Related Manuals for Casio KL-60


Summary of Contents for Casio KL-60
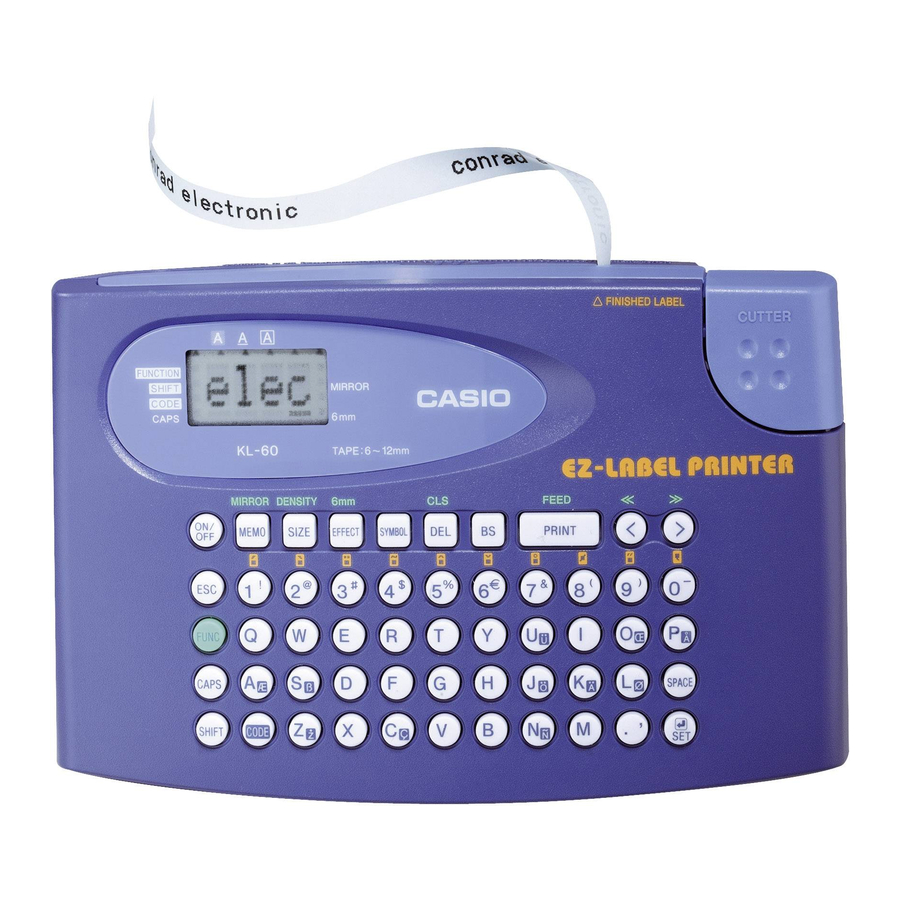
- Page 1 KL-60 User’s Guide ESGFISw...
-
Page 2: Important Safety Precautions
Important Safety Precautions Note of the following safety precautions before using the label printer for the first time. Keep these safety precautions and operating instructions on hand for future reference. About safety precaution symbols The following symbols are used in this manual and on the product itself to alert you and others to the risk of personal and material injury. - Page 3 Attractive sans-serif font Font effects (shading, underline, box) Built-in symbols Text memory All of this makes the CASIO label Printer the perfect tool for just about all of your labeling needs! Important! Contact a nearby dealer whenever you require servicing.
-
Page 4: Table Of Contents
To recall text from memory ... E-13 Part 8 Reference ... E-14 Cleaning the Printer Head and Roller ... E-14 To clean the printer head and roller ... E-14 Initial Power On Settings ... E-14 Initializing the Label Printer ... E-14 To initialize the Label Printer ... -
Page 5: Part 1 Getting Acquainted
This part of the manual provides you with important information you need to know in order to use the Label Printer to its full potential. Be sure to read it carefully before using the Label Printer for the first time. -
Page 6: Part 2 Getting Ready
Never mix batteries of different types Never leave dead batteries in the Label Printer. Remove the batteries if you do not plan to use the Label Printer for a long time. Replace the batteries in accordance with the battery life marked on the side of the battery. -
Page 7: Turning Power On And Off
Press ON/OFF to turn power on and off. Important! If you are using the Label Printer for the first time, you should reset it first. Resetting the Memory You should reset the memory of the Label Printer before using it for the first time, after you have not used it for a long time, or if nothing happens when you turn power on, even after you change the batteries. -
Page 8: Tape Width Specification
7. Return the printer head release to its original position by sliding in the direction opposite to that indicated by the arrow in the illustration in step 5. -
Page 9: Basic Alpha-Numeric Input
All letters you input in the caps mode are upper-case. When the caps mode indicator is not shown on the display, all letters are input as lower-case. Note that the Label Printer stays in the caps mode until you press the CAPS key again. -
Page 10: About The Code Key
About the CODE key… The CODE key makes it possible to input punctuation needed for a number of different languages. The following shows the key operations you should use for each of the characters formed using the CODE key. Key Operation Input Key Operation Input... -
Page 11: To Delete Characters Using The Del Key
Any character size specification you make is applied to all the characters on the display. You cannot make multiple specifications for specific characters. The Label Printer automatically adjusts the character size whenever you in- put a B symbol to create a 2-line label as shown below. -
Page 12: To Change The Character Size
Note that you cannot input a B symbol if you are using 6mm wide tape. The Label Printer automatically adjusts the character size whenever you de- lete a B symbol to change a two-line label to a 1-line label. Initial Size... -
Page 13: Part 6 Printing
During printing at very high density, printing of very long text, or repeat print- ing of the same text a number of times, the Label Printer may stop printing for about five seconds. This is not a malfunction, and normal printing should resume shortly (indicated by the message “P R N T”... -
Page 14: To Adjust The Print Density
To adjust the print density 1. Press FUNC and then SIZE (DENSITY). 2. Use H and J to move the underlining to the density setting that you want. The lightest setting is 1, while the darkest setting is 5. The standard setting is 3. Only four of the five settings that are available can appear on the display. -
Page 15: Part 8 Reference
3. Slide the printer head release in the direction indicated by the arrow, and remove the tape cartridge. 4. Use a cotton swab dipped in alcohol to clean the printer head and roller as shown in the illustration. Printer head 5. -
Page 16: Troubleshooting
Important! Before loading a tape cartridge into the label printer, always make sure you take up any slack in the ink ribbon first. If the ink ribbon is broken, you must change to another tape cartridge. -
Page 17: Error Messages
Tape Cutting Cannot cut tape. Possible Cause Tape cutter blade is dull. Take the label printer to the dealer from whom you purchased it to have the tape cutter blade replaced. Printed text is cut off by tape cut operation. -
Page 18: Alpha Characters
Alpha Characters Symbols E-17... -
Page 19: Symbols: 46
Specifications Model: KL-60 Input Keyboard Layout: Typewriter (QWERTY) Character Types Alpha (English and other languages): 151 Numbers: 10 Symbols: 46 Display Type: Liquid crystal display Columns: 4 Character matrix: 5 7-dot Printing Type: Thermal transfer Width: 5mm Character Matrix: 16 16-dot... - Page 20 CASIO COMPUTER CO., LTD. 6-2, Hon-machi 1-chome Shibuya-ku, Tokyo 151-8543, Japan MO0105-A Printed in China/Imprimé en Chine A344043-1...