Table of Contents
Advertisement
Available languages
Available languages
OPERATOR'S MANUAL
MANUEL D'UTILISATION
MANUAL DEL OPERADOR
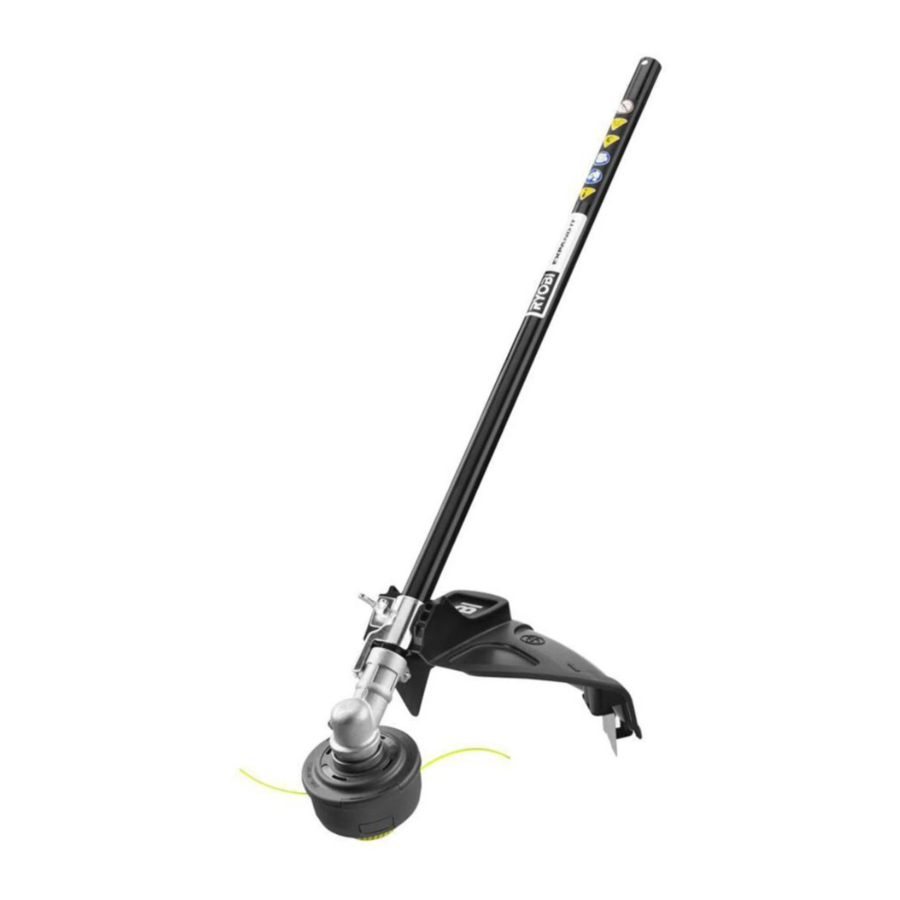
STRAIGHT SHAFT
TRIMMER ATTACHMENT
ARBRE DROIT ACCESSOIRE
TAILLE-BORDURES
ACCESORIO PARA RECORTAR
DE EJE RECTO
RY15523
Your trimmer attachment has been engineered and manufactured to our high standard for dependability, ease of operation,
and operator safety. When properly cared for, it will give you years of rugged, trouble-free performance.
WARNING:
To reduce the risk of injury, the user must read and understand the operator's manual before using
this product.
Thank you for your purchase.
SAVE THIS MANUAL FOR FUTURE REFERENCE
L'accessoire taille-bordures a été conçue et fabriquée conformément
à nos strictes normes de fiabilité, simplicité d'emploi et sécurité
d'utilisation. Correctement entretenue, elle vous donnera des
années de fonctionnement robuste et sans problème.
AVERTISSEMENT :
blessures, l'utilisateur doit lire et veiller à bien comprendre le
manuel d'utilisation avant d'employer ce produit.
Merci de votre achat.
CONSERVER CE MANUEL POUR
FUTURE RÉFÉRENCE
Pour réduire les risques de
Su nuevo accesorio para recortar ha sido diseñada y fabricada
de conformidad con las estrictas normas para brindar fiabilidad,
facilidad de uso y seguridad para el operador. Con el debido cuidado,
le brindará muchos años de sólido y eficiente funcionamiento.
ADVERTENCIA:
el usuario debe leer y comprender el manual del operador antes
de usar este producto.
Le agradecemos su compra.
GUARDE ESTE MANUAL PARA
FUTURAS CONSULTAS
Para reducir el riesgo de lesiones,
Advertisement
Table of Contents

Related Manuals for Ryobi EXPAND-IT RY15523


Summary of Contents for Ryobi EXPAND-IT RY15523
- Page 1 ACCESORIO PARA RECORTAR DE EJE RECTO RY15523 Your trimmer attachment has been engineered and manufactured to our high standard for dependability, ease of operation, and operator safety. When properly cared for, it will give you years of rugged, trouble-free performance. WARNING: To reduce the risk of injury, the user must read and understand the operator’s manual before using...
- Page 2 Consulte esta sección desplegable para ver todas las figuras a las que se hace referencia en el manual del operador. Fig. 1 A - Hanger cap (capuchon de suspension, tapa de suspensión) B - Trimmer shaft (arbre du taille-bordures, eje de la recortadora) C - Gear head (carter d’engrenages, cabezal de engranajes) Fig.
-
Page 3: Spool Replacement
Fig. 7 A - Drive shaft (arbre moteur, eje de impulsión) B - string head (tête de coupe, cabezal del hilo) C - Spool retainer (retenue de bobine, retén del carrete) Fig. 8 A - Spool retainer (retenue de bobine, retén del carrete) Fig. -
Page 4: Table Of Contents
TABLE DES MATIÈRES / ÍNDICE DE CONTENIDO Introduction ... 2 Introduction / Introducción General Safety Rules ... 3 Règles de sécurité générales / Reglas de seguridad generales Specific Safety Rules ... 3 Règles de sécurité particulières / Reglas de seguridad específicas Symbols ... -
Page 5: General Safety Rules
Never use wire, wire rope, or flail blades, which can break off and become dangerous projec- tiles. Never operate string trimmer without the grass deflector in place and in good condition. Maintain a firm grip on both handles while trimming. -
Page 6: Symbols
The following signal words and meanings are intended to explain the levels of risk associated with this product. SYMBOL SIGNAL DANGER: WARNING: CAUTION: CAUTION: Some of the following symbols may be used on this product. Please study them and learn their meaning. Proper interpretation of these symbols will allow you to operate the product better and safer. -
Page 7: Features
Electric Power Head ..080 max. Before use of this product, familiarize yourself with all op- erating features and safety rules. GRASS DEFLECTOR The trimmer includes a grass deflector that helps protect you from flying debris. ASSEMBLY WARNING: If any parts are damaged or missing do not operate this product until the parts are replaced. -
Page 8: Operation
Remove the hanger cap from the attachment shaft. Loosen the knob on the coupler of the power head shaft. Push in the button located on the straight shaft trimmer attachment. Align the button with the guide recess on the power head coupler and slide the two shafts together. - Page 9 Avoid hot surfaces by always keeping the tool away from your body. (Proper operating position shown in figure 5.) Keep the trimmer tilted toward the area being cut; this is the best cutting area. The trimmer cuts when passing the unit from right to left.
-
Page 10: Maintenance
Cut one piece of trimmer line 10 ft. long. Insert the line into the eyelet on the string trimmer housing. Push until the end of the line comes out the other side of the string head. - Page 11 Ryobi Help Line! To register your Ryobi product by regular mail, please print the following information on a 3 in. x 5 in. card or standard postcard: your name, mailing address, phone numbers, email address, Ryobi product(s) purchased with item number from package, and serial number for each product.
-
Page 12: Warranty
Blower Fans, Blower and Vacuum Tubes, Vacuum Bag and Straps, Guide Bars, Saw Chains Techtronic Industries North America, Inc., reserves the right to change or improve the design of any RYOBI outdoor product without assuming any obligation to modify any product previously manufactured. -
Page 13: Exploded View And Parts List
EXPLODED VIEW AND PARTS LIST VUE ÉCLATÉE ET LISTE DES PIÈCES VISTA DESARROLLADA Y LISTA DE PIEZAS... - Page 14 EXPLODED VIEW AND PARTS LIST VUE ÉCLATÉE ET LISTE DES PIÈCES VISTA DESARROLLADA Y LISTA DE PIEZAS KEY NO. PART NO. Pièce Num. Réf. Num. Núm. Pieza Núm. Ref. 940726013 Expand-it Label 940230132 Warning Decal 308035011 Straight Shaft Assembly 660736001 * Screw (10-24 x 5/8 in.) 638125001 Clamp...
- Page 15 NOTES / NOTES / NOTAS...
- Page 16 NOTES / NOTES / NOTAS...
- Page 17 NOTES / NOTES / NOTAS...
- Page 18 RÈGLES DE SÉCURITÉ GÉNÉRALES AVERTISSEMENT : Lire et veiller à bien comprendre toutes les instructions. Le non-respect de toutes les instructions ci-dessous peut entraîner un choc électrique, un incendie et/ou des blessures graves. CONSERVER CES INSTRUCTIONS Lire attentivement ces instructions et celles du moteur avant d’utiliser cet accessoire.
- Page 19 Les termes de mise en garde suivants et leur signification ont pour but d’expliquer le degré de risques associé à l’utilisation de ce produit. SYMBOLE SIGNAL DANGER : AVERTISSEMENT : ATTENTION : ATTENTION : Certains des symboles ci-dessous peuvent être présents sur la produit. Veiller à les étudier et à apprendre leur signification.
-
Page 20: Fiche Technique
Si des pièces sont manquantes ou endommagées, appeler le 1-800-860-4050. LISTE DE CONTRÔLE D’EXPÉDITION Arbre droit accessoire Taille-bordures Ryobi Déflecteur d’herbe Fil pour taille-bordures précoupé Manuel d’utilisation AVERTISSEMENT : Si des pièces manquent ou sont endommagées, ne pas... - Page 21 NOTE : Si les boutons ne s’engagent pas complètement dans les trous de positionnement, les arbres ne sont pas solidement maintenus l’un dans l’autre. Tourner légèrement les arbres dans les deux sens jusqu’à ce que le bouton s’engage complètement. Serrer le bouton fermement. AVERTISSEMENT : S’assurer que le bouton est bien serré...
- Page 22 AVERTISSEMENT : Toujours tenir l’outil à sa droite. L’utilisation à gauche exposerait l’utilisateur aux surfaces chaudes, créant ainsi des risques de brûlures. AVERTISSEMENT : Pour éviter le contact avec les parties brûlantes, ne jamais travailler avec le bas du moteur au-dessus du niveau de la taille.
- Page 23 AVERTISSEMENT : Utiliser exclusivement des pièces d’origine pour les réparations. L’usage de toute autre pièce pourrait créer une situation dangereuse ou endommager l’outil. AVERTISSEMENT : Toujours porter une protection oculaire avec écrans latéraux certifiée conforme à la norme ANSI Z87.1. Si cette précaution n’est pas prise, des objets peuvent être projetés dans les yeux et causer des lésions graves.
- Page 24 76 mm x 127 mm (3 po x 5 po) ou une carte postale standard: nom, adresse postale, numéros de téléphone, adresse e-mail, produit(s) Ryobi acheté(s) avec numéros de modèle et de série. Adresser la carte à: Techtronic Industries North America, Inc., Attn.
- Page 25 ® agréé). Le produit, y compris toutes les pièces défectueuses devront être retournés à un centre de réparations Ryobi agréé, avant expiration de la période de garantie. Les frais d’expédition au centre de réparations pour les travaux sous garantie et de retour au propriétaire du produit seront assumés par le...
-
Page 26: Guarde Estas Instrucciones
REGLAS DE SEGURIDAD GENERALES ADVERTENCIA : Lea y comprenda todas las instrucciones. El incumplimiento de las instrucciones señaladas abajo puede causar descargas eléctricas, incendios y lesiones serias. GUARDE ESTAS INSTRUCCIONES Lea detenidamente estas instrucciones y las instrucciones para su cabezal motor antes de utilizar el accesorio para recortar de eje recto. - Page 27 Les termes de mise en garde suivants et leur signification ont pour but d’expliquer le degré de risques associé à l’utilisation de ce produit. SYMBOLE SIGNAL DANGER : AVERTISSEMENT : ATTENTION : ATTENTION : Certains des symboles ci-dessous peuvent être présents sur la produit. Veiller à les étudier et à apprendre leur signification.
- Page 28 Si hay piezas dañadas o faltantes, le suplicamos llamar al 1-800-860-4050, donde le brindaremos asistencia. LISTA DE EMPAQUETADO Accesorio Ryobi Expand-it para cortar de eje recto ™ ® Deflector de pasto...
- Page 29 El accesorio para recortar de eje recto se acopla al cabezal de potencia por medio de un dispositivo acoplador. Quite el tapa de la suspensión del eje del accesorio. Afloje la perilla en el acoplador del eje del cabezal motor. ...
- Page 30 ADVERTENCIA: Siempre coloque la unidad al lado derecho de usted. Si se utiliza la unidad colocándola en el lado izquierdo del cuerpo, el usuario expone éste a superficies calientes, lo cual puede causar lesiones por quemadura. ADVERTENCIA: Para evitar quemaduras causadas por tocar superficies calientes, al utilizar esta unidad nunca coloque la parte inferior de la misma arriba del nivel de la cintura.
- Page 31 ADVERTENCIA: Al dar servicio a la unidad, sólo utilice piezas de repuesto idénticas. El empleo de piezas diferentes puede causar un peligro o dañar el producto. ADVERTENCIA: Siempre póngase protección ocular con protección lateral con la marca de cumplimiento de la norma ANSI Z87.1.
- Page 32 Ryobi ! Para registrar su producto Ryobi por correo normal sirvase escribir en letra de molde la siguiente información en una tarjeta de 76 mm x 127 mm (3 pulg. x 5 pulg.) o en una tarjeta postal estándar: su nombre, dirección, números de teléfono, dirección de correo electrónico, producto(s) Ryobi adquirido(s), con el número de articulo mostrado en el paquete y el número de...
- Page 33 RYOBI sin cargo alguno al comprador por concepto de piezas y mano de obra (Centro de Servicio Autorizado Ryobi).
- Page 34 Lávese las manos después de utilizar el aparato. RYOBI is a registered trademark of Ryobi Limited and is used pursuant to a license granted by Ryobi Limited. RYOBI est une marque déposée de RYOBI Limited et est utilisée en vertu d’une licence...