Pioneer SX-316-S Operating Instructions Manual
Pioneer operating instructions audio multi-channel receiver sx-316-s
Hide thumbs
Also See for SX-316-S:
- Service manual (94 pages) ,
- Operating instructions (2 pages) ,
- Specifications (1 page)
Table of Contents
Advertisement
Advertisement
Table of Contents

Related Manuals for Pioneer SX-316-S


Summary of Contents for Pioneer SX-316-S
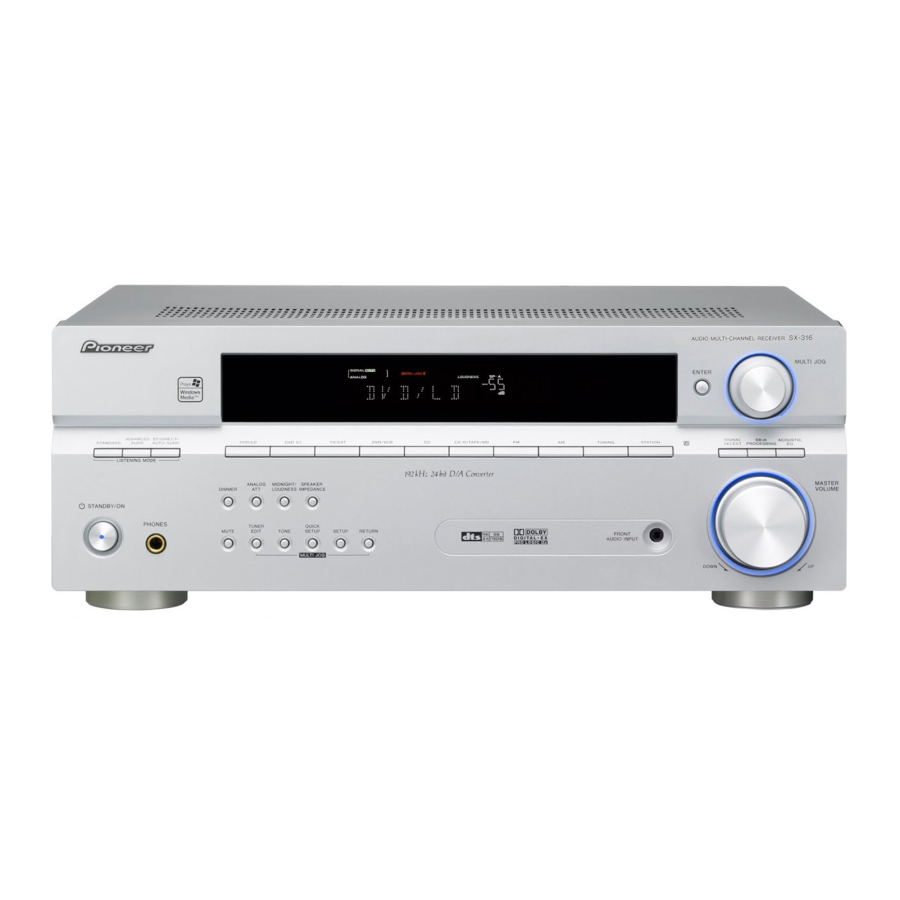
- Page 1 Audio Multi-Channel Receiver SX-316-S...
-
Page 2: Operating Environment
IMPORTANT The lightning flash with arrowhead symbol, within an equilateral triangle, is intended to alert the user to the presence of uninsulated "dangerous voltage" within the product's enclosure that may be of sufficient magnitude to constitute a risk of electric shock to persons. - Page 3 A damaged power cord can cause a fire or give you an electrical shock. Check the power cord once in a while. When you find it damaged, ask your nearest PIONEER authorized service center or your dealer for a replacement. For Taiwan exclusively...
-
Page 4: Table Of Contents
Contents Contents 01 Before you start Checking what’s in the box ....5 Loading the batteries ....5 Using the remote control . -
Page 5: Before You Start
Before you start Chapter 1: Before you start Checking what’s in the box Please check that you've received the following supplied accessories: • AM loop antenna • FM wire antenna • AA size IEC R6 dry cell batteries (to confirm system operation) x 2 •... -
Page 6: Installing The Receiver
Before you start Installing the receiver • When installing this unit, make sure to put it on a level and stable surface. Don’t install it on the following places: – on a color TV (the screen may distort) – near a cassette deck (or close to a device that gives off a magnetic field). -
Page 7: Connecting Up
Connecting up Chapter 02: Connecting up Making cable connections Make sure not to bend the cables over the top of this unit. If this happens, the magnetic field produced by the transformers in this unit may cause a humming noise from the speakers. Important •... -
Page 8: Connecting To A Tv And Dvd Recorder Or Player
Connecting up Connecting to a TV and DVD recorder or player The diagram below shows the connections for a basic home theater setup of a TV, DVD recorder (or player) and this receiver. Audio is output from the DVD recorder’s coaxial digital audio jack, while the video output goes to the TV. -
Page 9: Connecting Other Digital Components
Connecting up Note • You can only record from analog audio sources (TV/SAT, CD-R/TAPE/MD, FRONT AUDIO or FM/AM inputs). Audio from the digital inputs is not recordable from the analog outputs. Connecting other digital components The diagram below shows the connections for a digital video component (another DVD recorder, digital satellite receiver, decoder, cable box, etc.). -
Page 10: Am Loop Antenna
Connecting up AM loop antenna Assemble the antenna and connect to the receiver. Attach (if necessary) and face in the direction that gives the best reception. If you want to attach the loop antenna to a wall, assemble as shown below. Antenna snap connectors Twist the exposed wire strands together and insert into the hole, then snap the connector... -
Page 11: Connecting The Speakers
Connecting up Connecting the speakers The diagram below shows a complete surround sound setup of six speakers set up in a typical configuration. For the best sound, try to follow this setup in your room as closely as possible. Make sure the positive (colored) and negative (black) terminals on the receiver match those on the speakers. -
Page 12: Speaker Terminals
Connecting up Speaker terminals Make sure that all the bare speaker wire is twisted together and inserted fully into the speaker terminal. If any of the bare speaker wire is touching the back panel when you switch the unit on, the power may cut off as a safety measure. -
Page 13: Controls And Displays
Controls and displays Chapter 3: Controls and displays Front panel ADVANCED ST/DIRECT/ DVD/LD TV /SAT STANDARD SURR AUTO SURR LISTENING MODE ANALOG MIDNIGHT/ DIMMER LOUDNESS SLEEP STANDBY / ON PHONES TUNER QUICK MUTE EDIT TONE SETUP SETUP RETURN MULTI JOG ADVANCED ST/DIRECT/ STANDARD... -
Page 14: Display
Controls and displays ADVANCED SURR Switches between the various surround modes(page 20). ST/DIRECT/AUTO SURR Switches between direct and stereo playback. Direct playback bypasses the tone controls for the most accurate reproduction of a source (page 21). Also selects the Auto Surround mode (Auto playback on page 19). - Page 15 Controls and displays 2 DIGITAL Lights when a Dolby Digital signal is detected. ANALOG Lights when an analog signal is detected. Lights when a DTS encoded audio signal is detected. Lights to indicate decoding of a DTS multichannel signal. 2 DIGITAL Lights to indicate decoding of a Dolby Digital multichannel signal.
-
Page 16: Remote Control
Controls and displays Remote control RECEIVER SLEEP DIMMER ANALOG ATT INPUT SELECTOR F.AUDIO CD-R STANDARD ADV.SURR STEREO TOP MENU SETUP ENTER TUNER EDIT S.RETRIEVER VOLUME EFFECT/CH SEL LEVEL DVD/DVR GUIDE TIMER REC INFO REC STOP DISPLAY CLASS TUNING SHIFT RECEIVER RECEIVER Switches the receiver between standby and on. - Page 17 ONE TOUCH COPY* Copies the currently playing title from DVD to HDD or vice-versa. 12 DVD/DVR control buttons You can use these buttons to control a Pioneer DVD player or recorder connected to your system (press DVD/DVR to access the below controls).
-
Page 18: About The Wma9 Pro Decoder
Controls and displays 13 TUNER controls The TUNING +/– buttons can be used to find radio frequencies (page 25) and the STATION +/– buttons can be used to select preset radio stations (page 25). DISPLAY Switch the display between station preset name, frequency (see tip on page 25). -
Page 19: Listening To Your System
Listening to your system Chapter 4: Listening to your system Important • Certain features explained in this section will not be possible depending on the source (for example, PCM 88.2 kHz / 96 kHz, DTS 96 kHz (24 bit) or WMA 9 Pro sources). -
Page 20: Using The Advanced Surround Effects
Listening to your system Using the Advanced surround effects Try different settings with various soundtracks to see which you like. RECEIVER SLEEP DIMMER ANALOG ATT INPUT SELECTOR F.AUDIO CD-R STANDARD ADV.SURR STEREO • Press ADV.SURR. (ADVANCED SURR) repeatedly to select a listening mode. •... -
Page 21: Using The Virtual Surround Back Mode
Listening to your system Using the Virtual Surround Back mode (VSB) Selecting this mode allows you to hear a virtual surround back channel through your surround speakers. For example, you can choose to listen to sources with no surround back channel information (for example, 5.1 encoded material) with emulated 6.1 encoding (VSB ON). -
Page 22: Using The Sound Retriever
Listening to your system Using the Sound Retriever When audio data is removed during the compression process, sound quality often suffers from an uneven sound image. The Sound Retriever feature employs new DSP technology that helps bring CD quality sound back to compressed 2-channel audio by restoring sound pressure and smoothing jagged artifacts left over after compression. -
Page 23: The System Setup Menu
The System Setup menu Chapter 5: The System Setup menu Making receiver settings from the System Setup menu The following section shows you how to make detailed settings to specify how you’re using the receiver and also explains how to fine-tune individual speaker system settings to your liking. -
Page 24: Setup Menu
The System Setup menu Adjust the level of each channel using the (cursor left/right) buttons. If you selected T. TONE M., use up/down) to switch speakers. The T. TONE A. setup will output test tones in the following order: Adjust the level of each speaker as the test tone is emitted. -
Page 25: Using The Tuner
Using the tuner Chapter 6: Using the tuner Listening to the radio The following steps show you how to tune in to FM and AM radio broadcasts and memorize the frequency for recall later. Press AM or FM to select the tuner band. Tune to a station. -
Page 26: Changing The Frequency Step
Using the tuner Changing the frequency step If you find that you can’t tune into stations successfully, the frequency step may not be suitable for your country/region. Here’s how to switch the setting: Switch the receiver into standby. On the front panel, press ON while you press and hold the TUNER EDIT button. -
Page 27: Additional Information
Take a look at the other components and electrical appliances being used, because sometimes the problem may lie there. If the trouble isn't sorted out even after going through the checks below, ask your nearest Pioneer authorized independent service company to carry out repair work. -
Page 28: Resetting The Main Unit
Additional information Problem No sound from surround or center speakers. No sound from subwoofer. Noise during playback of a cassette deck. No sound is output or a noise is output when software with DTS is played back. During a playback search, noise is output from a DTS compatible CD player. -
Page 29: Specifications
• Specifications and the design are subject to possible modifications without notice, due to improvements. Copyright ©2006 Pioneer Corporation. 50 Hz / 60 Hz ... 2 Published by Pioneer Corporation. - Page 30 253 Alexandra Road, #04-01, Singapore 159936 TEL: 65-6472-7555 PIONEER ELECTRONICS AUSTRALIA PTY. LTD. 178-184 Boundary Road, Braeside, Victoria 3195, Australia, TEL: (03) 9586-6300 PIONEER ELECTRONICS DE MEXICO S.A. DE C.V. Blvd.Manuel Avila Camacho 138 10 piso Col.Lomas de Chapultepec, Mexico,D.F. 11000 TEL: 55-9178-4270 <06C00001>...