Table of Contents
Advertisement
Advertisement
Table of Contents
Troubleshooting

Related Manuals for Omron HJ-720ITC


Summary of Contents for Omron HJ-720ITC
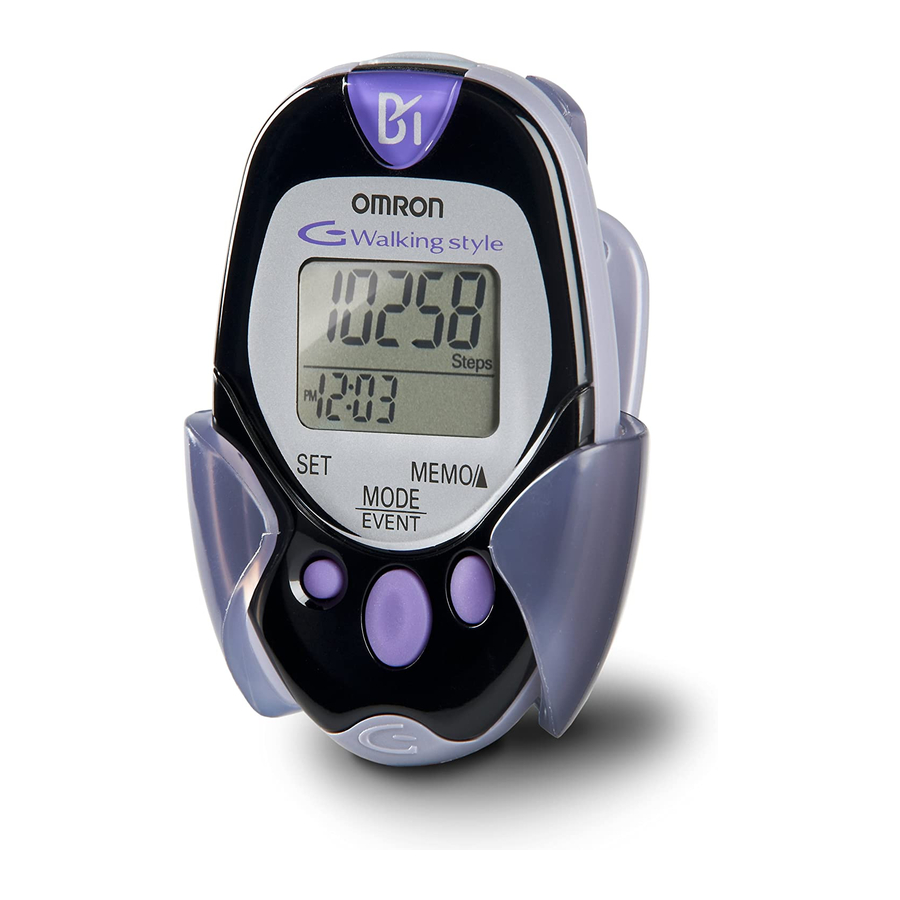
- Page 1 I NST RU CTION MAN UAL Pocket Pedometer HJ-720ITC Model...
-
Page 2: Table Of Contents
TABLE OF CONTENTS Before Using the Unit Introduction ...3 Important Safety Information...4 Know Your Unit ...6 Main Unit ...6 Components ...7 Aerobic Step Function ...8 Calorie/Amount of Fat Burned Display ...8 Stride Length Measurement ...9 Operating Instructions Battery Installation ...10 Battery Replacement ...11 Setting the Time ...12 Setting the Weight ...14... -
Page 3: Before Using The Unit
flexibility to count steps. You can easily track your progress by transferring your walking data from the pedometer to your Personal Computer. Your HJ-720ITC comes with the following components: • Pedometer • Screwdriver •... -
Page 4: Important Safety Information
IMPORTANT SAFETY INFORMATION To assure the correct use of the product basic, safety measures should always be followed including the warnings and cautions listed in this instruction manual. SAFETY SYMBOLS USED IN THIS INSTRUCTION MANUAL WARNING CAUTION OPERATING THE DEVICE Contact your physician or healthcare provider before beginning a weight reduction or exercise program. -
Page 5: Care And Maintenance
CARE AND MAINTENANCE Do not disassemble or modify the unit. Changes or modifications not approved by Omron Healthcare will void the user warranty. Do not subject the unit to strong shocks, such as dropping the unit on the floor. -
Page 6: Know Your Unit
KNOW YOUR UNIT KNOW YOUR UNIT Main Unit Display SET Button Back of the main unit USB Connector Holder Strap Clip USB Connector Cover SYSTEM RESET Button Battery Cover MEMO/L Button MODE Button EVENT... -
Page 7: Components
KNOW YOUR UNIT Components Holder Use this holder when attaching the unit to your belt or the top of your pants. 1) Attach the main unit to the holder. How to attach the strap to the main unit Hole to attach the strap 2) Fasten the holder clip to your pants. -
Page 8: Aerobic Step Function
AEROBIC STEP FUNCTION The unit displays the total number of aerobic steps in a day that satisfies the following two conditions: (The minutes you walked as the number of aerobic steps is also displayed.) • Walk more than 60 steps per minute •... -
Page 9: Stride Length Measurement
STRIDE LENGTH MEASUREMENT Measure your stride length before beginning to set the pedometer. How to measure your stride length 1. Walk 10 steps with your normal stride as illustrated below. 2. Measure the distance from START to END in inches. 3. -
Page 10: Operating Instructions
BATTERY INSTALLATION Remove the screw on the battery cover located on the back of the main unit. Use the supplied screwdriver or use a commercially available small screwdriver to remove the screw on the battery cover. Open the battery cover. Insert the battery. -
Page 11: Battery Replacement
BATTERY REPLACEMENT When the Low Battery Indicator appears on the display, immediately replace the battery. NOTES: • When the Low Battery Indicator starts to blink, the unit stops counting and the time is displayed as “–:– –”. • When the battery is replaced, the time setting and the data for the current hour will be reset. -
Page 12: Setting The Time
SETTING THE TIME Setting range: 12:00 AM-11:59 PM Install the battery. (Refer to BATTERY INSTALLATION on page 10) The hour flashes on the display. If the any button is not pressed for 5 minutes, complete setting and display the number of steps and time. - Page 13 SETTING THE TIME Press the SET button to set the minute. The weight flashes on the display.
-
Page 14: Setting The Weight
SETTING THE WEIGHT Setting range: 70 to 300 lb. The weight flashes on the display. Press the MEMO/L Button to advance by increments of 1 lb. Press and hold the button to advance weight in 10 lb increments. NOTE: Press the MODE/EVENT Button to return the weight to 88. -
Page 15: Setting The Stride Length
SETTING THE STRIDE LENGTH Setting range: 1'00'' to 4'00'' feet The stride length flashes on the display. Press the MEMO/L Button to advance by increments of 1'' inch. Press and hold the button to advance the stride in 4'' inches increments. NOTE: Press the MODE/EVENT Button to return the stride length to 1'08''. -
Page 16: Attaching The Pedometer
ATTACHING THE PEDOMETER The unit may be placed in the upper front pocket of your clothing, in the front pocket of your pants, in a bag, or attached to your belt or pants. Place the unit in your pocket. Do not place the unit in the back pocket of your pants. Attach the clip on the edge of your pocket to prevent the unit from dropping. - Page 17 ATTACHING THE PEDOMETER The unit may not count steps correctly in the following conditions: 1. The memory is displayed or the unit is being set. 2. The unit is not positioned correctly. • When the front of the main unit is placed in the angle of less than 60°...
-
Page 18: Changing The Display
CHANGING THE DISPLAY Press the MODE/EVENT Button to change the display Each time you press the MODE/EVENT Button, the display will change. Number of aerobic steps Number of steps with minutes USING THE EVENT FUNCTION Press the MODE/EVENT Button for 2 seconds while current day’s data is displayed. -
Page 19: Using The Memory Function
USING THE MEMORY FUNCTION This unit can store up to previous 41 days and display most recent 7 days of data. The current day’s data is automatically stored in memory when the time reaches 12:00AM. The display will return to 0. NOTE: The time must be correctly set in the unit. - Page 20 USING THE MEMORY FUNCTION The Full Memory Indicator will display when 35 days of data, including the current day, are stored in the memory and has not been downloaded. To download the data, refer to Transferring Data to a Personal Computer on page 33.
-
Page 21: Using The System Reset Function
USING THE SYSTEM RESET FUNCTION Use the SYSTEM RESET function in the following case: The display becomes unrecognizable. Press the SYSTEM RESET Button on the back of the main unit. All symbols appear on the display. The time is reset to the default value (AM 12:00). To reset the hour and minute refer to Setting the Time on page 12. -
Page 22: Downloading Instructions
INSTALLING THE SOFTWARE Omron Health Management Software Omron Health Management Software allows you to view, process and print data about blood pressure and walking measured by Omron’s blood pressure monitor and pedometer. NOTE: This software is exclusive to Omron’s blood pressure monitors and pedometers. - Page 23 INSTALLING THE SOFTWARE OPERATING ENVIRONMENT REQUIREMENTS The following operating environments are required to run this software. Supported OS: Microsoft® Windows® 2000 Professional Microsoft® Windows® XP Home Edition Microsoft® Windows® XP Professional Edition 600 MHz or higher, Pentium compatible CPU, PC/AT compatible machine Memory capacity: 128MB or more...
- Page 24 INSTALLING THE SOFTWARE INSTALLING THE SOFTWARE • To install Omron Health Management Software onto your PC, you must have administrative privileges. • Close all applications currently running before you install the software. • When using anti-virus software, disable anti-virus software before installation.
- Page 25 INSTALLING THE SOFTWARE 2. The installation screen of MDAC may appear. Click [OK]. If this screen does not appear, skip to Step 5. 3. Select the checkbox [I accept …], and click [Next].
- Page 26 INSTALLING THE SOFTWARE 4. Click [Finish]. NOTES: • This screen appears when your PC must be restarted. Select the checkbox [Let setup restart the system now], and click [Finish]. Your PC will restart. After restart, start the CD-ROM. (Refer to Step 1 for how to start the CD-ROM.) When restart is unnecessary, [Setup is complete] appears.
- Page 27 INSTALLING THE SOFTWARE 5. The installation screen of the .NET Framework1.1 may appear. Click [Yes]. NOTE: If this screen does not appear, skip to Step 8. 6. Microsoft .NET Framework 1.1 License Agreement appears. Read the License Agreement thoroughly and if you agree with it, select [I agree] and click [Install].
- Page 28 INSTALLING THE SOFTWARE 8. The software installation guide screen of Omron Health Management Software appears. Click [Next >] to continue installation. 9. The License Agreement of Omron Health Management Software appears. Read the License Agreement thoroughly and if you agree with it, select [I accept the terms...] and click [Next].
- Page 29 INSTALLING THE SOFTWARE 10.The installation folder selection screen appears. Check the installation destination folder, and click [Next >]. To change the installation destination, click [Change...] and select a folder for installation. 11.The installation confirmation screen appears. To continue installation, click [Install].
- Page 30 INSTALLING THE SOFTWARE 12.The InstallShield Wizard Completed screen appears. Click [Finish]. NOTE: This screen below appears when your PC must be restarted. Click [Yes] to restart your PC. 13.The Omron Health Management Software shortcut icon is created on the desktop. 14.Remove the CD-ROM disc from the CD drive.
-
Page 31: Using The Software
USING THE SOFTWARE For help using the software, double-click [Omron Health Management Software Users Manual.pdf] shortcut on desktop, or click [Help] in this software after starting up. 1. Double-click the [Omron Health Management Software] shortcut icon on the desktop. If no icon appears on the desktop: From the [Start] menu, select [All programs] or [Programs] [Omron Health Management Software], and click the [Omron Health Management Software] shortcut. - Page 32 USING THE SOFTWARE 3. In the New User Registration box, enter your name (e.g. Chuck) and click [OK]. NOTES: • Omron Health Management Software can manage multiple users’ data. Data is controlled by user name. • The number of users who can register for this software varies depending on the amount of free disc space in your PC.
-
Page 33: Transferring Data To A Personal Computer
TRANSFERRING DATA TO A PERSONAL COMPUTER Use only the authorized Omron USB cable, Model HHX-CABLE-USB2, included with this pedometer. CAUTION Use only Omron authorized parts and accessories. Parts and accessories not approved for use with the device may damage the unit. - Page 34 TRANSFERRING DATA TO A PERSONAL COMPUTER Click [Download Data] icon to import the data. The Confirm dialog appears. Click [Yes] to import the data. Start importing data. Click [Cancel] if you want to cancel. The dialog appears when complete. Click [OK] and view your data on the graph.
-
Page 35: Software Trouble Shooting Tips
SOFTWARE TROUBLE SHOOTING TIPS Error Messages Error 1806. You have insufficient privileges to read this folder. Error 1303. The installer has insufficient privileges. Either the Windows 2000 or Windows XP operating system is required to install Omron Health Management Software onto your PC. -
Page 36: Care And Maintenance
Remove the battery if the unit will not be used for three months or longer. Always replace the battery with a new one. Use the unit consistent with the instruction provided in this manual. CAUTION Changes or modification not approved by Omron Healthcare will void the user warranty. -
Page 37: Troubleshooting Tips
TROUBLESHOOTING TIPS Problem The battery is low The Low Battery or worn. Indicator blinks. The polarities of battery (+ and -) are aligned in the Nothing is wrong directions. displayed. The battery is worn. The unit is positioned incorrectly. Irregular movement. The displayed values are Inconsistent pace. -
Page 38: Specifications
Time Precision: Battery Life: External Dimensions: Weight: Contents: UPC: • Specifications are subject to change without notice. SPECIFICATIONS HJ-720ITC 3 VDC (1 lithium battery CR2032) Steps: Aerobic Steps: Minutes for Aerobic Steps: Amount of Fat Burned: Calories: Distance: Previous 41 days (Most recent 7 days on display) USB connector 14°F to 104°F (-10°C to +40°C) / 30% to 85% RH... -
Page 39: Fcc Statement
FCC STATEMENT NOTE: POTENTIAL FOR RADIO/TELEVISION INTERFERENCE (for U.S.A. only) This product has been tested and found to comply with the limits for a Class B digital device, pursuant to part 15 of the FCC rules. These limits are designed to provide reasonable protection against harmful interference in a residential installation. -
Page 40: Warranty
Your Omron HJ-720ITC, excluding the battery, is warranted to be free from defects in materials and workmanship appearing within 1 year from the date of purchase, when used in accordance with the instructions provided with the unit. The above warranties extend only to the original retail purchaser. -
Page 41: Notes
NOTES... - Page 42 Made in China Distributed by: Omron Healthcare, Inc. 1200 Lakeside Drive Bannockburn, Illinois 60015 www.omronhealthcare.com Copyright © 2007 OMRON HEALTHCARE, INC. 720ITC INST Rev...