Makita 5621RD Technical Information
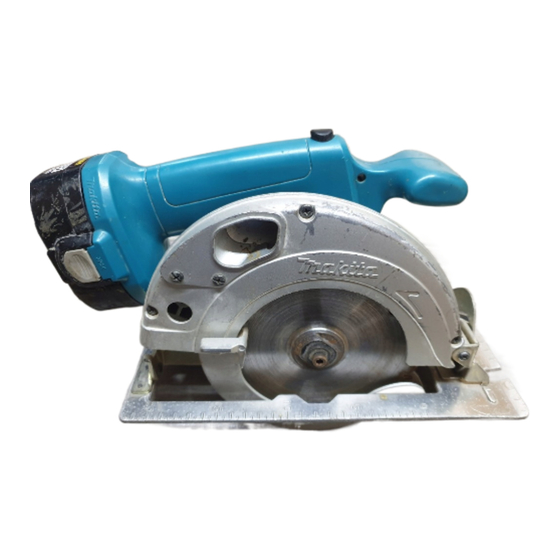
165mm cordless circular saw
Hide thumbs
Also See for 5621RD:
- Instruction manual (72 pages) ,
- Instruction manual (69 pages) ,
- Instruction manual (32 pages)
Advertisement
Quick Links
T
ECHNICAL INFORMATION
Models No.
Description
C
ONCEPTION AND MAIN APPLICATIONS
Model 5621RD is 18V cordless circular saw equipped
with 165mm saw blade,
Its brief benefits are;
*Carbon brushes of DC motor can be replaced.
*Equipped with Riving Knife.
(to comply with European regulation)
*Equipped with Dust Nozzle
which can be connected with vacuum cleaner
Model No.
Battery
Fast charger
Plastic case
S
pecifications
Motor
Battery
Blade diameter
Arbor diameter
Cutting depth
(mm)
No load Speed (rpm)
Net weight
S
tandard equipment
Guide Rule
Hex. Wrench 5 ;1 pc
Battery Cover
T.C.T. Saw Blade 165x24TX20 ;1 pc
Plastic Carrying Case
<Note>The standard equipment may differ from country to country.
O
ptional accessories
T.C.T Saw Blades 165x40Tx20,165x52Tx20
Battery 1822,
Battery 1833,
Battery charger DC1801
5621RD
165mm Cordless Circular saw
5621RDWA
Battery 1822
DC1801
Yes
DC 18V magnet motor
Battery 1822(Ni-Cd,18V,2.0Ah)
Battery 1833 (Ni-MH,18V,2.2Ah)
ø165mm(6-1/2")
20mm(25/32")
At 90
0-54mm(2-1/8")
°
0-38mm(1-1/2")
At 45
°
0-34mm(1-11/32")
At 40
°
3.8Kg(8.4lbs)
;1 pc
;1 pc
;1 pc
5621RDWB
Battery 1833
DC1801
Yes
2‚600
New Tool
Advertisement

Related Manuals for Makita 5621RD


Summary of Contents for Makita 5621RD
- Page 1 5621RD Models No. Description 165mm Cordless Circular saw ONCEPTION AND MAIN APPLICATIONS Model 5621RD is 18V cordless circular saw equipped with 165mm saw blade, Its brief benefits are; *Carbon brushes of DC motor can be replaced. *Equipped with Riving Knife.
- Page 2 epair Removing Base Remove three countersunk-head screws (M5x8) that fix Angular plate complete and two countersunk head screws (M4x8) that fixes Depth guide complete, then remove base. Removing spur gear 53 1) Remove two countersunk-head screws and take off Bearing box from the Blade case. 2) Remove Bearing retainer (left-handed screw), 3) Place Bearing box at Arbor press stand 4) Place rod on the rear of spindle and press it by arbor, and Spindle can be removed.
- Page 3 Rib C Wiring of lead wires 1. Align notched part of Toke unit to the rib A and insert York unit. Rib A 2. To prevent pinching between Yoke unit and rib, route lead wire Rib B between rib B and rib C after mounting the yoke unit. 3 .