Advertisement
Advertisement
Table of Contents

Summary of Contents for Envision LCD
-
Page 2: Table Of Contents
Do not allow sharp objects such as knives, pens, or pencils near the screen. If such objects touch the screen, the LCD panel will be permanently scratched. When cleaning this monitor, disconnect it from the electric socket to avoid any danger of electrocution. -
Page 3: Caring For Your Lcd Monitor
CARING FOR YOUR LCD MONITOR First, unplug the power cord from the wall socket If the LCD screen is extremely dirty, clean it with a moist cloth. Use only warm water and then wipe the monitor dry. Solvents or harsh cleaners can damage the housing. -
Page 4: Unpacking
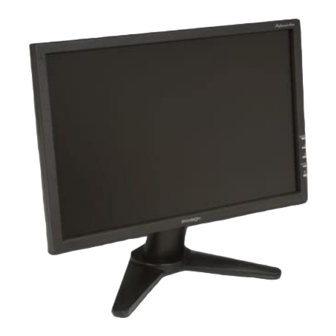
Monitor 1 pc Figure 1 Signal Cable Figure 1.LCD Monitor CONNECTING To connect the monitor to your PC 1. Make sure that the PC and the monitor is unplugged. 2. Connect the 15-pin signal cable to the monitor and The PC To connect the monitor to the power source Connect the separate power cable to the Monitor and a grounded outlet. -
Page 5: Startup
Automatic Image Adjustment You can adjust the image settings (such as brightness, contrast, image position, phase, etc.) manually or by using the LCD monitor’s automatic image adjustment feature. This will adjust the image parameters to their optimal settings for the current graphics mode. -
Page 6: Image Settings Using The Osd Menu
IMAGE SETTINGS USING THE OSD MENU The OSD menu is a window on your screen that allows you to view and change display settings. To change an OSD setting: Figure 4.Monitor features Press the SEL/MENU button (① in fig. 4) to display the OSD menu on the screen. There are a total of 6 OSD submenus divided by categories. -
Page 7: Osd Menu Functions
OSD MENU FUNCTIONS Brightness/Contrast Image Control Controls the picture’s contrast, brightness, black level and auto level. Auto Adjustment: Automatically selects the optimal settings for image parameters (image position, phase, etc.) by using the button SEL/MENU (① in fig. Position: Controls picture’s horizontal position. -
Page 8: Osd Setup
Color OSD Setup Regulates color temperature settings. Activate the OSD window using the SEL/MENU button. Go to the COLOR option by pressing the buttons. Press the SEL/MENU button and to select R, G or B. Then you can change the color values using the buttons Language: English, French , Spanish... - Page 9 Advanced Information Input Select: Controls the selection of the input signal. The monitor allows you to make the following connections: analog graphics card via the 15-pin mini D-Sub interface. Resolution There is an optional OSD window (On/Off) that displays the newly adjusted screen resolution...
-
Page 10: Troubleshooting
TROUBLESHOOTING Blank Screen Power indicator is off Make sure the power cable and the power adapter are connected properly (see section “Connecting”). Make sure that the monitor was turned on using the power switch (see section “Startup”). Power indicator lights orange A screen saver may have activated automatically after a certain period of inactivity. -
Page 11: Technical Specifications
TECHNICAL SPECIFICATIONS LCD panel 19 wide diagonal size Contrast ratio 500:1 (typical) View ing angle horizontal 140°, vertical 130° (typical) Response time 8ms (typical) Brightness 300 cd/㎡ (typical) Input signal Video: analog (D-SUB) Display colors 16.2 mill. Colors Synchronization 31~ 81 kHz horizontal, 56 ~ 75 Hz vertical Recommended 1440×900/60Hz...


