Clarion ADB340MP ADB340MP ADB340MP Owner's Manual
2 din am/fm cd/mp3 cassette player
Hide thumbs
Also See for ADB340MP ADB340MP ADB340MP:
- Service manual (30 pages) ,
- Owner's manual (26 pages) ,
- Installation/wire connection manual (2 pages)
Table of Contents
Advertisement
Advertisement
Table of Contents

Related Manuals for Clarion ADB340MP ADB340MP ADB340MP


Summary of Contents for Clarion ADB340MP ADB340MP ADB340MP
-
Page 2: Table Of Contents
Thank you for purchasing the Clarion Product. Please read this owner’s manual in its entirety before operating this equipment. After reading this manual, be sure to keep it in a handy place (e.g., glove compartment). Check the contents of the enclosed warranty card (ADB340MP only) and keep it carefully with this manual. -
Page 3: Precautions
(2) THIS DEVICE MUST ACCEPT ANY INTERFERENCE RECEIVED, INCLUDING INTERFERENCE THAT MAY CAUSE UNDESIRED OPERATION. THIS PRODUCTION COMPLIES WITH DHHS RULES 21 CFR SUBCHAPTER J APPLICABLE AT DATE OF MANUFACTURE. CLARION CO., LTD. 50 KAMITODA, TODA-SHI, SAITAMA-KEN, JAPAN MANUFACTURED: Top View of Source Unit 28A51690 Clarion Co., Ltd. -
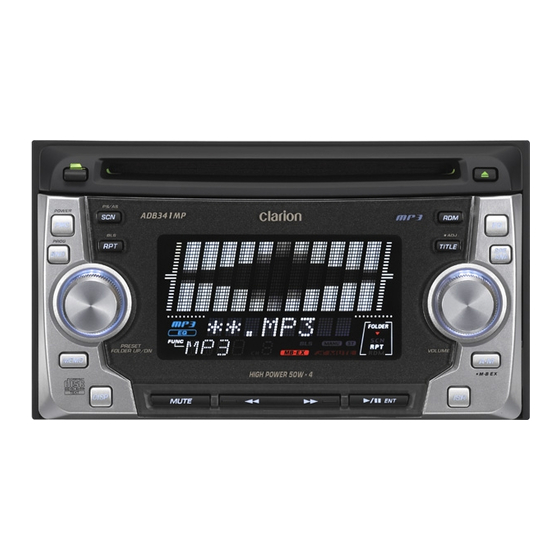
Page 4: Controls
3. CONTROLS/LES COMMANDES/CONTROLES/ Source unit / Appareil pilote / Unidad fuente / [CD SLOT] [RPT] [OPEN] [SCN] [FNC] [BND] [PRESET] [MEMO] [DISP] [MUTE] With the FLIP DOWN PANEL opened / Avec la CONSOLE RABATTABLE ouverte Con el PAÍNEL ABATÍBLE abierto. / [TAPE EJECT] Note: Be sure to unfold this page and refer to the front diagrams as you read each chapter. -
Page 5: Display Items
[SCN] button • Performs preset scan while in the radio mode. When the button is pressed and held, auto store is performed. • Performs scan play for 10 seconds for each track while in the CD/MP3 and tape mode. • Press and hold for 1 second or longer to per- form folder scan play while in the MP3 mode. -
Page 6: Operations
5. OPERATIONS Basic Operations CAUTION Be sure to lower the volume before switch- ing off the unit power or the ignition key. The unit remembers its last volume setting. If you switch the power off with the volume up, when you switch the power back on, the sudden loud volume may hurt your hearing and dam- age the unit. - Page 7 Adjusting the bass This adjustment can be performed when the EQ operation is set to “OFF”. 1. Press the [A-M] button and select “BASS”. 2. Turning the [VOLUME] knob clockwise to em- phasize the bass, or turning the [VOLUME] knob counterclockwise to attenuate the bass. The factory default setting is “0”.
-
Page 8: Radio Operations
Basic Operations Setting EQ effects to ON/OFF The factory default setting is “ON”. 1. Press and hold the [EQ] button for 1 second or longer to turn off the EQ effect. “ goes off in the display. 2. Press and hold the [EQ] button for 1 second or longer to turn on the EQ effect. - Page 9 Quick tuning: Press and hold the [ ] or [ manually tune to the desired frequency. Step tuning: Press the [ ] or [ ] button to manually tune one step at a time to the desired frequency. Storing a preset station A total of 24 preset positions (6-FM1, 6-FM2, 6- FM3, 6-AM) exists to store individual radio sta- tions in memory.
-
Page 10: Cd/Mp3 Operations
CD/MP3 Operations What is MP3? MP3 is an audio compression method and clas- sified into audio layer 3 of MPEG standards. This audio compression method has penetrated into PC users and become a standard format. This MP3 features the original audio data com- pression to about 10 percent of its initial size with a high sound quality. - Page 11 Ejecting a CD Press [CD EJECT] button to eject the CD. Take it out from the ejected position. If a 5" CD (12 cm) is left in the ejected position for 15 seconds, the CD is automatically reloaded (Autoreload). The Radio mode is selected automatically 4 sec- onds after the [CD EJECT] button is pressed.
-
Page 12: Random Play
CD/MP3 Operations Top function The top function resets the CD player to the first track of the disc. Press the [BND] button to play the first track (track No. 1) on the disc. Scan play The scan play locates and plays the first 10 sec- onds of each track on a disc automatically. -
Page 13: Tape Operations
Tape Operations Loading a tape 1. Press the [OPEN] button to open the flip down panel. 2. Load a tape into the cassette tape insertion slot. Ejecting a tape 1. Press the [OPEN] button to open the flip down panel. 2. -
Page 14: Operations Common To Each Mode
Tape Operations Tape repeat play The tape repeat continuously plays the current track. This function continues automatically until it is canceled. 1. Press the [RPT] button. “RPT” lights in the display and the current track is repeated. 2. To cancel the repeat play, press the [RPT] button again. - Page 15 4. Press the [TITLE] button to return to the pre- vious mode. Message display When the unit is powered on or off, a message is displayed. The user can turn this message dis- play on or off. The factory default setting is “ON”. 1.
-
Page 16: Entering Titles
Operations Common to Each Mode 2. Press the [ ] or [ ] button to select “DEMO”. 3. Turning the [VOLUME] knob clockwise to “ON” or counterclockwise to “OFF”. 4. Press the [TITLE] button to return to the pre- vious mode. Entering titles Titles up to 10 characters long can be stored in memory and displayed for CDs only. -
Page 17: In Case Of Difficulty
6. IN CASE OF DIFFICULTY Problem Power does not turn Fuse is blown. (No sound is produced.) Incorrect wiring. No sound output Power antenna lead is when operating the shorted to ground or unit with amplifiers excessive current is or power antenna required for remote-on attached. -
Page 18: Error Displays
7. ERROR DISPLAYS If an error occurs, one of the following displays is displayed. Take the measures described below to eliminate the problem. Error Display ERROR 2 A CD is caught inside the CD deck and is not ejected. ERROR 3 A CD cannot be played due to scratches, etc.