Table of Contents
Advertisement
Quick Links
Advertisement
Table of Contents

Related Manuals for Monogram Monogram ZEM200SF


Summary of Contents for Monogram Monogram ZEM200SF
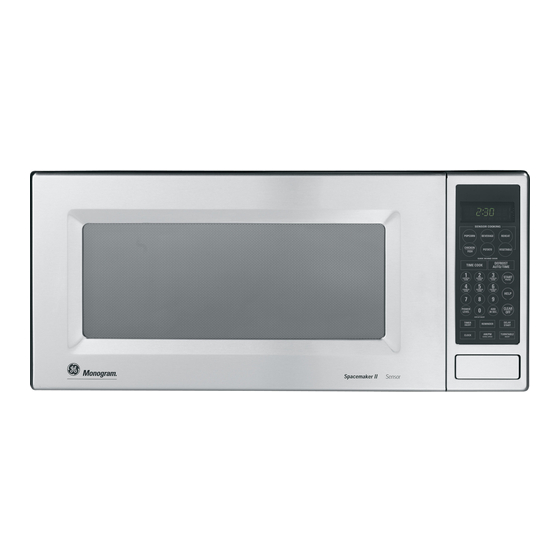
- Page 1 Owner’s Manual Countertop Microwave Oven ZEM200 Series ge.com...
-
Page 2: Table Of Contents
Grounding Instructions ....7 Microwave-Safe Cookware ....6 Model and Serial Number Location ..3 Other Features . -
Page 3: Model And Serial Number Location
It lists causes of minor operating problems that you can correct yourself. NEXT, if you are still not pleased, write all the details—including your phone number—to: Manager, Customer Relations GE Appliances Appliance Park Louisville, KY 40225... -
Page 4: Important Safety Instructions
• This microwave oven is not approved or tested for marine use. • Do not immerse power cord or plug in water. - Page 5 ARCING If you see arcing, press the CLEAR/OFF pad and correct the problem. Arcing is the microwave term for sparks in the oven. Arcing is caused by: • Metal or foil touching the side of the oven. • Foil not molded to food (upturned edges act like antennas).
-
Page 6: Microwave-Safe Cookware
Some cookware is labeled “suitable for microwaving.” • If you are not sure if a dish is microwave-safe, use this test: Place in the oven both the dish you are testing and a glass measuring cup filled with one cup of water—set the... -
Page 7: Grounding Instructions
GROUNDING INSTRUCTIONS WARNING– of the grounding plug can result in a risk of electric shock. This appliance must be grounded. In the event of an electrical short circuit, grounding reduces the risk of electric shock by providing an escape wire for the electric current. This appliance is equipped with a power cord having a grounding wire with a grounding plug. -
Page 8: Extension Cords
If you use an extension cord, the interior light may flicker and the blower sound may vary when the microwave oven is on. Cooking times may be longer, too. -
Page 9: Features Of Your Oven
The enclosed hardware kit (4-A019) allows you to hang this model under your cabinet. Included Optional Available at extra cost from your GE supplier. Accessories JX827 27″ Built-In Kit allows this oven to be built into a cabinet or wall. -
Page 10: Cooking Controls
Amount of defrosting time Starts immediately! Starts immediately! Power level 1–10 Enter Starts immediately! Starts immediately! Starts immediately! Starts immediately! Starts immediately! Starts immediately! Enter Food weight Counter top Microwave Oven Option more/less time more/less time more/less time more/less time more/less time... -
Page 11: Power Levels
Each power level gives you microwave energy a certain percent of the time. Power level 7 is microwave energy 70% of the time. Power level 3 is energy 30% of the time. Most cooking will be done on High (power level 10) which gives you 100% power. -
Page 12: Time Features
Time Cook Time Cook I Allows you to microwave for any time up to 99 minutes and 99 seconds. Power level 10 (high) is automatically set, but you may change it for more flexibility. 1. Press TIME COOK. 2. Enter cooking time. - Page 13 Cooking Guide for Time Cook NOTE: Use power level 10 (High) unless otherwise noted. Vegetable Amount Asparagus (fresh spears) 1 lb. (frozen spears) 10-oz. package Beans (fresh green) 1 lb. cut in half (frozen green) 10-oz. package (frozen lima) 10-oz. package Beets (fresh, whole) 1 bunch...
- Page 14 Plastic storage containers should be partially uncovered. • Family-size, prepackaged frozen dinners can be defrosted and microwaved. If the food is in a foil container, transfer it to a microwave- safe dish. Time Features Counter top Microwave Oven •...
- Page 15 Turn over and break up after first half of time. Place unopened package in oven. Let stand 5 minutes after defrosting. Place unopened package in oven. Microwave just until franks can be separated. Let stand 5 minutes, if necessary, to complete defrosting.
-
Page 16: Express Cook
Seconds • It will add 30 seconds to the time counting down each time the pad is touched. • It can be used as a quick way to set 30 seconds of cooking time. Time Features Counter top Microwave Oven... -
Page 17: Auto Feature
30 minutes. Conversion Guide If the weight of food is stated in pounds and ounces, the ounces must be converted to tenths (.1) of a pound. Ounces 1–2 4–5 6–7 9–10 12–13 14–15 Pounds Auto Feature Counter top Microwave Oven Guide... -
Page 18: Sensor Features
• Be sure the outside of the cooking container and the inside of the microwave oven are dry before placing food in the oven. Beads of moisture turning into steam can mislead the sensor. -
Page 19: Chicken/Fish
How to You can adjust the cooking time for the following features to suit your personal taste. Change the To reduce time by 10%: Automatic Press 1 after the feature pad. Settings To add 10% to cooking time: Press 9 after the feature pad. Reheat The Reheat feature reheats single servings of previously cooked foods or a plate of leftovers. -
Page 20: Clock
Reminder oven door or press CLEAR/OFF. Child You may lock the control panel to prevent the microwave from being accidentally started or Lock-Out used by children. To lock or unlock the controls, press and hold CLEAR/OFF for about 3 seconds. -
Page 21: Delay Start
24 hours later. 1. Press REMINDER. 2. Enter the time you want the oven to remind you. (Be sure the microwave clock shows the correct time of day.) 3. Select AM or PM. 4. Press REMINDER. When Reminder signal occurs, press REMINDER to turn it off. -
Page 22: Microwave Terms
Arcing Arcing is the microwave term for sparks in the oven. Arcing is caused by: • Metal or foil touching the side of the oven. • Foil that is not molded to food (upturned edges act like antennas). Covering Covers hold in moisture, allow for more even heating and reduce cooking time. -
Page 23: Care And Cleaning
How to Do not use cleaners containing ammonia or Clean the alcohol on the microwave oven. Ammonia or alcohol can damage the appearance of the Outside microwave. Case. Clean the outside of the microwave with a sudsy cloth. -
Page 24: Problem Solver
• A fuse in your home may be blown or the circuit breaker tripped. Replace fuse or reset circuit breaker. • Unplug your microwave oven, then plug it back in. • Make sure 3-prong plug on oven is fully inserted into wall receptacle. - Page 25 You can rest easy, knowing that all your valuable household products are protected against expensive repairs. Place your confidence in GE and call us in the U.S. toll-free at for more information. *All brands covered, up to 20 years old, in the continental U.S.
- Page 26 FAILURE TO COMPLETE AND RETURN THIS CARD DOES NOT DIMINISH YOUR WARRANTY RIGHTS. For more information about GEA’s privacy and data usage policy, go to ge.com and click on “Privacy Policy” or call 800.626.2224 Read your Owner’s Manual carefully.
-
Page 27: Consumer Services
800.626.2000 Service Contracts You can have the secure feeling that GE Consumer Service will still be there after your warranty expires. Purchase a GE contract while your warranty is still in effect and you’ll receive a substantial discount. With a multiple-year contract, you’re assured of future 800.626.2224... - Page 28 USA. If the product is located in an area where service by a GE Authorized Servicer is not available, you may be responsible for a trip charge or you may be required to bring the product to an Authorized GE Service Location for service. In Alaska, the warranty excludes the service calls to your home.