
Related Manuals for AeroGarden AeroGarden 100340


Summary of Contents for AeroGarden AeroGarden 100340
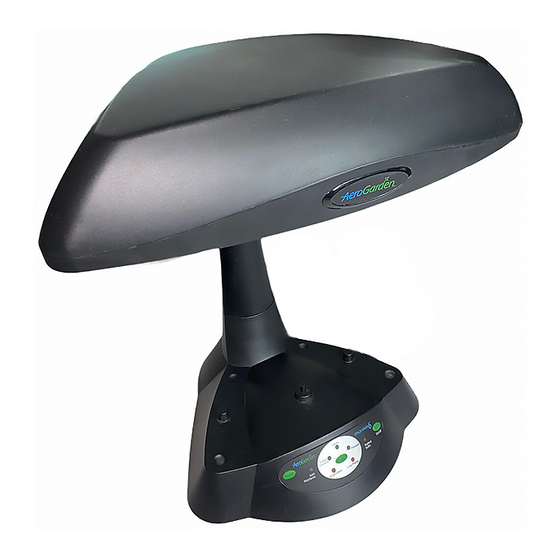
- Page 1 Quick Start Guide Simple Steps To Get Your Up and Growing Space•Saver 6 Model #s – 100602-BLK; 100602-WHT; 100602-SLR; 100603-BSS Input Voltage: 120V, 60Hz, 1.5A Replace Nutrients Bulbs Date Code:...
-
Page 2: Important Safety Instructions
IMPORTANT SAFETY INSTRUCTIONS When using this AeroGarden Space•Saver 6 electrical furnishing, basic precautions should always be followed, including the following: read all instructions before using this AeroGarden furnishing. 1.To reduce the risk of electric shock, the Space•Saver 6 has a specific plug. Do not change the plug in any way. -
Page 3: Quick Start Assembly
Quick Start Assembly Unpack Your Space•Saver 6 Lamp Hood (front view) Lamp Arm (back view) Replace Nutrients Bulbs Base (front view) Insert Deluxe B Grow Bulbs into Lamp Hood Push straight in. DO NOT TWIST BULBS! remember to replace Grow Bulbs every 6 months. Push Lamp Arm down until... -
Page 4: Need Additional Help
Quick Start Assembly Place Lamp Hood on Lamp Arm Center hands over Lamp Arm and push Lamp Hood down until you hear a “click.” Moving Your Space•Saver 6 Use one hand to grasp Lamp Arm. Nutrients Gently slide your Space•Saver 6 toward the surface edge and place other hand under Base. - Page 5 Place Your Garden Under: A space that allows 22” (56cm) clearance for the full height of raised lamp On: A sturdy, water- tolerant surface (Metal surfaces may cause noise due to vibration) Near: A standard electrical outlet, per local regulations note: Do not place beneath Away From Reach of children and pets...
-
Page 6: Planting Your Garden
Planting Your Garden Add Water Using a Spouted Container Lift View Door FILL TO HERE Fill to “Fill To Here” View Door) located below When additional water is needed, water level indicator will be Red. Add water to raise level up to “Fill To Here” inside Bowl. It is okay to add water up to “Fill To Here”... -
Page 7: Plant Your Garden
Master Gardener Kit - arrange Pods in Grow Surface according to plant height. Re-arranging may be required as plants grow. Create a Custom Garden – combine two AeroGarden 3 Seed Kits. Important guidelines to consider when combining Seed Kits… •... - Page 8 See "Add Nutrients" (Feed Garden - Basic Feeding) on page 11 of this guide for additional feeding instructions. *When combining two AeroGarden 3 Seed Kits, be sure to use 2 nutrient tablets when feeding your Garden (see “create a custom Garden” on page 6).
-
Page 9: Select Setting
Starting Your Garden Plug Cord into Electrical Outlet What will happen… A green light on the Control Panel willl come on. Grow Bulbs will come on. Look under Lamp Hood to see if both bulbs are lit. If not , check to see if: •... - Page 10 Starting Your Garden Your Light Timer Your Light Timer is Set To Start Growing Your Plants...Starting now! • Your lights will stay on for about 16 hours and will shut off for about 8 hours*. • Your lights will come on every day at the time you plugged in your Space•Saver 6. *Except when using “24-Hour light”...
- Page 11 Personalize Your Light Timer Your Space•Saver 6 has lights and a built-in timer that automatically provide your plants with “sunlight” (about 16 hours) and “night” (about 8 hours). As long as your plants get this amount of light, it does not matter when the lights are turned off.
- Page 12 Basic Reminders About Your AeroGarden Space•Saver 6 control Panel ADD NUTRIENTS (Feed Garden - Basic Feeding) When “Add Nutrients” light illuminates (every 2 weeks), add 2 nutrient tablets and fill Bowl with water up to “Fill To Here.” Press “Reset” button to restart nutrient timer and turn off light.
- Page 13 Basic Reminders About Your AeroGarden Raise Lamp Hood (lights) As plants grow to 1-2” from lights, raise the Lamp Arm one notch at a time. Be sure Lamp Arm is set at the lowest setting when you start your AeroGarden.
- Page 14 Base. If Grow Bulbs have been in use more than 6 months, they should be re- placed at this time (see page 12). Your AeroGarden is now ready for replanting. Plant Growth Seed Roots Bundle cord when furnishing is not in use.
- Page 15 Prepare For Your Next Garden Replanting Your AeroGarden If you have already grown a garden in your Space•Saver 6, please follow the instructions below to reset the nutrient timer: • Press and HOLD “Reset” button until red “Add Nutrients” light blinks (approximately 6 seconds).
- Page 16 U.S. CAUTION – You are cautioned that any changes or modifications not expressly approved in this manual could void your author- ity to operate this equipment. noTE: This equipment has been tested and found to comply with the limits for a Class B digital device, pursuant to Part 15 of the FCC Rules.