Advertisement
Quick Links
Advertisement

Related Manuals for Bushnell IMAGE VIEW 118322


Summary of Contents for Bushnell IMAGE VIEW 118322
- Page 1 Instruction Manual Model#: 118322 Version 2.0 Lit. #: 98-0916/07-10...
- Page 3 WARNING Do NOT look directly at the sun through your binoculars. Doing so may cause permanent eye damage. NOTE: To reset the camera if you experience problems or if the display becomes unresponsive, remove the batteries for at least one minute, then re-install them.
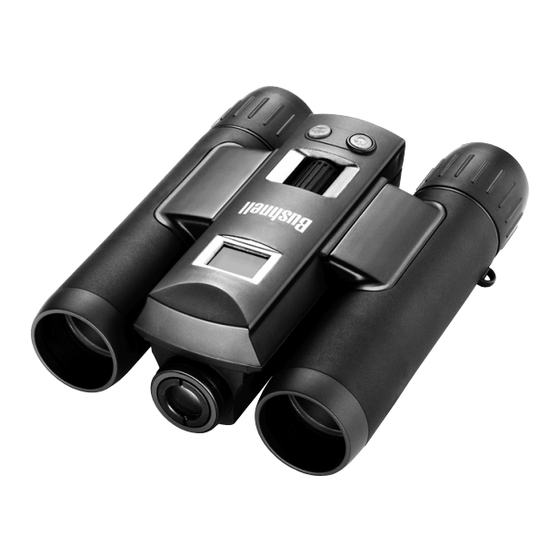
- Page 5 Congratulations on your purchase of the Bushnell ImageView ® binocular! The Bushnell ImageView binocular takes the technology of digital photography and combines it with a high- quality compact binocular. This allows you to observe sporting events, wildlife, scenic vistas or anything you would normally use a binocular for, and then save the image in a built-in attached digital camera.
-
Page 6: Camera And Binocular Parts Guide
Camera and Binocular Parts Guide SNAP Button Power/ MODE Button Binocular Focus Remote SD Card Slot Jack Display Tripod Socket Camera Lens Battery Compartment Port Power... -
Page 7: Setup And Basic Operation
Setup and Basic Operation CAMERA PARTS The camera is powered by two AAA alkaline, lithium, or NiMh batteries (not included). Insert batteries into the compartment, with the springs in contact with the negative (flat) end of each battery. A power meter on the lower right of the display indicates battery condition. - Page 8 Using the Operational Modes/Setting Date & Time The ImageView will imprint the date and time in the bottom right corner of your photos. To set the correct date and time, after turning on the camera, press and hold both the MODE and SNAP buttons at the same time, until the display begins to flash.
- Page 9 Using the Operational Modes Mode Icon/Text Settings Video Video Camera Quality Hq or Lq Resolution Hi or Lo (Bold indicates default settings) Description OFF, ON Select "ON" instead of "OFF" to put the camera in video mode. Wait several seconds for the camera to automatically return to the normal display, then begin shooting by pressing SNAP.
- Page 10 Using the Operational Modes Mode Icon/Text Settings Line 60 or 50 Frequency Continuous Memory Access Delete Last LSt+Trash (Bold indicates default settings) Description 60 Hz, 50 Hz Set to match the AC power frequency (cycles) of your country. This ensures that stills and videos shot under fluorescent lighting appear normal.
- Page 11 Using the Operational Modes Mode Icon/Text Settings Delete All ALL+Trash Format For+Trash Self-Timer Clock (Bold indicates default settings) Description None-press SNAP Select this mode and press SNAP to erase the entire to delete all memory contents (the counter resets to zero). photo and video Use this after downloading your files, to clear the files...
- Page 12 Using the ImageView with Your Computer The camera will be recognized as a USB mass storage device (if it is set to "STO" and not "PC"), which means no special drivers are required for all operating systems later than Windows 98 (Me, 2000, XP, Vista.) Mac OS 9 and OSX are also compatible.
-
Page 13: System Requirements
System Requirements Operating System: Windows® 2000/ME/XP/Vista/Windows 7 (Windows 98 is not supported) or Mac OS 9 / OS X Internal USB Port Downloading the Photo/Video Files Connect the supplied cable to the ImageView’s USB port, then directly to a main USB port on your computer-do not use front panel/keyboard USB ports or unpow- ered “hubs”. - Page 14 Downloading the Photo/Video Files camera’s display when you review photos. Single clicking any file should show a small preview image. Click “Edit>Select All” (or click on one photo, contol+click to select multiple photos), then “Edit>Copy to Folder” (in Windows menus). Select an existing folder on your hard drive, such as “My Pictures”, or create a new folder (“Hawaii Vacation”, etc), then click “OK”...
- Page 15 Downloading the Photo/Video Files If you are new to photo editing on a computer, consult your software’s Help menu for tips on using its features. Along with adjusting the brightness, contrast, sharpness and color of your photos, you can resize the photo to fit the paper if you are printing, or save a smaller, low or medium resolution version for email or inserting into documents.
- Page 16 How to Adjust For Individual Eye Strength As individual eyesight varies from one person to another, most Bushnell binoculars have a diopter setting feature which allows you to fine-tune the binocular to your vision. Follow the focusing instructions below for your type of binocular.
- Page 17 EYECUPS (Figure 3) Your Bushnell binocular is fitted with rubber roll-down eyecups designed for your comfort and to exclude extraneous light. If you wear sun/eyeglasses, roll down the eyecups. This will bring your eyes closer to the binocular lens thus providing improved field of view.
- Page 18 Storage, Cleaning And General Care Your Bushnell binocular will provide years of trouble-free service if it receives the normal care you would give any fine optical instrument. The Imageview is not waterproof, and should not be exposed to any source of moisture. Water damage is not covered by the warranty.
- Page 19 Overland Park, Kansas 66214 For products purchased outside the United States or Canada please contact your local dealer for applicable warranty information. In Europe you may also contact Bushnell at: This warranty gives you specific legal rights. You may have other rights which vary from country to country.
- Page 20 For further questions or additional information please contact: Bushnell Outdoor Products 9200 Cody, Overland Park, Kansas 66214 (800) 423-3537 • www.bushnell.com ©2010 Bushnell Outdoor Products...