Dymo LabelWriter 450 Twin Turbo Quick Start Manual
Dymo labelwriter 450 twin turbo: quick start
Hide thumbs
Also See for LabelWriter 450 Twin Turbo:
- User manual ,
- Technical reference manual (27 pages) ,
- Quick start manual (20 pages)

Related Manuals for Dymo LabelWriter 450 Twin Turbo


Summary of Contents for Dymo LabelWriter 450 Twin Turbo
- Page 1 Quick Start Guide...
- Page 2 Sanford, L.P. Trademarks DYMO, DYMO File, DYMO Stamps, LabelWriter, and DYMO Label are trademarks or registered trademarks of Sanford, L.P. All other trademarks are the property of their respective holders.
-
Page 3: Quick Start Guide
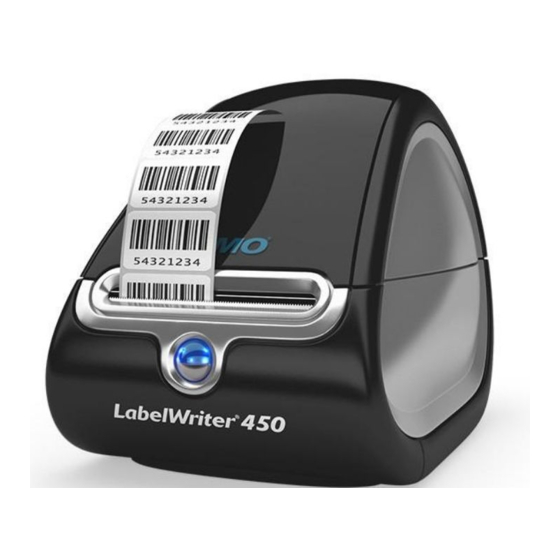
Follow these steps to install the LabelWriter printer and print your first label. 1. Unpacking your LabelWriter Printer Do not plug the printer into your computer until after the software installation NOTE is complete. Unpack your printer and save the packing materials. - Page 4 LabelWriter Printer Features Your LabelWriter printer is a direct thermal printer and does not use ink or toner. Instead, the printer uses heat from a thermal print head to print on specially treated labels. Labels are the only supplies you will ever need to buy.
-
Page 5: Installing The Software
QuickBooks QuickBooks Add-in. You will be prompted to install DYMO File software after DYMO Label software. You can choose not to install DYMO File by clearing the check box during the installation. See www.dymofile.com for information about DYMO File software. - Page 6 USB cable into an available USB port on your computer. If the printer is not in the printer list when the installation is complete, refer Mac OS to the ReadMe file for instructions on how to add the printer.
-
Page 7: Loading Labels
In order for the labels to feed properly during printing, pay attention to the following when loading labels on the spool and into the printer: • The label spool guide must be pushed flush against the label roll, with no gap. - Page 8 Insert the label spool into the slot in the printer cover with the labels extending from underneath the roll. See Figure 7. Align the left edge of the label with the left edge of the label feed slot and insert the label into the slot.
-
Page 9: Printing Your First Label
• For Macintosh, double-click the DYMO Label icon in the Applications folder. The first time you start DYMO Label software, a list of available label types is displayed on the left side of the window and an address label is displayed in the Edit area. - Page 10 Figure 9 highlights some of the major features available in DYMO Label software. Visually choose your label type and apply layouts. Insert text, addresses, images, shapes, lines, barcodes, dates, and counters. Store your favorite addresses in the Address Book or view...
- Page 11 With DYMO File software, you can scan and organize your paper files. For complete information about DYMO File, visit www.dymofile.com. You were prompted to install DYMO File as part of the DYMO Label software installation. If you chose not to install DYMO File, you can install it now.
- Page 12 1. Activating DYMO File Software When you open DYMO File, you are asked to activate the software with the Product Key located on the DYMO Productivity Software CD sleeve. To activate DYMO File software Click Start > Programs > DYMO File > DYMO File.
- Page 13 Register Now. 3. Scanning Your First Document When using DYMO File software, your documents are organized as you scan them. You create a reservation file with the name you want your scanned document to have and in the folder where you want the document to be saved.
- Page 14 • Network scanner: Scan the document using the settings for DYMO File that were specified in the scanner software during the First Run Wizard. • Local scanner: In DYMO File, click the Scan button on the Scan tab, and then scan the document.
- Page 15 This figure shows filing and scanning steps and highlights other major features of DYMO File. Find documents previously filed on your computer. Quickly file documents in a few easy steps. With a local scanner, use this tab to scan. Step 1. Choose your filing location.
- Page 17 To install DYMO Stamps and print postage Sign up for your USPS account with Endicia. Go to: At the end of the sign up process, download and install the DYMO Stamps software. DYMO Stamps software is available for both Windows and Mac OS X.
- Page 18 Printer list under Printer Selection. Click Test Print to print a voided postage label. You are now ready to start printing actual postage whenever you need it. Refer to the DYMO Stamps online Help for more information about using the software.
- Page 20 Produced by: DYMO, Stamford, CT 800-426-7827: www.dymo.com © 2008 Sanford, L.P. 1755138, Rev. 4/09...