Table of Contents
Advertisement
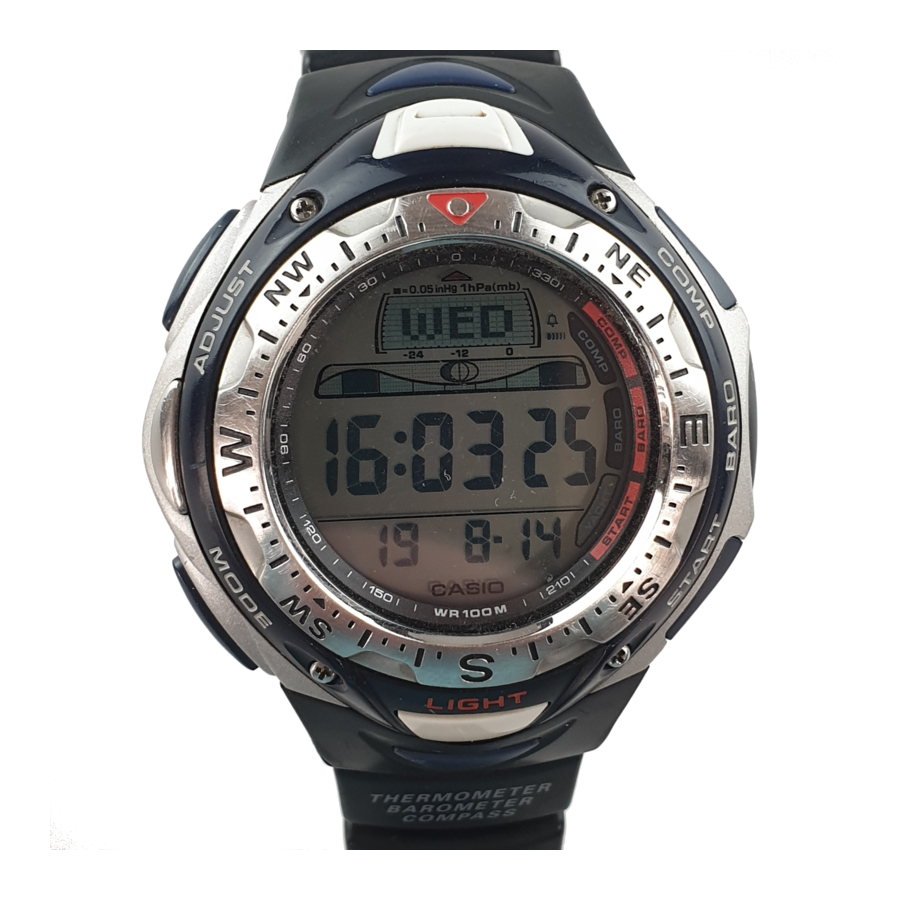
Module No. 2273
GETTING ACQUAINTED
Congratulations upon your selection of this CASIO watch. To get the most out
of your purchase, be sure to read this manual carefully and keep it on hand
for later reference when necessary.
• The measurement functions built into this watch are not intended for
taking measurements that require professional or industrial precision.
Values produced by this watch should be considered as reasonable
representations only.
• When using this watch to take readings while boating or engaging in
any other activity during which losing your way can create a dangerous
or life-threatening situation, always be sure to use a second compass to
confirm direction readings.
• The longitude, lunitidal interval, Moon phase indicator, and tide graph
data that appears on the display of this watch is not intended for
navigation purposes. Always use proper instruments and resources to
obtain data for navigation purposes.
• This watch is not an instrument for calculating low tide and high tide
times. The Tide Graph of this watch is intended to provide a reasonable
approximation of tidal movements only.
• CASIO COMPUTER CO., LTD. assumes no responsibility for any loss,
or any claims by third parties that may arise through the use of this
watch.
GENERAL GUIDE
• If the digital display of your watch is continuously changing, see
"Auto Display Function" for information on how to stop it.
• The illustration below shows which buttons you need to press to navigate
between modes.
Countdown Timer/Stopwatch Mode
D
Alarm Mode
Moon phase indicator
Day of week
Tide graph
Seconds
Hour : Minutes
Year Month – Day
PM indicator
Warning!
Timekeeping Mode
Press B or C.
Press D.
Press B or C.
D
Moon/Tide Mode
D
TIMEKEEPING
In addition to normal timekeeping, use the
Timekeeping Mode to set the current time and
date.
• The Moon phase indicator shows the
current Moon phase.
• The tide graph shows the current tidal
movements.
Important!
• The watch cannot produce correct Moon
phase or tide graph data unless the
Timekeeping Mode current time and date
settings, as well as city data settings (GMT
differential, longitudes, and lunitidal interval)
are all correct.
About This Manual
• Press B to enter the Digital Compass Mode or C to enter the Barometer/
Thermometer Mode from the Timekeeping Mode or Countdown Timer/
Stopwatch Mode. To get to a sensor mode from the Moon/Tide or Alarm
Mode, you must go to the Timekeeping Mode first.
Press D.
Press D.
• Having the batteries replaced causes the Timekeeping Mode's time/date
and city data settings to revert to their initial factory default settings. Use
the following procedure to set the current time and date, and to make city
data settings.
To reset the seconds count to zero
1. In the Timekeeping Mode, hold down A until the second's digits start to
flash, which indicates the setting screen.
2. Press E to reset the seconds count to
• Pressing E while the seconds count is in the range of 30 to 59 resets
the seconds to
the minutes count is unchanged.
3. Press A twice to exit the setting screen.
• Button operations are indicated using the
letters shown in the illustration.
• Each section of this manual provides you
with the information you need to perform
operations in each mode. Further details
and technical information can be found in
the "REFERENCE" section.
(Light)
Sensor Mode
Digital Compass Mode
L
Press B.
Press C.
Barometer/
Thermometer Mode
00
.
00
and add 1 to the minutes. In the range of 00 to 29,
2273-1
Advertisement
Table of Contents

Related Manuals for Casio Pathfinder SPF40


Summary of Contents for Casio Pathfinder SPF40
-
Page 1: Timekeeping
Module No. 2273 GETTING ACQUAINTED Congratulations upon your selection of this CASIO watch. To get the most out of your purchase, be sure to read this manual carefully and keep it on hand for later reference when necessary. Warning! • The measurement functions built into this watch are not intended for taking measurements that require professional or industrial precision. -
Page 2: Configuring City Data Setting
Direction Meaning Lunitidal Interval Minutes Making Digital Compass Settings You can set up the watch so it takes continuous direction readings for an amount of time specified by you. To configure the Digital Compass Mode 1. Enter the Digital Compass Mode. -
Page 3: Countdown Timer
Mode. Barometer and Thermometer Precautions • The pressure sensor built into this watch measures changes in air pressure, which you can then apply to your own weather predictions. It is not intended for use as a precision instrument in official weather prediction or reporting applications. -
Page 4: Using Countdown Timer
• Reset Time Beeper The reset time beeper is similar to the countdown end beeper. When the progress beeper is turned on, the watch beeps each second of the final 10 seconds before the countdown reaches the reset time. • Reset Period Progress Beeper The reset period is the portion of the countdown between the reset time and zero. -
Page 5: Stopwatch
When an alarm is turned on, the alarm tone sounds when the alarm time is reached. You can also turn on an Hourly Time Signal that causes the watch to beep twice every hour on the hour. • The alarm number ( through an alarm screen. -
Page 6: Backlight
Turning on the auto light switch causes the backlight to turn on for about one second, whenever you position your wrist as described below in any mode. • Be sure to wear the watch on the outside of your left wrist while using the auto light switch. -
Page 7: Moon Phase Indicator
Moon Phase Indicator The Moon phase indicator of this watch indicates the current phase of the Moon as shown below. Graph Moon Age 0, 1, 29 2–5 6–9 10–13 14–16 First Full Moon Phase Moon Quarter Moon (Waxing) • The light part of the Moon phase indicator shows the part of the Moon that is visible in the sky during each particular phase. -
Page 8: Digital Compass Precautions
• Avoid wearing the watch on the inside of your wrist. Doing so causes the auto light switch to operate when it is not needed, which shortens battery life. If you want to wear the watch on the inside of your wrist, turn off the auto light switch feature. -
Page 9: Calibrating Temperature Sensor
• Compare the readings produced by the watch with those of another reliable and accurate thermometer. • If adjustment is required, remove the watch from your wrist and wait for 20 or 30 minutes to give the temperature of the watch time to stabilize.