Table of Contents
Advertisement
Quick Links
Advertisement
Table of Contents

Related Manuals for Brother PQ-1500


Summary of Contents for Brother PQ-1500
- Page 1 SEWING MACHINE PQ1500 OPERATION MANUAL...
-
Page 2: Important Safety Instructions
Use this sewing machine only for its intended use as described in this manual. Use only accessories recommended by the manufacturer as contained in this manual. Never operate this sewing machine if it has a damaged cord or plug, if it is not working properly, if it has been dropped or damaged, or dropped into water. Return the sewing machine to the nearest authorized dealer or service center for examination, repair, electrical or mechanical adjustment. - Page 3 Plug the machine directly into the wall. Do not use extension cords. For a longer service life When storing your sewing machine, avoid direct sunlight and high humidity locations. Do not store the sewing machine beside a space heater, iron, or other hot objects.
-
Page 4: Table Of Contents
Accessories ...1 Name of Parts ... 2 Before You Begin ...3 Tension Dial ...3 Power Cord and Foot Controller ... 3 Power Switch ...3 Hand Wheel ...3 Stitch Length Regulator ... 3 Reverse stitch lever ... 3 Presser Foot Lift Lever ... 4 Knee Lift ... -
Page 5: Accessories
XA7258-001 18 Quilting Foot XA7255-101 19 Walking Foot XA7253-001 20 Seam Guide XA7256-001 21 Foot Controller XA3931-051 Optional Accessories 22 Fabric Extension Table SA506 Note Foot controller: Model N5V This foot controller can be used for sewing machine model PQ1500. -
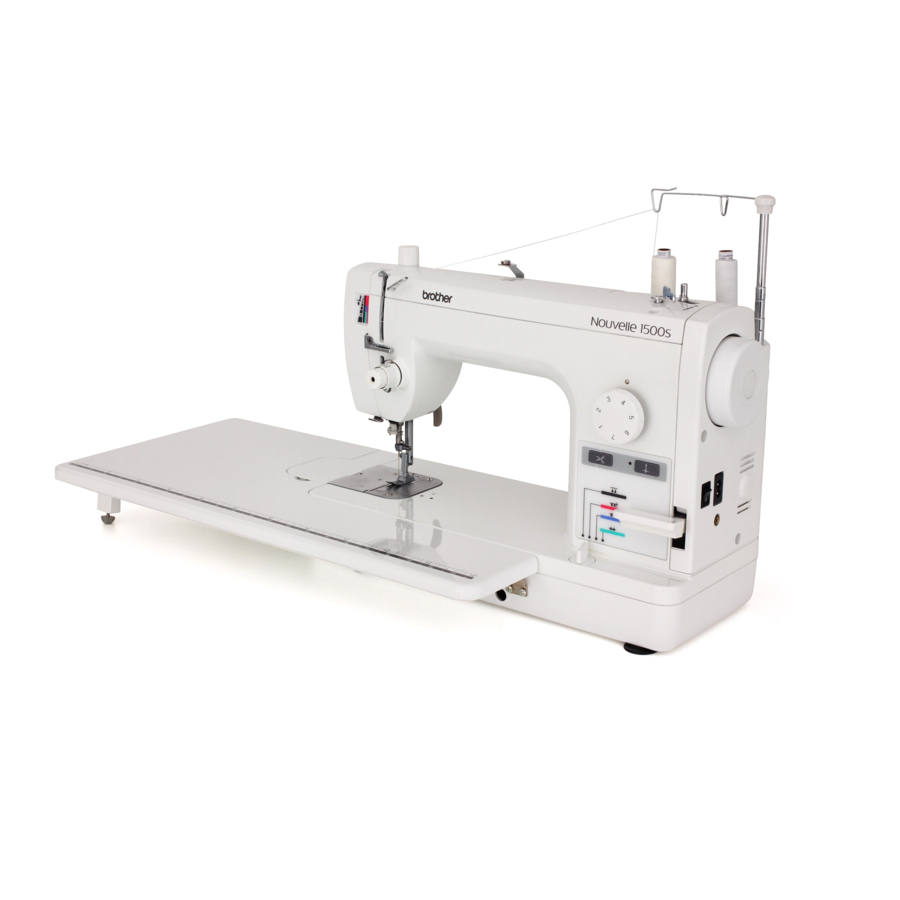
Page 6: Name Of Parts
Names of Parts Pressure Adjustment Dial Three Holed (Page 4) Thread Guide (Page 9) Light Switch (Page 5) Thread Trimmer Sewing Area Light (Page 6) Automatic Needle Threader (Page 9 and 10) Tension Dial (Page 3 and 11) Feed Dogs (Page 5 and 13) Thread Guide Bar (Page 7) -
Page 7: Before You Begin
Plug in cord. Plug foot controller into machine. Note Foot controller: Model N5V This foot controller can be used for sewing machine model PQ1500. Power Switch Flip power switch to “I” position to turn on. To switch power off, flip switch to “O”... -
Page 8: Presser Foot Lift Lever
Presser Foot Lift Lever Lowering the presser foot lift le- ver lowers the sewing foot down onto the fabric and engages the tension function. When working with heavy fabrics or other fabrics that don’t slide easily under the foot, raise the presser foot lever to position the fabric. -
Page 9: Thread Cutter Button
Before You Begin (2) Thread Cutter Button Note When the machine stops due to jammed threads and so forth, do not step on the foot controller until turning the power off and moving the needle with the hand wheel to check the situation. Otherwise Thread Cutter Button broken needles could result. -
Page 10: Changing Needles And Light Bulb
Changing Needles and Light Bulb Note Please make sure power is off before carrying out the following operations. There is a chance of injury if the machine accidentally starts running during this operation. Changing the Needle 1 Turn the sewing ma- chine off. -
Page 11: Threading
Threading (1) Bobbin Winding Note Do not move bobbin stop while machine is running. 4 - 9: See following illustrations. 2 Lift thread guide bar all the way up, 3Run thread through bobbin winding and run thread through triangular thread guide as shown in drawing. thread guide as shown in drawing. -
Page 12: Bobbin Insertion
* Place the thread end so that it does not protrude from the bobbin. 6 While holding the end of the thread, step on the foot controller for a few seconds. Once enough thread has wound itself around the bobbin to hold itself in place, release the foot controller and trim the excess thread. -
Page 13: Upper Threading
Threading (2) Note Please turn power is off before using automatic needle threader. Accidentally stepping on the foot controller during this operation could cause bodily injury or damage to the machine. Upper Threading Using the Automatic Needle Threader Automatic Needle Threader 1 Pull hand wheel towards you until needle is in 3 Lower automatic needle threader. -
Page 14: How To Pull Out The Bobbin Thread
6 Pull loop to the right. How to Pull Out the Bobbin Thread Insert threaded bobbin in sewing machine and then begin. 1 While gently holding the end of the needle thread, turn the hand wheel towards you to raise the needle. Turn the hand wheel once completely. -
Page 15: Stitch Samples And Needle Chart
Stitch Samples and Needle Chart Stitch Samples 1 Set stitch length regulator to de- sired stitch length. 2 Make sure approximately 15 cm of upper and bobbin threads are pulled out and laying behind presser foot. While needle is in raised position, insert a test strip from the garment fabric under the foot. -
Page 16: Changing Presser Feet
Changing Presser Feet Note Make sure the power is off before changing presser feet. Changing Presser Feet (Zipper Foot) 1 Raise presser foot, and raise needle to highest position. 2 Loosen and remove screw using screwdriver. 3 Attach zipper foot and tighten screw. -
Page 17: Basic Sewing
Basic Sewing (1) Basic Sewing Begin Before sewing. sewing. 1 Lift foot, pull about 15 cm of upper 2 Lower foot. and bobbin thread under and behind 3 While needle is pierced all the way foot, and position fabric under foot. through fabric, step gently on foot controller. -
Page 18: Rolled Hem Foot
Basic Sewing (2) Note Make sure power is off before changing feet. Rolled Hem Foot 1 Attach rolled hem foot. Refer to page 12 for instructions on changing sewing feet. 2 Insert needle approximately 0.5 cm from the edges of the fabric and sew 2 stitches. -
Page 19: Zipper Foot
Basic Sewing (3) Note • Make sure power is off before changing feet. • When attaching zippers to stretch fabrics, use the pin feed method and adjust foot pressure accordingly. Zipper Foot 1 Attach zipper foot. 2 Turn hand wheel to lower needle and adjust position of foot to needle. -
Page 20: Invisible Zipper Foot
Teeth 1/4” Foot Sewing machine settings: Stitch length = 2 - 2.5 • Sew a consistent seam allow- Base of ance (1/4”, 6.4 mm) when piec- Opening ing together a quilt. -
Page 21: Quilting Foot
Quilting Foot Reduce the foot presser and turn the dial on the machine lowering the feed dogs for free motion quilting. Also the needle threader will not work when this foot is in use. Walking Foot Note • Do not press the pedal all the way down. -
Page 22: Lining
Lining 1 Raise needle and foot. 2 Move separator so it sits under presser foot. 3 Make sure it is lined up so that the needle passes through the slot of the separator without hit- ting the plate itself. 4 Secure liner plate in place with lining plate screws. -
Page 23: Caring For Your Machine
Keep Your Sewing Machine Clean Please use a soft, dry cloth to wipe off light dirt and dust. If sewing machine is very dirty, wipe with a cloth soaked in warm water, or in warm water containing a neutral detergent. Then wipe off any detergent residue, and wipe off water with a dry cloth. -
Page 24: Trouble Shooting
Trouble Shooting Before taking your sewing machine in for service, check the following chart. Upper threading is not Thread threaded correctly. Breakage Re-thread machine properly. Bobbin thread is not passing Bobbin Thread correctly from bobbin case. Reinsert bobbin Breakage properly. - Page 25 ENGLISH 116-635 193635-0061 Printed in Japan...