Advertisement
Quick Links
Quick-Start
Guide
Wyse
Xenith 2
®
Wyse
Xenith Pro 2
®
Products: T00X, D00DX
Use the easy 2-step process to quickly
connect your Wyse Xenith zero client
to your Citrix XenDesktop environment.
Refer to the administrators guide for
more detailed information.
Note: Be sure you have read the Safety
Guidelines on the reverse of this document
before setting up and operating Wyse Xenith.
Step 1:
Setting Up Wyse Xenith
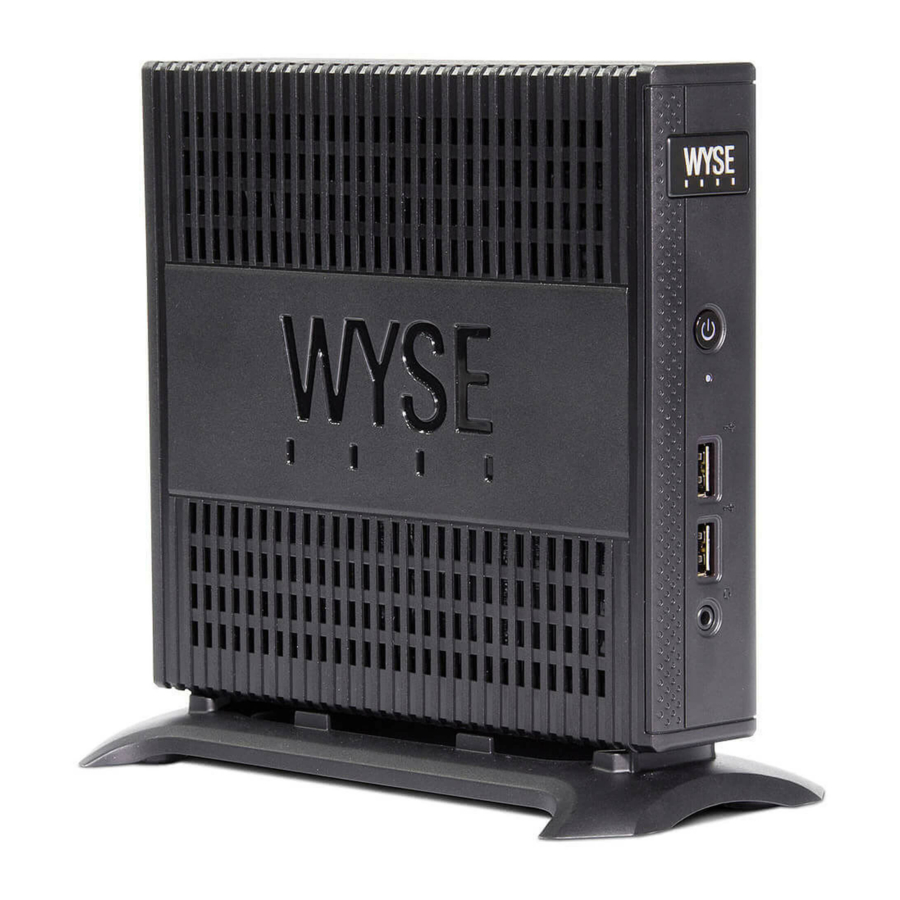
Wyse Xenith 2
Components may vary based on model and location.
*
Make sure the monitor and the T00X zero client are
turned off and disconnected from AC power before
VESA mounting (assemble with the 920275-03L screw
kit; insert the zero client with cables facing down or to
the side, but never facing up).
**Wireless option not available in all localities.
Step 2:
Plug in your zero client to your network cable, and then press the power button to turn on
Wyse Xenith Pro 2
Wyse Xenith to see the XenDesktop logon screen. Simply enter your User name, Password,
and Domain (provided to you by an administrator) and click Log on. After authentication is
successful, your desktop is presented for use. Note: If you have more than one connection
assigned, you will see the list of desktops from which you can select.
Connecting to Your Desktop
Administrators: Use DCHP Option Tag #181 to
have Wyse Xenith auto detect the XenDesktop
environment (for information go to the Wyse
Knowledge Base and search for Solution 19575).
If you do not see a Log on dialog box but instead
see this Configure XenDesktop location message,
click OK.
In the Remote Connections dialog box that appears,
enter the XenApp or XenDesktop Broker Server URL
in the Citrix Web Interface box (provided to you by
an administrator). If instructed to do so by your
administrator, click the XenApp or XenDesktop
button (after clicking the button and clicking OK,
the system will restart to apply the new settings for
the XenApp or XenDesktop default settings). If you
are not instructed to click the XenApp or
XenDesktop button, click OK.
After clicking OK, you will be presented with the
XenDesktop logon screen.
Note: If you do not see a Log on dialog box, contact
your IT department for help. Review administrators
guide for more details.
Advertisement

Related Manuals for Wyse Xenith 2

Summary of Contents for Wyse Xenith 2
- Page 1 Wyse Xenith 2 Wyse Xenith Pro 2 Wyse Xenith to see the XenDesktop logon screen. Simply enter your User name, Password, and Domain (provided to you by an administrator) and click Log on. After authentication is successful, your desktop is presented for use. Note: If you have more than one connection Guide assigned, you will see the list of desktops from which you can select.
- Page 2 Wyse Xenith, you can use the Shutdown icon in the Wyse Xenith toolbar to select • Not all USB devices are supported; check with Wyse or your Wyse representative to find out if a particular Sign-off from account.