Table of Contents
Advertisement
Quick Links
Download this manual
See also:
User Manual
Advertisement
Table of Contents

Summary of Contents for Airlink101 AR360W3G
-
Page 1: Quick Installation Guide
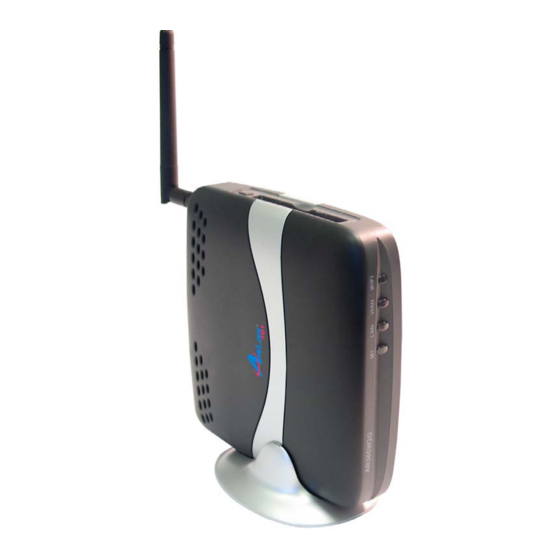
802.11g Wireless 3G Mobile Router Model # AR360W3G Quick Installation Guide Ver. 1A... -
Page 2: Connect The Router
Section 1 This Quick Installation Guide only provides the basic instructions. For more detailed information, please refer to the user’s manual on the supplied CD. Note: Prior to connecting the router, be sure to power off your computer and the router. Step 1 (Option 1) Insert the 3G mobile PC card into the card slot on the router facing up, (Option 2) or, connect your DSL/Cable modem to the WAN port on the router. -
Page 3: Verify Connection To Router
Section 2 Verify Connection to Router Step 1 Go to Start, Run, type command (for Windows 95/98/ME) or cmd (for Windows 2000/XP) and click OK. For Windows Vista, click start and type “command prompt” in the search box. Click on Com- mand Prompt in the search results box. - Page 4 Step 5 Type ipconfig/renew and press Enter. You should get an IP address of 192.168.1.x (where x is a number between 2 - 254). Proceed to Section 3, Configure the Router. If you don’t get an IP address, reset the router by holding in the reset button at the back of the router for 10 seconds while it is ON and try ipconfig/renew again.
-
Page 5: Configure The Router
Step 8 After your IP address is released, click Renew. You should get an IP address of 192.168.1.x (where x is a number between 2 - 254). If you don’t get an IP address, reset the router by holding in the reset button at the back of the router for 10 seconds while it is ON and try Renew again. - Page 6 Step 3 Click on Wizard from the main menu and click Next to begin the Setup Wizard. Step 4 You can change the password of your router here if you like. Make sure that you write down the password so that you do not forget what it is. The default password is admin. Note: If you happen to forget your new password, you can reset the password back to admin by holding down the reset button on the back of the router for 10 seconds.
-
Page 7: Cable Modem
Step 4 Select your WAN Type (Internet Connection Type) and click Next. If you are not sure what your Internet Connection Type is, please contact your Internet Service Provider (ISP) for assistance. 3G Mobile PC Card If you are using a 3G Mobile PC card, select 3G and click Next. Proceed to Step Cable Modem If you use cable modem, select Dynamic IP Address and click Next. - Page 8 Below are the examples for Cingular, Verizon, and Sprint: Cingular Phone Number: *99***1# Username: xxx@cingulargprs.com Password: xxxxx Verizon Phone Number: #777 Username: xxx@vzw3g.com Password: xxxxx Sprint Phone Number: #777 Username: xxx@sprintpcs.com Password: xxxxx If you are not sure about your account information, please contact your 3G Mobile service provider. For Cable Modem Users: Step 5b If your ISP has provided you with a host name, enter it in the Host Name field.
- Page 9 For DSL Users: Step 5c Fill in the applicable fields according to the information provided by your ISP. Click Next when done and proceed to Step Note: Depending on the ISP, you may need to include the domain name with your account name. Example: username@sbcglobal.net However, some DSL service providers may use Dynamic IP Address instead of PPP over Ethernet.
- Page 10 Step 7 Choose your wireless security settings. For a secure network, we recommend WPA-PSK with TKIP. Your passphrase must be at least eight characters long and can contain numbers and letters. Click Next after choosing your settings. Step 8 Click Apply Settings to save your settings and complete the configuration.
-
Page 11: Verify Connection Status
Section 4 Verify Connection Status Step 1 Login to the router’s web configuration page and click on the Status link from the Main Menu. Step 2 Verify that the WAN Status displays valid numbers (instead of all 0’s). 3G Mobile PC Card users, make sure that the 3G card is properly inserted in the card slot on the router. Under 3G Status section, make sure your 3G card information is correctly displayed, and Link Status should be Connected. -
Page 12: Connecting To The Router Wirelessly
If you use DSL and you see all 0’s, click on the Connect button. Step 3 Once you clicked the Renew or Connect button, you should see some numbers under WAN Status. This means you have successfully established Internet connection. Note: If you still see all 0’s after clicking on the Renew or Connect button, try the tips in Section 6, Troubleshooting. -
Page 13: Troubleshooting
Section 6 For 3G Mobile Card Users Only Contact your internet service provider to make sure that you are in an area that allows you to receive a 3G signal. Also test your 3G card in a computer to make sure that the 3G card works properly and is receiving a useable signal. -
Page 14: Technical Support
For Cable Modem and DSL Users Step 1 Power off the Cable/DSL modem, router, and computer and wait for 5 minutes. Step 2 Turn on the Cable/DSL modem and wait for the lights on the modem to settle down. Step 3 Turn on the router and wait for the lights on the router to settle down.


