Advertisement
Quick Links
Step 1. PLANNING FOR THE INSTALLATION
In planning for the installation of a new Viking spa, there are many
important considerations that must be evaluated in order to achieve a functional,
long-lasting and aesthetic addition to a home. When choosing a location, consider
the following:
1. Grade: Spas and decks are normally constructed on level ground. Extreme
variations in grade should be resolved before the excavation of the spa begins. A
relatively level and flat location is preferred so time and effort is not wasted on
radical fluctuations in grade.
2. Excavation Equipment Access and Spa Delivery: Determine the most efficient
route for equipment to enter and access the site. Also keep in mind that a well
planned route can save time and money by enabling multiple pieces of equipment to work in unison. For example:
Coordinate the delivery of the spa with the completion of the excavation and prepping of the hole. If a track excavator
was used to prepare the site, it may also be utilized to unload and set the spa. Finally, consider the placement of the
equipment. If possible, position the equipment so the spa can be unloaded and placed directly into the excavation.
3. Underground Utilities: Check with local authorities for the locations of underground water, gas, power and sewer
lines.
4. Overhead Power Lines.
5. Local Building Codes: Determine the setbacks from property lines, easements, house footings, etc.
6. Water Drainage: Water should always drain away from the spa. Failure to keep ground water away from the exterior
of the spa may result in damage to the spa that is not covered under warranty.
7. Local Fencing Codes.
8. Location of Spa Equipment: Locate to within 20' of the spa.
9. Electrical Run for Spa Equipment.
10. Underground Water Conditions.
11. Exposure to Sunlight.
12. Surrounding Foliage.
13. View from Residence.
Notice: Failure to read and follow specif ic instructions contained in this manual will void your spa warranty.
Installation Guide
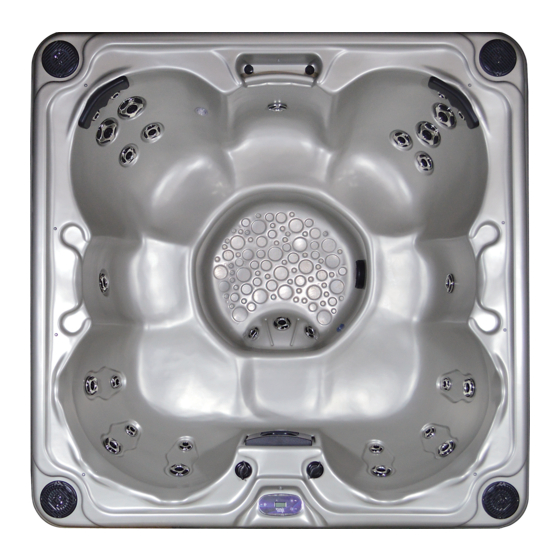
Typical Spa
TOOLS REQUIRED
A. Transit Level
B. Shovel
C. Pick
D. Rake
E. Stakes and Nails
F. Spray paint for outlining spa
G. String
H. Hammer
I. (3-4) 2"x4"x8'
J. Tape Measures: 25' and 50'
Advertisement

Related Manuals for Viking Mystic

Summary of Contents for Viking Mystic
- Page 1 Typical Spa Step 1. PLANNING FOR THE INSTALLATION TOOLS REQUIRED In planning for the installation of a new Viking spa, there are many A. Transit Level important considerations that must be evaluated in order to achieve a functional, B. Shovel long-lasting and aesthetic addition to a home.
- Page 2 When laying out the spa, note that the dimensions are to the outside edge of the spa coping. Most permit plans are measured to the water’s edge. The coping of a Viking spa is approximately 6” on all sides. There is a difference of 12”...
- Page 4 (see Cross Section A-A) must be installed to alleviate the excess water and the associated hydrostatic pressure accompanying it. Viking Spas suggests digging an 18” x 8’ x 18” trench across the deep end of the excavation.
- Page 5 Step 5. PREPARATION OF THE BOTTOM SURFACE OF THE EXCAVATION The preparation of the excavation bottom is critical so the spa will fit properly. Thorough preparation will eliminate settling, stress cracks and a minimum of time will be spent setting the spa. First, install the 2”...
- Page 6 A crane or excavator will lower the spa into the excavation. Please note that Viking Spas recommends lifting all spa models over 12’ wide with a spreader bar and 20’ lifting straps. Once the spa is set in the excavation, the spa should be checked for level and the bottom should be walked over to detect any voids in the sand that might be present.
- Page 7 Figure 5 for a basic filtering system diagram. See your contractor for more advanced filtering systems that may include sanitizers, jets, blowers, automatic spa cleaners, etc. Viking Spas recommends the use of schedule 40, 2” plumbing on most spas. Visually inspect all plumbing installed at the factory upon the delivery of the spa and during the backfill process.
-
Page 8: Installation
No. 3 rebar on 2’ centers (Fig 6-7). Viking Spas recommends concrete decking. Concrete should be poured at least 3’ around the perimeter of the spa and at least 4” deep. Viking Spas will not be held responsible for any concrete work or cracks that may result from its use.