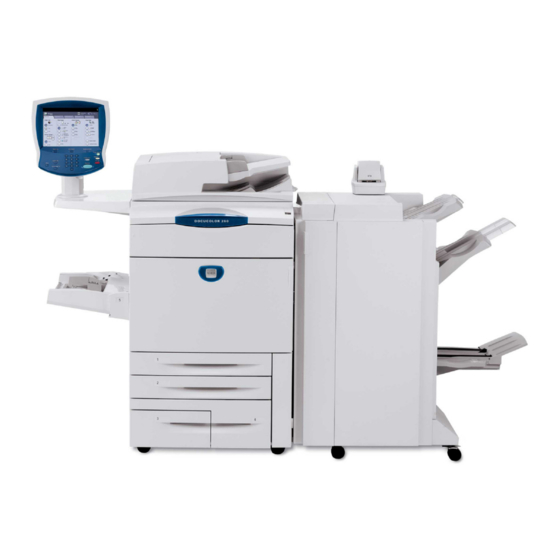
Xerox DocuColor 252 Function Manual
Adjusting image position
Hide thumbs
Also See for DocuColor 252:
- User manual (262 pages) ,
- Quick connect manual (216 pages) ,
- Specifications (8 pages)
Advertisement
Quick Links
Advertisement

Summary of Contents for Xerox DocuColor 252
- Page 1 Adjusting Image Position DocuColor 242/252/260 701P46874 2007...
- Page 2 Adjusting Image Position The Adjust Image Position feature on the DocuColor 242/252/260 allows the printed image to be precisely altered in two directions. The image may be adjusted according to paper tray, media type, and two- sided copying options. Follow the steps below to adjust the image position: 1.
- Page 3 Adjusting Image Position 3. Touch the System Settings button. System Administrator Menu User Mode 4. Touch the System Settings button. System Settings System Settings Login Setup/Auditron Administration DocuColor 242/252/260 System Settings Setup Menu Adjusting Image Position Exit System Administrator Settings DocuColor 242/252/260...
- Page 4 Adjusting Image Position 5. Touch the Common Settings button. System Settings Common Settings 6. Touch the Maintenance button. Common Settings Machine/Clock Timers Paper Tray Settings Maintenance DocuColor 242/252/260 Copy Mode Settings Scan Mode Settings Audio Tones Image Quality Adjustment Watermark Adjusting Image Position Exit Screen/Button...
- Page 5 Adjusting Image Position 7. Touch the Adjust Image Position button. Maintenance Software Options 8. Touch the appropriate paper tray, media type and side combination for which you would like to adjust the image position. Adjust Image Position Items 1. Trays 1 - 4, 6 2.
- Page 6 Adjusting Image Position 9. Touch the Change Settings button. Adjust Image Position Items 1. Trays 1 - 4, 6 2. Trays 1 - 4, 6 3. Trays 1 - 4, 6 4. Trays 1 - 4, 6 5. Tray 5 and Others Plain Side 1 6.
- Page 7 Adjusting Image Position NOTES: The Adjust Image Position feature consists of multiple screens. You can navigate between screens using the Page arrow keys. Adjust Image Position Items 1. Trays 1 - 4, 6 2. Trays 1 - 4, 6 3. Trays 1 - 4, 6 4.
- Page 8 Adjusting Image Position The first eight selections of the Adjust Image Position feature allow changes to the Side 1 Width X image dimension (up/down) for all trays and media combinations. Adjust Image Position Items 1. Trays 1 - 4, 6 2.
- Page 9 Adjusting Image Position The remaining selections of the Adjust Image Position feature allow changes to the Length Y image dimension (left/right) for all tray/side combinations. Adjust Image Position Items 11. Tray 1 Side 1 12. Tray 1 Side 2 13. Tray 2 Side 1 14.
- Page 10 Adjusting Image Position The Length Y adjustment allows you to move the image left and right on the output page. The outcome depends on the orientation of the image and the orientation of the paper in the paper tray. Use the arrow buttons to move the image position in increments of .0166 inch, then touch Save.
- Page 11 Adjusting Image Position The Width X adjustment allows you to move the image up and down on the output page. The outcome depends on the orientation of the image and the orientation of the paper in the paper tray. Use the arrow buttons to move the image position in increments of .0126 inch, then touch Save.


