KitchenAid KFIL27CXMS Service Information
27" french door refrigerators
Hide thumbs
Also See for KITCHENAID KFIL27CXMS:
- Dimension manual (1 page) ,
- User instructions (62 pages) ,
- Energy manual (1 page)

Related Manuals for KitchenAid KITCHENAID KFIL27CXMS


Summary of Contents for KitchenAid KITCHENAID KFIL27CXMS
- Page 1 Kitchen Aid 27' French Door Refrigerators Prepared by: WHIRLPOOL CONSUMER CARE March 2010 Models: KFIS27CXBL KFIS27CXMS KFIS27CXMS KFIL27CXMS Home Appliances PART NO. W10323216 UD-38...
- Page 2 The following service update information is provided to make you more knowledgeable about Whirlpool, Roper, KitchenAid, Maytag, Jenn-Air, and Amana major appliances. Service update information is designed for the experienced service specialist. It keeps you advised of the most recent improvements and product changes, and allows you to service these products more efficiently.
-
Page 3: Table Of Contents
TABLE OF CONTENTS KITCHENAID 27’ FD AKA TEMPEST ... Page 1 Model Number Description ... Page 1 Dimensions ... Page 2 Product Design Overview ... Page 2 Removing Ice Maker Assembly ... Page 3 Wiring Harness Routing Change..Page 4 Installing Ice Maker Assembly ... -
Page 4: Kitchenaid 27' Fd Aka Tempest
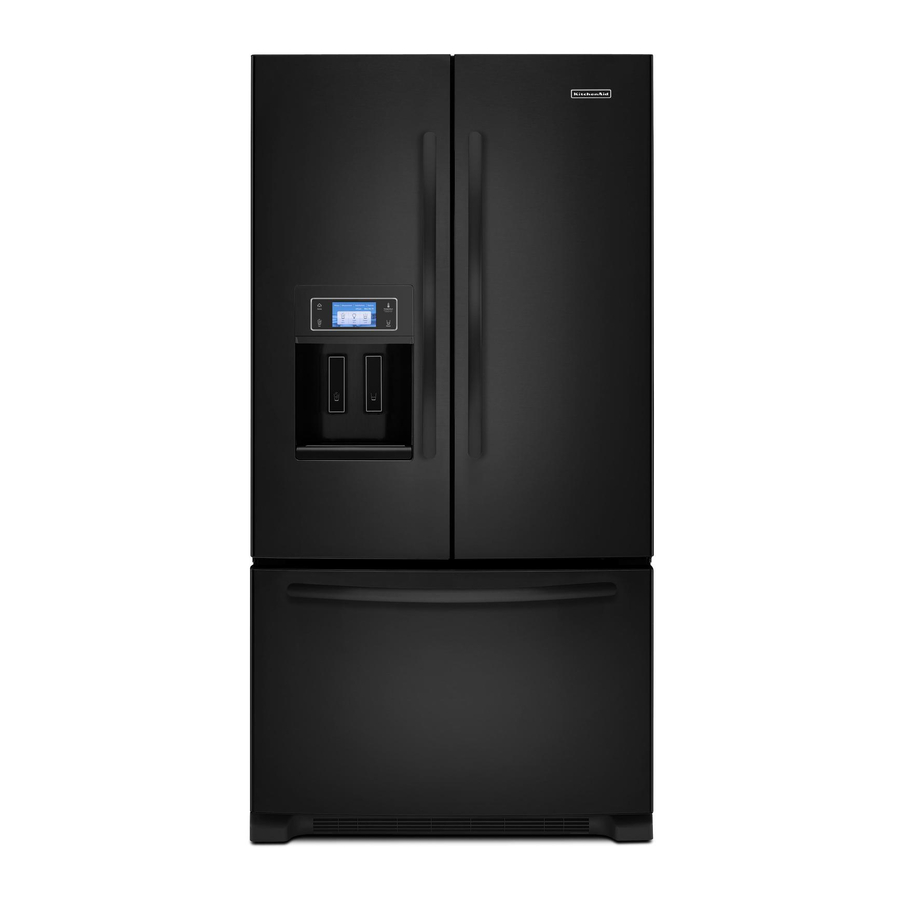
KITCHENAID 27’ FRENCH DOOR REFRIGERATOR WITH ICE AND WATER IN THE DOOR - TEMPEST II *Always refer to Service Sheet and Use and Care Manual for information specific to the refrigerator you are servicing Model Number Description* KFIS27CXBL 27’ FRENCH DOOR INW KFIS27CXMS 27’... -
Page 5: Dimensions
Dimensions (Inches) Capacity Depth Height Width Depth Closed Excluding Handles Depth Closed Including Handles Depth Excluding Doors Depth With Door Open 90 Degree Height To Top Of Cabinet Height To Top Of Door Hinge Width of Cabinet Only Width with Doors Closed Product Design Overview Kitchen Aid 69”... -
Page 6: Removing Ice Maker Assembly
Removing Ice Maker Assembly Disconnect power before servicing. Replace all parts and panels before operating. Failure to do so can result in death or electrical shock. The ice maker wiring harness is now being routed through the top of the cabinet. This change has made the removal and installation of the ice maker much easier. -
Page 7: Wiring Harness Routing Change
Wiring Harness Routing Change Disconnect power before servicing. Replace all parts and panels before operating. Failure to do so can result in death or electrical shock. The elimination of the harness grommet and gasket reduces the opportunity of air leakage into the refrigerator compartment. This feature will carry over into all 27’ FD refrigerators beginning March 2010 production. -
Page 8: Installing Ice Maker Assembly
Installing Ice Maker Assembly Disconnect power before servicing. Replace all parts and panels before operating. Failure to do so can result in death or electrical shock. Rest the ice maker on the top shelf. Connect wire harnesses. After positioning the right side of the ice maker, raise the left side and align the hanger bracket on the cabinet stud. -
Page 9: Installing Fascia
Make sure light shield is held in position by the fascia. *Always refer to Service Sheet and Use and Care Manual for information specific to the refrigerator you are servicing Installing Fascia Insert hooks in top of fascia into slots in top of cabinet and roll bottom of fascia in and up. -
Page 10: Back Of Unit
Power Supply and Control Board Disconnect power before servicing. Replace all parts and panels before operating. Failure to do so can result in death or electrical shock. View of the back of the unit – no changes to the old Tempest design. Refer to Job Aid R-109 more infomation. -
Page 11: Kitchenaid Tempest User Interface
KitchenAid Tempest User Interface The KitchenAid dispenser incorporates a photo display feature. Downloads are ac- complished using a USB connection located under the User Interface. Programming - Power Up Figure 1 – When the refrigerator is first powered up, the KitchenAid logo is displayed. Figure 2 –... -
Page 12: Options
Figure 5 – Home Screen: Photos, Measurements, Substitutions, Options, Displays Time and Temperature, Ice, Light, and Water. Figure 6 – Select Options. Figure 7 – Options Screen Lock , Max Cool, Ice maker, Timer, Water Filter, Power Outage, Use and Care, Settings, and Preferences. NOTE: The Use and Care Option is new. -
Page 13: New Substitutions Option
Figure 13 – Page 4 of 4 – Door adjustment shown Figure 14 – Select Back to return to Option or Home page New Substitutions Option Provides substitutions for common ingredients used in recipes. Recommends ingredients that can be substituted for some liquids, powders and sol- ids that you may not have on hand when preparing a recipe. -
Page 14: New Measurements Option
New Measurements Option Provides measurement equivalents for common liquids, solids, butter and miscellaneous items. New Photo Display Feature The refrigerator comes from the factory with the display screen preloaded with photos provided by the manufacturer. These default photos will be hidden when a picture is uploaded. -
Page 15: Uploading Photos
A USB port is located under the display screen in the dispenser area. Important: A USB memory device is not provided with the refrigerator. Some USB memory devices are not readable. u The USB port supports only USB 1.1 and 2.0 standard memory devices. Photos to be uploaded must be stored in the main directory of the USB device, not in a folder. -
Page 16: Upload Progress Screen
Uploading Photos (continued) Figure 32 – Album is empty – (All photos have been deleted) upload photos. Figure 32A – If “No Photos Identified” message is displayed, make sure: u Images are JPEG. u An USB flash drive USB 1.1 or 2.0 standards is been used (No cameras, I pods, cell phones, external hard memory, etc). -
Page 17: Upload Interruptions
Upload process will be interrupted: u If any of the following are pressed: fill buttons, dispenser paddles or cancel. u If a Door Alarm or Power Outage occurs during uploading. u If the USB memory device is removed. Figure 33A Screen displayed if trying to use dispenser with USB inserted Note: If the USB device is removed while uploading photos, the display will show only the photos that have been completely transferred, the display will return to the Home... -
Page 18: Selecting Specific Photos To Upload
Selecting Specific Photos to Upload The control panel will display all JPEG photos found on the USB memory device. Touch the photos you wish to select. The selected photos will be highlighted. NOTE: A selected images will be unselected if it is touched again. Multiple photos can be selected from different pages. -
Page 19: Upload Page
Upload Page An entire page of photos (6 photos) can be uploaded by touching the Upload Page pad. Uploading Page Progress Screen *Always refer to Service Sheet and Use and Care Manual for information specific to the refrigerator you are servicing... -
Page 20: Deleting Photos
Delete Photos From Memory Photos can be removed from the memory once uploaded. 1. Select the image you wish to delete by touching it. The selected photo will be highlighted. 2. Press the Delete Selected pad to delete the selected photos, or touch the Delete All pad to delete the page. -
Page 21: View Slideshow
From the Home Screen, touch photos, photos previously uploaded will be displayed. Touch Slideshow, all uploaded photos will appear in the Slideshow. Note: After 1 hour of running time, the display screen will automatically return to the Energy Save Mode (Sleep Mode). Touch the display screen to exit Energy Save Mode (Sleep Mode) and return to the Slideshow. -
Page 22: Tech Sheet
FOR SERVICE TECHNICIAN’S USE ONLY Tech Sheet DANGER WARNING Electrical Shock Hazard Only authorized technicians should perform diagnostic voltage measurements. After performing voltage measurements, disconnect power before servicing. Failure to follow these instructions can result in death or electrical shock. When performing live voltage measurements, you must do the following: ... - Page 23 Component Specifications Component Specifications all parts 115VAC/60HZ unless noted Compressor BTUH... Watt... Current Lock rotor... Current Full load... Resistance Run windings... Resistance Start windings... Inverter... Electric damper control Maximum closing time... Temperature Rating... RPM... Thermistor Temperature... 77°F... 36°F... 0°F... Condenser motor Rotation (facing end opposite shaft)...
- Page 24 Service Diagnostics Mode: 1. Activate the keypad by touching the screen. 2. Press and hold the Home button. While holding Home button press and hold the Temperature button. NOTE: If the Temp button beeps, you must start procedure over. 3. Release the Home button and the Temp button simultaneously. 4.
- Page 25 13. Water Filter Usage Rating Status 199 14. Water Filter Time Usage Status days since reset 15. Water Filter Time Rating Status add days after 182 16. Water Dispense Fill Test Place cup under spigot press pad to initiate test. 17.
- Page 27 TRAINING EVALUATION Please use this page as a reminder to provide us with feedback on today’s meeting. Complete the online evaluation form, located on the Service Matters website @: www.servicematters.com Instructor’s Name: Today’s Training Date:...