Table of Contents
Advertisement
Advertisement
Table of Contents

Related Manuals for Melitta ME12DSB


Summary of Contents for Melitta ME12DSB
- Page 1 12 Cup PROGRAMMABLE COFFEE MAKER Models ME12DSB, ME12DSBCAN...
-
Page 2: Important Safeguards
IMPORTANT SAFEGUARDS When using electrical appliances, basic safety precautions should always be followed to reduce the risk of fire, electric shock, and/or injury to persons, including the following: 1. Read all instructions. 2. Do not touch hot surfaces. Use handles or knobs. 3. -
Page 3: Additional Important Safeguards
IMPORTANT SAFEGUARDS WARNING: This appliance generates heat and escaping steam during use. Proper precautions must be taken to prevent the risk of burns, fires, or other injury to persons or damage to property. 1. All users of this appliance must read and understand these Use & Care instructions before operating or cleaning this appliance. -
Page 4: Polarized Plug
Polarized Plug This appliance has a polarized plug (one blade is wider than the other). To reduce the risk of electric shock, this plug is intended to fit into a polarized outlet only one way. If the plug does not fit fully in the outlet, reverse the plug. -
Page 5: Getting To Know Your
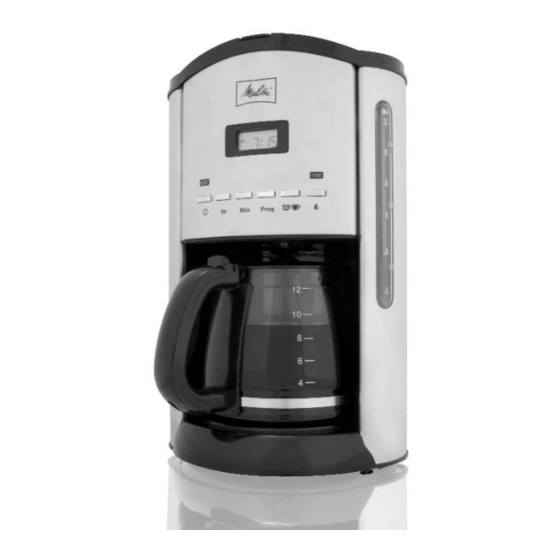
Getting To Know Your 12 Cup Coffee Maker Product may vary slightly from illustrations. 1. Carafe P/N 31148B 2. Carafe Lid P/N 31147B 3. Auto Pause & Pour Feature 4. Handles 5. Removable Filter Holder 6. Lid 7. Digital Display 8. -
Page 6: Control Panel
Control Panel Power Select ON/OFF Button Press this Button to turn the unit ON to start the brewing process. You can also turn the unit OFF by pressing this Button when the brewing cycle is complete. The Red ON Light, above the ON/OFF Button, will illuminate when the Coffee Maker is ON. - Page 7 Before Brewing for the First Time CAUTION: To protect against electric shock, do not immerse the Coffee Maker or allow AC cord to come into contact with water or other liquids. 1. After carefully unpacking from carton, the inside of your Coffee Maker and Glass Carafe must be cleaned.
-
Page 8: Setting The Clock
Setting the Clock 1. To set the clock, press the HR Button until the hour has been reached. Make sure the proper AM/PM indicator is shown on the left side of the Digital Display. 2. Press the MIN Button until the minutes have been reached. You may press and hold the HR or MIN Buttons to display the correct time more rapidly. -
Page 9: Operating Instructions
OPERATING INSTRUCTIONS Brewing Coffee - Immediate Start 1. Plug the appliance into a standard 120V AC electrical outlet. 2. Open the Lid by using the lip located on top of the Coffee Maker. 3. Insert a #4 paper coffee filter inside the Removable Filter Holder. We recommend using Melitta #4 cone-shaped filters. - Page 10 12. To brew another Carafe of coffee, turn unit OFF and wait 10 minutes to allow heating element to cool. WARNING: Warming Plate is hot! Do not touch bottom of Carafe or Warming Plate during or after brewing. NOTE: The amount of coffee in the Carafe may be slightly less than the amount of water placed in the Water Chamber, since some of the water is absorbed by the coffee grounds.
- Page 11 Brewing Coffee - Programming Delay Timer 1. Follow steps 1 – 6 in Brewing Coffee – Immediate Start. 2. Be sure clock is set to the current time (see setting the clock instruc- tions on Page 6). 3. Press the PROG Button once, the Digital Display will flash Program. 4.
-
Page 12: Auto Shut-Off
Auto Shut-Off As an added convenience, your Coffee Maker has been designed with an Auto Shut-Off feature. When the brewing cycle is complete, the Coffee Maker will automatically shut-off after 2 hours. Auto Pause and Pour Feature The Auto Pause and Pour feature allows you to pour a cup of coffee before brewing is complete. -
Page 13: Hints For Best Results
Hints For Best Results • We recommend using coffee which has been ground specifically for automatic drip coffee makers. This type of coffee is prepared specifically for your Coffee Maker’s brewing system and promotes fuller extraction to provide rich, full-bodied coffee. •... -
Page 14: User Maintenance Instructions
User Maintenance Instructions This appliance requires little maintenance. It contains no user serviceable parts. Do not try to repair it yourself. Any servicing that requires disassembly must be performed by a qualified appliance repair technician. Cleaning Instructions NOTE: Do not place anything other than water or the vinegar cleaning solution specified in this manual into the Water Chamber. - Page 15 Mineral Deposits / Decalcifying Your Coffee Maker must be cleaned when you begin to notice excessive steaming or the brewing time increases considerably. This condition is caused by a buildup of lime and mineral deposits from your water. If the pumping action stops before all the water has been pumped out of the machine, then the appliance requires decalcification.
- Page 16 How To Decalcify Your Coffee Maker 1. Place a #4 cone-shaped paper filter into the Removable Filter Holder. Make sure the Removable Filter Holder fits securely into the unit. 2. Fill Carafe with a solution of 2 tablespoons white vinegar to one liter of cold water.
- Page 17 NOTES...
-
Page 18: Limited One-Year Warranty
This warranty gives you specific legal rights and you may have other rights under the laws of your jurisdiction. For more information on our products, visit our website: www.maxim-toastmaster.com. ©2007 All rights reserved.