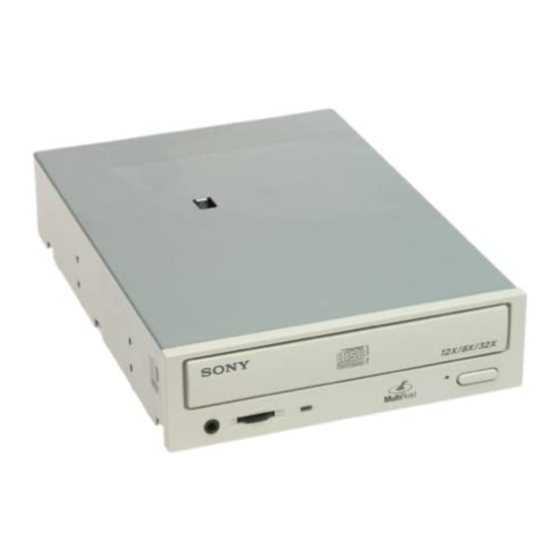
Sony CRX - 160E User Manual
Cd-r/rw drive
Hide thumbs
Also See for CRX - 160E:
- User manual (2 pages) ,
- User manual (20 pages) ,
- User manual (22 pages)
Table of Contents
Advertisement
Quick Links
Download this manual
See also:
User Manual
Advertisement
Table of Contents

Related Manuals for Sony CRX - 160E


Summary of Contents for Sony CRX - 160E
- Page 1 CRX - 160E CD-R/RW Drive Unit User’s Guide ©2000 by Sony Australia. CRX - 160E CD-R/RW Drive Unit User’s Guide Revision 1.1...
-
Page 2: Safety Regulations
Owner’s Record The model and serial numbers are located on the top of the drive. Record these numbers in the spaces provided below. Refer to them whenever you call upon your sales repre- sentative regarding this product. Model No. Serial No. Safety Regulations WARNING To prevent fire or shock hazard, do not expose the unit to rain or moisture. -
Page 3: Table Of Contents
Trademarks • MS-DOS is a registered trademark of Microsoft Corporation. • IBM PC, PC/XT, and PC/AT are registered trademarks of International Business Machines Corporation. • HP Vectra is a registered trademark of the Hewlett-Packard Company. • Molex is a registered trademark of Molex, Inc. •... -
Page 4: Introduction
2000 and Macintosh, hence no additional drivers are required for reading discs. For MS-DOS, drivers can be downloaded from: http://www.sony.com.au/support/itp Writer: Authoring software will be required. There are many varities. Please be sure that the version of software you are using is compatible with the CRX-160E. -
Page 5: Rear Panel
Rear Panel 1 Unused 2 ANALOG AUDIO connector Outputs analog audio signals. 3 Configuration Jumpers See page 11 for details. 4 INTERFACE CONNECTOR (IDE bus) Connect to ATA host adapter. 5 DC INPUT (power-in) connector Connect to the power supply of the host computer. Location and Function of Parts and Controls Precautions Pin 1... -
Page 6: System Setup
Device driver (for reading discs only) - This is included with most modern operating systems. DOS device drivers can be downloaded from: http://www.sony.com.au/support/itp Authoring Software (for writing discs) - Check with the software manufacurers web site to ensure the version of your software supports the CRX-160E. -
Page 7: Opening The Computer
Opening the Computer Refer to your computers user manual for instructions on how to open the computer. Mounting the Drive Do not mount the drive at an angle, it is only designed to be operated horizontally or vertically. Some computers chasis require mounting rails on each side of the drive when installing new drives. -
Page 8: Closing The Computer
Frame ground When installed the CD writer unit should have its metal chasis in contact with a grounded metal area of the computers frame. This normally occurs naturally when the drive is mounted into one of the computers spare drive bays. AUDIO OUT connector The pin assignment for the audio out connector is as follows: Installing the Drive Unit into the Computer... -
Page 9: Installing The Software
ATAPI drivers be installed automatically. If you wish to use the drive with MS-DOS you will require the MSCDEX extension (available from Microsoft) and Sony’s ATAPI device driver (available from http://www.sony.com.au/support/itp). To use the drive as a CD Writer. -
Page 10: Operating The Drive
Operating the Drive This section describes how to start the drive and eject a disc. Starting the Drive Turn on the power of your computer. Press the eject button. The tray comes out automatically. Place a disc in the tray with its label side up. Operating the Drive Note: When the drive is set up in vertical position, use the disc locks to... -
Page 11: Ejecting The Disc
Ejecting the Disc To eject the disc, press the eject button on the front panel. The tray comes out automatically. Note: The eject button does not work if it is disabled by the software you are using. Opening the tray manually in an emergency You can open the tray manually when it fails to come out by means of the eject button or software commands. -
Page 12: Specifications
When the drive’s right side is down To facilitate disc handling, set the disc locks B, C and D into the locked position, and leave the disc lock A in the unlocked position. Right side When the drive’s left side is down To facilitate disc handling, set the disc locks A, C and D into the locked position, and leave the disc lock B in the unlocked position. - Page 13 Drive performance Data transfer rate Sustained rate: 150 Kbytes/s mode 1 (1X) 300 Kbytes/s mode 1 (2X) 600 Kbytes/s mode 1 (4X) 1200 Kbytes/s mode 1 (8X) 1800 kbytes/s mode 1 (12X) 2000 to 4800 Kbytes/s mode 1 (13 to 32X CAV) 171.1 Kbytes/s mode 2 (1X) 342.2 Kbytes/s mode 2 (2X) 684.4 Kbytes/s mode 2 (4X)