Advertisement
Quick Links
Lens for Digital Single Lens
Reflex Camera
Operating Instructions
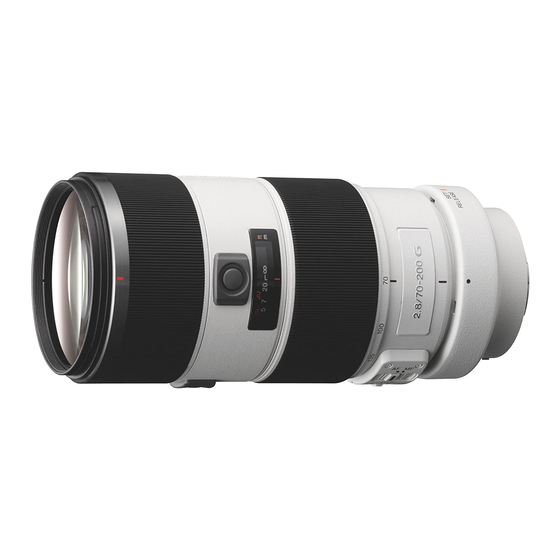
70-200mm F2.8 G
SAL70200G
©2006 Sony Corporation Printed in Japan
This lens is designed for Sony
cameras.
WARNING
To reduce fire or shock hazard, do not expose the unit to rain or moisture.
Do not directly look at the sun through this lens.
Doing so might harm your eyes or cause loss of eyesight.
Keep the lens out of reach of small children.
There is danger of accident or injury.
Disposal of Old Electrical & Electronic Equipment
(Applicable in the European Union and other
European countries with separate collection
systems)
This symbol on the product or on its packaging indicates that
this product shall not be treated as household waste. Instead it
shall be handed over to the applicable collection point for the
recycling of electrical and electronic equipment. By ensuring this product is
disposed of correctly, you will help prevent potential negative consequences
for the environment and human health, which could otherwise be caused
by inappropriate waste handling of this product. The recycling of materials
will help to conserve natural resources. For more detailed information
about recycling of this product, please contact your local Civic Office, your
household waste disposal service or the shop where you purchased the
product.
For the customers in the U.S.A.
THIS DEVICE COMPLIES WITH PART 15 OF THE FCC RULES.
OPERATION IS SUBJECT TO THE FOLLOWING TWO CONDITIONS:
(1) THIS DEVICE MAY NOT CAUSE HARMFUL INTERFERENCE,
AND (2) THIS DEVICE MUST ACCEPT ANY INTERFERENCE
RECEIVED, INCLUDING INTERFERENCE THAT MAY CAUSE
UNDESIRED OPERATION.
CAUTION
You are cautioned that any changes or modifications not expressly approved
in this manual could void your authority to operate this equipment.
NOTE:
This equipment has been tested and found to comply with the limits for a
Class B digital device, pursuant to Part 15 of the FCC Rules. These limits
are designed to provide reasonable protection against harmful interference
in a residential installation. This equipment generates, uses, and can radiate
radio frequency energy and, if not installed and used in accordance with the
instructions, may cause harmful interference to radio communications.
However, there is no guarantee that interference will not occur in a particular
installation. If this equipment does cause harmful interference to radio or
television reception, which can be determined by turning the equipment off
and on, the user is encouraged to try to correct the interference by one or
more of the following measures:
– Reorient or relocate the receiving antenna.
– Increase the separation between the equipment and receiver.
– Connect the equipment into an outlet on a circuit different from that to which the
receiver is connected.
– Consult the dealer or an experienced radio/TV technician for help.
For the customers in Canada
This Class B digital apparatus complies with Canadian ICES-003.
Notes on use
• Do not leave the lens in direct sunlight. If sunlight is focused onto a nearby
object, it may cause a fire. If circumstances necessitate leaving the lens in direct
sunlight, be sure to attach the lens cap.
• Be careful not to subject the lens to mechanical shock while attaching it.
• Always place the lens caps on the lens when storing.
• Do not keep the lens in a very humid place for a long period of time to prevent
2-696-862-11(1)
mold.
• Hold both the camera and lens, when you carry the camera with the lens
attached.
• Do not touch the lens contacts. If dirt, etc., gets on the lens contacts, it may
interfere or prevent the sending and receiving of signals between the lens and the
camera, resulting in operational malfunction.
Vignetting
When you use lens, the corners of the screen become darker than the center.
To reduce this phenomena (called vignetting), close the aperture by 1 to 2
stops.
Names of parts
1···Focusing ring 2···Zooming ring 3···Focal-length scale
4···Focal-length index 5···Collar mounting index (red)
6···Lens index (gray) 7···Collar index (gray) 8···Lens
contacts 9···Distance index 10···Distance scale
Attaching/detaching the lens
To attach the lens
1
Remove the rear and front lens caps and the camera body cap.
• You can attach/detach the front lens cap in two ways, (1) and (2). When you attach/detach the
lens cap with the lens hood attached, use method (2).
2
Align the orange index on the lens barrel with the orange index on the
camera (mounting index), then insert the lens into the camera mount and
rotate it clockwise until it locks.
• Do not press the lens release button on the camera when mounting the lens.
• Do not mount the lens at an angle.
To remove the lens
While pressing and holding the lens release button on the camera, rotate the
lens counterclockwise until it stops, then detach the lens.
Attaching a tripod
Attach the tripod to the lens, not to the camera.
To change vertical/horizontal position
Loosen the collar-locking knob on the tripod-mounting collar (1) and rotate the camera either
direction. The camera can be quickly switched between vertical and horizontal positions while
maintaining stability when using a tripod.
• Gray indexes (collar indexes) are located at 90° intervals on the tripod-mounting collar. Align a
gray index on the tripod-mounting collar with the gray index (collar index) on the lens to adjust the
camera position precisely (2).
• Tighten the collar-locking knob firmly after the camera position is set.
To detach the tripod-mounting collar
The tripod-mounting collar can be detached.
1
Remove the lens from the camera.
• See " Attaching/detaching the lens" for details.
2
Loosen the collar-locking knob (1).
3
Rotate the tripod-mounting collar to align the red index on the tripod-
mounting collar (collar mounting index next to SET/RELEASE) with the
orange index on the lens (mounting index) (3).
4
Move the tripod-mounting collar towards the lens mount and detach the tripod-mounting collar from the lens (4).
1
2
3
4
5
6
7
8
10
9
Condensation
If your lens is brought directly from a cold place to a warm place,
condensation may appear on the lens. To avoid this, place the lens in a plastic
bag or something similar. When the air temperature inside the bag reaches
the surrounding temperature, take the lens out.
Cleaning the lens
• Do not touch the surface of the lens directly.
• If the lens gets dirty, brush off dust with a lens blower and wipe with a soft,
clean cloth (Cleaning Cloth KK-CA (optional) is recommended).
• Do not use any organic solvent, such as thinner or benzine, to clean the lens or
the camera cone.
16
11···Focus-mode switch 12···Lens mounting index
13···DMF-mode switch 14···Focus-range limiter
15···Collar-locking knob 16···Focus-hold button
(1)
(2)
(1)
(2)
(3)
(4)
11
12
13
14
15
Advertisement

Related Manuals for Sony Camera Lens


Summary of Contents for Sony Camera Lens
-
Page 1: Names Of Parts
Lens for Digital Single Lens Reflex Camera Operating Instructions 70-200mm F2.8 G SAL70200G ©2006 Sony Corporation Printed in Japan This lens is designed for Sony cameras. WARNING To reduce fire or shock hazard, do not expose the unit to rain or moisture. -
Page 2: Attaching The Lens Hood
Included items: Lens (1), Front lens cap (1), Rear lens cap (1), Lens hood (1), Exclusive case (1), Set of printed documentation Designs and specifications are subject to change without notice. is a trademark of Sony Corporation. Switching focus range (AF range) The focus-range limiter enables you to reduce the auto focusing time.