Table of Contents
Advertisement
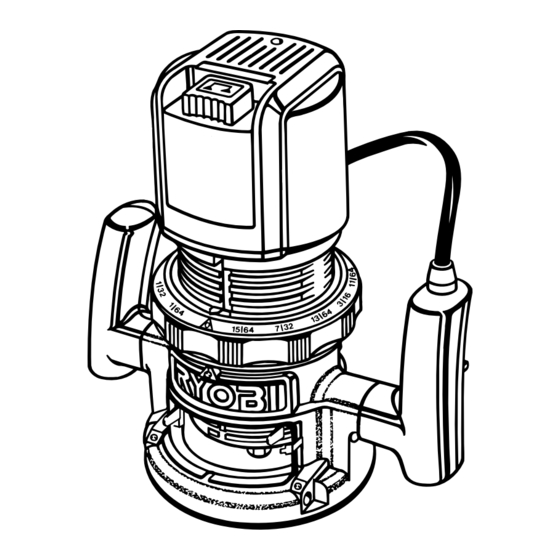
THANK YOU FOR BUYING A RYOBI ROUTER.
Your new router has been engineered and manufactured to Ryobi's high standard for dependability, ease of operation, and
operator safety. Properly cared for, it will give you years of rugged, trouble-free performance.
CAUTION: Carefully read through this entire owner's manual before using your new router. Pay close attention
to the Rules for Safe Operation, Warnings, and Cautions. If you use your router properly and only for what it is intended, you
will enjoy years of safe, reliable service.
Thank you again for buying a Ryobi router.
SAVE THIS MANUAL FOR FUTURE REFERENCE
OWNER'S OPERATING MANUAL
ROUTER - R160 / R165
DOUBLE INSULATED
SPECIFICATIONS:
Depth Of Cut
Collet
Horsepower
R160
R165
Rating
Amperes
R160
R165
No Load Speed
Net Weight
0 - 1-1/2 In. (0 - 38.1mm)
1/4 In. (6.4mm)
120 Volts, 60 Hz, AC Only
25,000 RPM
7.8 Lbs.
1-1/2
1-3/4
8.0
8.5
Advertisement
Table of Contents

Related Manuals for Ryobi R160


Summary of Contents for Ryobi R160
-
Page 1: Product Specifications
Net Weight THANK YOU FOR BUYING A RYOBI ROUTER. Your new router has been engineered and manufactured to Ryobi's high standard for dependability, ease of operation, and operator safety. Properly cared for, it will give you years of rugged, trouble-free performance. -
Page 2: Table Of Contents
TABLE OF CONTENTS Product Specifications ... 1 Table Of Contents ... 2 Rules For Safe Operation ... 3-5 Operation ... 6-12 Maintenance ... 13-14 Optional Accessories ... 14 Parts Ordering / Service... 16 Page 2... -
Page 3: Rules For Safe Operation
Always follow the safety precautions to reduce the risk of fire, electric shock and personal injury. DOUBLE INSULATION Your Ryobi power tool is double insulated. This means you are separated from the tool's electrical system by two complete sets of electrical insulation. This extra layer of insulation is intended to protect the user from electrical shock due to a break in the wiring insulation. - Page 4 READ ALL INSTRUCTIONS KNOW YOUR POWER TOOL. Read owner's manual carefully. Learn its applications and limitations as well as the specific potential hazards related to this tool. GUARD AGAINST ELECTRICAL SHOCK by preventing body contact with grounded surfaces. For example: Pipes, radiators, ranges, refrigerator enclosures.
-
Page 5: Rules For Safe Operation
WHEN SERVICING, USE ONLY IDENTICAL RYOBI REPLACEMENT PARTS. POLARIZED PLUGS. To reduce the risk of electric shock, this tool has a polarized plug (one blade is wider than the other). This plug will fit in a polarized outlet only one way. -
Page 6: Operation
Inspect it carefully to make sure no breakage or damage has occurred during shipping. If any parts are damaged or missing, contact your nearest Ryobi dealer to obtain replacement parts before attempting to operate router. A wrench, owner's operating manual, and warranty registration are also included. -
Page 7: Installing/Removing Cutters
Figure 2. To activate lock, (1) push spindle lock in, (2) slide into lock position, then (3) release spindle lock. 3. Place your router upside down on table, then turn collet nut with wrench until lock mechanism interlocks. See Figure 3. NOTE: Spindle lock is spring loaded and will snap into position when lock mechanism interlocks. -
Page 8: Depth Of Cut Adjustments
See Figure 5. 4. Position your router so that the cutter can extend below the subbase for desired depth setting. 5. Turn the depth adjusting ring to obtain the desired depth of cut. -
Page 9: Routing
When using your router hold it firmly with both hands as shown in figure 8. Turn router on and let motor build to its full speed, then gradually feed cutter into workpiece. Remain alert and watch what you are doing. -
Page 10: Depth Of Cut
(and, also, the possibility of damage to your router motor and bit). A deep cut requires a slower feed than a shallow one, and a too deep cut will cause you to slow the feed so much that the bit is no longer cutting, it is scraping, instead . -
Page 11: Starting/Ending A Cut Internal Routing
Tilt router and place on workpiece, letting edge of subbase contact workpiece first. Be careful not to let router bit contact workpiece. Turn router on and let motor build to its full speed. Gradually feed cutter into workpiece until subbase is level with workpiece. -
Page 12: Operation
ROUTING WITH STRAIGHT EDGE OF SUBBASE See Figure 15. The subbase on your router has a straight edge. It should be used when placing your router against an edge guide or fence and routing grooves parallel to the fence. -
Page 13: Maintenance
WARNING: Failure to unplug your router could result in accidental starting causing serious injury. 2. Remove cutter from router. Refer to page 7 to remove cutter. 3. Adjust router to maximum height. 4. Remove screws (A) and subbase (B). See Figure 16. -
Page 14: Optional Accessories
WARNING: When servicing use only identical Ryobi replacement parts. Use of any other parts may create a hazard or cause product damage. GENERAL Avoid using solvents when cleaning plastic parts. Most plastics are susceptible to damage from various types of commercial solvents and may be damaged by their use. - Page 15 NOTES Page 15...
-
Page 16: Parts Ordering / Service
Now that you have purchased your tool, should a need ever exist for repair parts or service, simply contact your nearest Ryobi Authorized Service Center. Be sure to provide all pertinent facts when you call or visit. Please refer to the Service Center insert or call 1-800-525-2579 in the United States or 1-800-265-6778 in Canada for your nearest Ryobi Authorized Service Center. -
Page 17: Switch Replacement
See Figure 16. 1. Before attempting to replace the switch on your router, you must know the model of your router (Model No. R160 or Model No. R165). To replace switch, follow the steps and illustrations below. 2. UNPLUG YOUR ROUTER.