Advertisement
Quick Links
INSTALLATION INSTRUCTIONS
1, 2, or 3 Button Remote
Model: TC-318-1, TC-318-2 or TC-318-3
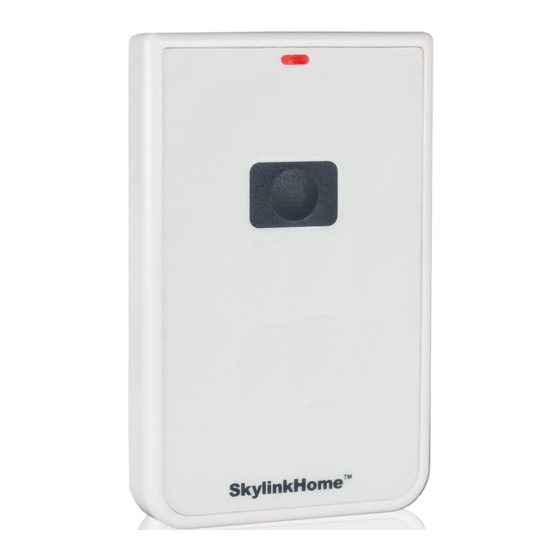
Congratulations on your purchase of the SkylinkHome
1, 2 or 3 Button
TM
Remote, model TC-318-1, TC-318-2 or TC-318-3. Wirelessly operate your
lights and devices when you pair it with SkylinkHome
TM
receivers.
Warranty
ONE YEAR WARRANTY
This product is guaranteed to be free of defects in materials and workmanship for
1 year from the date of purchase. If this product is defective, call 1-800-304-1187 for
repair or replacement parts. Guarantee does not include normal wear and tear or
batteries.
If you have any questions, problems or missing parts,
please call Skylink Customer Support:
9:00am - 5:00pm EST, Monday-Friday.
1-800-304-1187
Or e-mail us at support@skylinkhome.com
www.skylinkhome.com
CUSTOMER SERVICE
17 Sheard Avenue,
Brampton, Ontario,
Canada L6Y1J3
P/N : 101Z696-002
Rev:1
©2014 SKYLINK GROUP.
Safety Information
WARNING:Changes or modi cations to this unit not expressly approved by the party
responsible of compliance could void the user's authority to operate the equipment.
The device is approved by the FCC and it complies with Part 15 of the FCC Rules.
Its operation is subject to the following two conditions:
1. This device may not cause harmful interference.
2. This device must accept any interference that may cause undesired operation.
PACKAGE CONTENTS
Package Contents
This package comes with one of the following remotes:
1 Button Remote, 2 Button Remote, 3 Button Remote.
*Lithium Battery CR2032 already included.
Section 1 - Set Up
1.
Remove the battery isolator from the back of the remote. The red LED
will ash once.
2.
Press the button on the transmitter. The red LED should ash.
3.
If the LED does not ash when the button is pressed. Refer to section 9 for
instructions on battery replacement.
Remove
Isolator
Red
LED
Section 3 - Operation
1.
Press the programmed button on the remote once.
2.
The red LED will ash brie y indicating a signal has been transmitted to the
programmed receiver.
3.
The device should turn on or off.
Red
LED
NOTE: If the red LED is solid on when you press the button, replace the Battery.
Refer to section 9 for instructions on battery replacement.
Section 2 - Programming
NOTE: Refer to section 7 to learn how to set your receiver in Programming Mode. You may
follow the same instructions to program different buttons to different receivers.
NOTE: Use a sharp non-conductive object, like a pen or pencil, to press the learn button.
1.
Put the receiver in programming mode. Refer to section 7 for instructions.
2.
Press the Learn Button on the back of the remote. The red LED will be on for
15 seconds.
Learn
Button
3.
Press the button on the remote that you wish to program to the receiver within
15 seconds.
4.
The receiver will quit from the programming mode if the device has been
successfully programmed.
Section 4 - Dimming
NOTE: Light bulb connected to the receiver must be dimmable and compatible with
the receiver.
NOTE: To dim and brighten the light, the dimming mode has to be enabled.
On/Off Mode turns the light on/off and Dimming Mode turns the
light on/off or dims/brightens.
NOTE: If the light is not dimming, press and hold the button on the transmitter for
10 seconds until the light ashes twice to enable the Dimming Mode. To go back to On/Off Mode,
repeat the step until the light ashes once.
1.
Turn on the light.
2.
Press and hold the programmed button on the remote until the desired
dimming is reached.
3.
Release the button.
4.
Repeat step 2 to brighten the lights and then release the button again.
Advertisement

Related Manuals for SkyLink TC-318-1


Summary of Contents for SkyLink TC-318-1
- Page 1 15 seconds. Congratulations on your purchase of the SkylinkHome 1, 2 or 3 Button Remote, model TC-318-1, TC-318-2 or TC-318-3. Wirelessly operate your lights and devices when you pair it with SkylinkHome receivers. The receiver will quit from the programming mode if the device has been successfully programmed.
- Page 2 PACKAGE CONTENTS PACKAGE CONTENTS PACKAGE CONTENTS Section 5 - Erasing Section 6 - Reset the Remote Control Section 7 - Set the Receiver in Programming Mode Receiver Receiver NOTE: Refer to section 8 for instructions on how to erase your receiver. Some receivers don’t NOTE: After resetting, the unique remote ID will be changed.